How Airplanes Mostly Stopped Flying Into Terrain And Other Safety Improvements

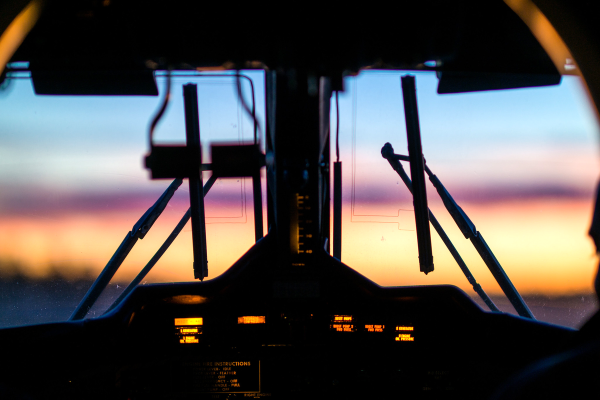
We have all heard the statistics on how safe air travel is, with more people dying and getting injured on their way to and from the airport than while traveling by airplane. Things weren’t always this way, of course. Throughout the early days of commercial air travel and well into the 1980s there were many crashes that served as harsh lessons on basic air safety. The most tragic ones are probably those with a human cause, whether it was due to improper maintenance or pilot error, as we generally assume that we have a human element in the chain of events explicitly to prevent tragedies like these.

Among the worst pilot errors we find the phenomenon of controlled flight into terrain (CFIT), which usually sees the pilot losing track of his bearings due to a variety of reasons before a usually high-speed and fatal crash. When it comes to keeping airplanes off the ground until they’re at their destination, here ground proximity warning systems (GPWS) and successors have added a layer of safety, along with stall warnings and other automatic warning signals provided by the avionics.

With the recent passing of C. Donald Bateman – who has been credited with designing the GPWS – it seems like a good time to appreciate the technology that makes flying into the relatively safe experience that it is today.

Continue reading “How Airplanes Mostly Stopped Flying Into Terrain And Other Safety Improvements”

The Revolver: A 3D-Printed… Screwdriver!

You know those “What my friends think I do” vs “What I actually do” memes? Well there should be one for 3D printing that highlights what you think you’ll do before buying your first printer vs what you actually wind up printing once you get it!

However, thanks to [Revolver3DPrints] you can fulfill your dream of printing a useful tool that looks like a commercial product, the Revolver two-speed screwdriver. The screwdriver isn’t motorized, but it has an interesting midsection that can be rotated to spin the bit, and you can select between a speed and torque mode.

The Revolver isn’t a solution looking for a problem. The designer noted a few issues with normal screwdrivers. They are hard to get into tight spaces, which was the biggest issue. The Revolver is compact, and since you turn its midsection, you don’t have to have clearance for your hand on the top. The gear ratios allow you to apply more torque without needing a long handle.

As you may have guessed, the internal arrangement is a planetary gear drive. You might consider if you want to print this using resin or FDM printing. You also need some screwdriver bits, some glue, and a few magnets to complete the project. If you prefer to make a motorized screwdriver, we’ve seen that done, too.

Continue reading “The Revolver: A 3D-Printed… Screwdriver!”

Custom Multi-Segment E-Ink Displays From Design To Driving

With multi-segment displays, what you see available online is pretty much what you get. LEDs, LCDs, VFDs; if you want to keep your BOM at a reasonable price, you’ve pretty much got to settle for whatever some designer thinks looks good. And if the manufacturer’s aesthetic doesn’t match yours, it’s tough luck for you.

Maybe not though. [upir] has a thing for custom displays, leading him to explore custom-made e-ink displays. The displays are made by a company called Ynvisible, and while they’re not exactly giving away the unique-looking flexible displays, they seem pretty reasonably priced. Since the displays are made with a screen printing process, most of the video below concerns getting [upir]’s preferred design into files suitable for printing. He uses Adobe Illustrator for that job, turning multi-segment design ideas by YouTuber [Posy] into chunky displays. There are some design restrictions, of course, chief of which is spacing between segments. [upir] shows off some Illustrator-fu that helps automate that process, as well as a host of general vector graphics design tips and tricks.

After sending off the design files to Ynvisible and getting the flexible displays back, [upir] walks us through the details of driving them. It’s not as simple as you’d think, at least in the Arduino world; the segments need +1.5 volts with reference to the common connection to turn on, and -1.5 volts to turn off. His clever solution is to use an Arduino Uno R4 and take advantage of the onboard DAC. To turn on a segment, he connects a segment to a GPIO pin set high while sending 3.5 volts out of the DAC output into the display’s common connection. The difference between the two pins is 1.5 volts, turning the segment on. To turn it off, he drops the DAC output to 1.5 volts and drives the common GPIO pin low. Pretty clever, and no extra circuitry is required.

This isn’t the first time we’ve seen [upir] trying to jazz things up in the display department. He’s played with masking LED matrix displays with SMD stencils before, and figured out how to send custom fonts to 16×2 displays too.

Continue reading “Custom Multi-Segment E-Ink Displays From Design To Driving”