Ink stamps can be fun to make and use, and 3D printers are uniquely positioned to create quality stamps of all kinds with just a little care. As with most things, the devil is in the details and the best results will require some extra work. Luckily, [Prusa] has a blog post that goes through how to 3D print the best stamps and includes concrete recommendations and tips to get the most out of the process.
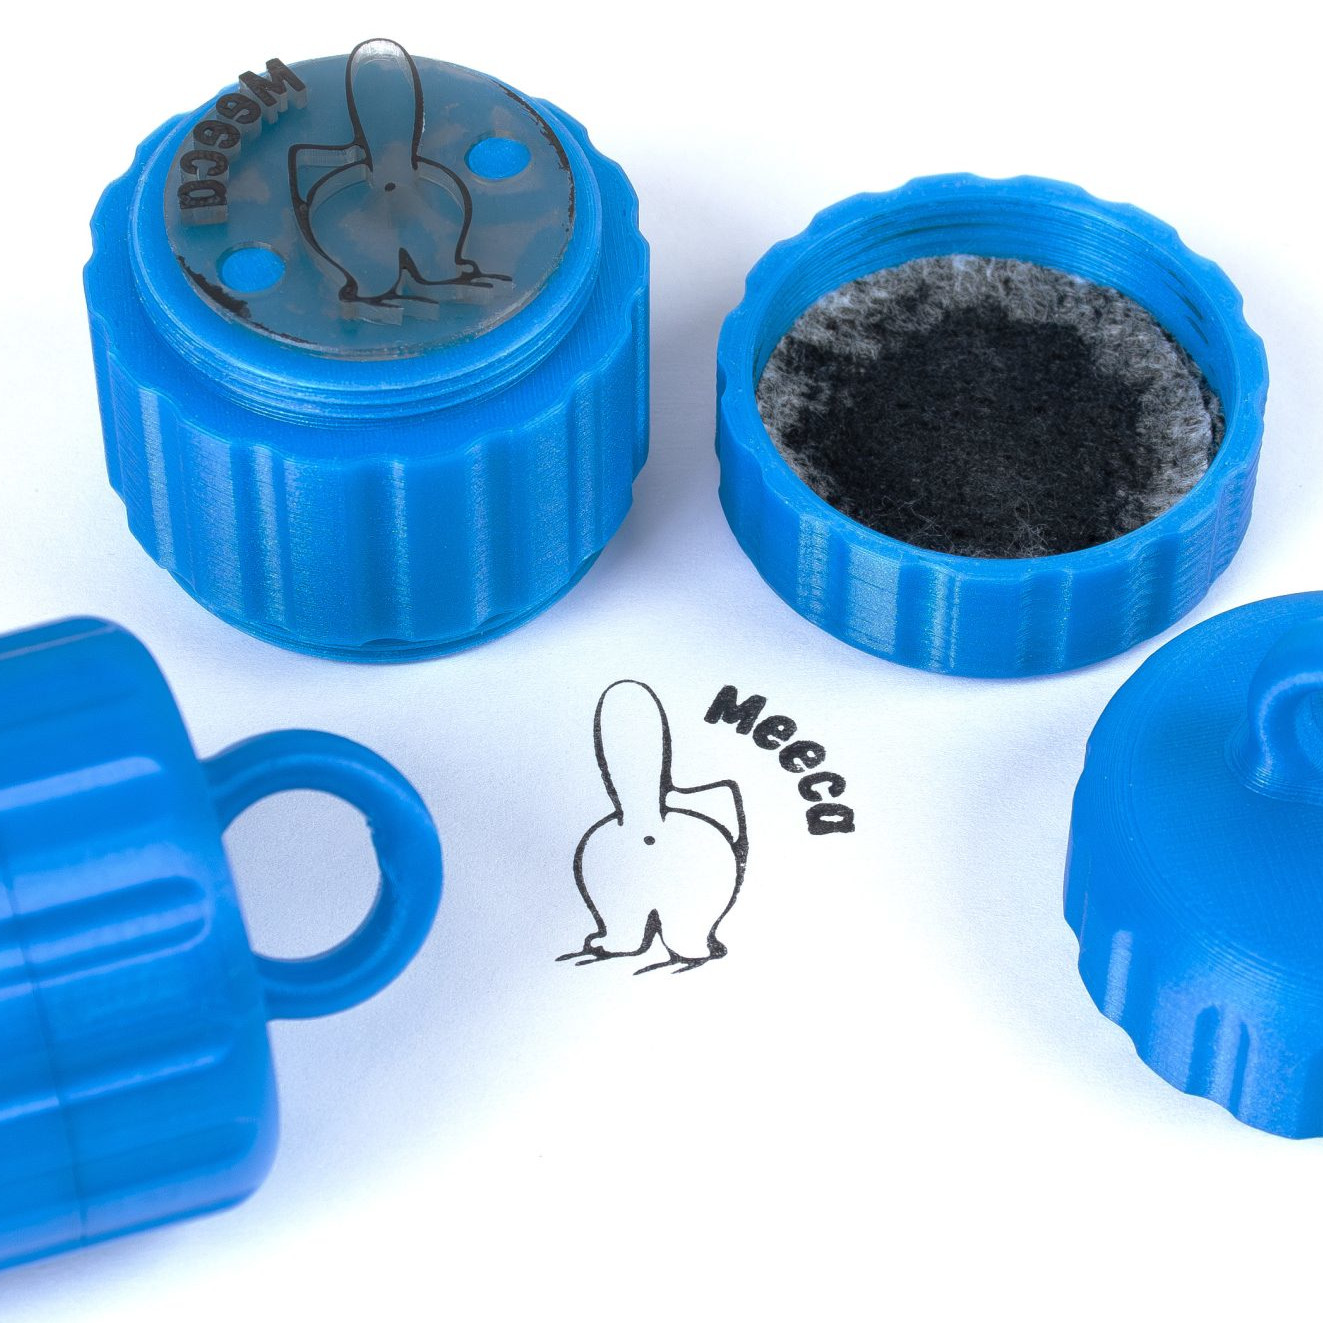
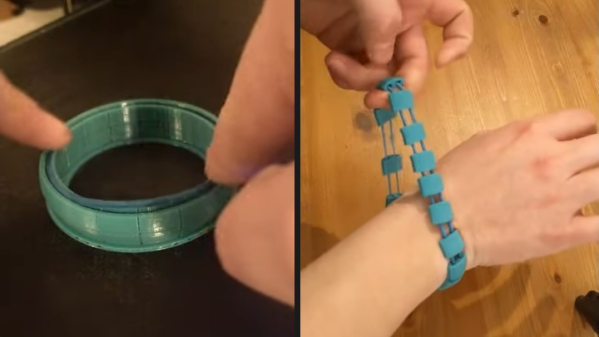
What makes a good 3D-printed stamp? It should be easy to use, transfer an image cleanly, and retain ink reasonably well. To hit these bases, printing the stamp face out of a flexible material is probably the most important, but a flat and smooth stamp surface is equally crucial. Satin-finish build plates will give a weathered look to the stamp, but textured build plates in general are no good.
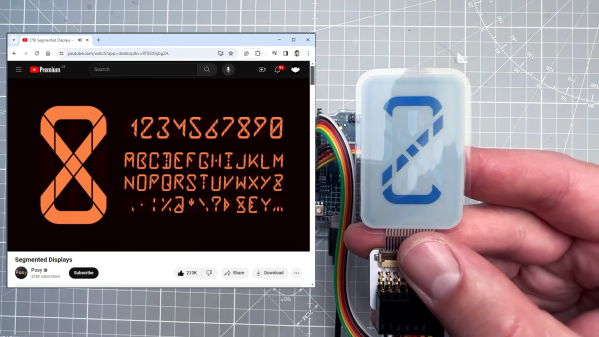
As for the design, turning an image into a 3D object can be a bit challenging for novices, but there are tools that make that much easier now than it used to be. Some slicers allow importing .svg files (scalable vector graphics) with which to emboss or deboss objects, and online tools as well as free software like Inkscape will let folks covert images into .svg format.
Flexible filaments tend to be stringy so they should be dried before use, especially if the stamp design has a lot of separate elements that invite stringing. Any flex filament should do the job, but of course some specific filament brands perform better than others. Check out the full blog post for specific recommendations.
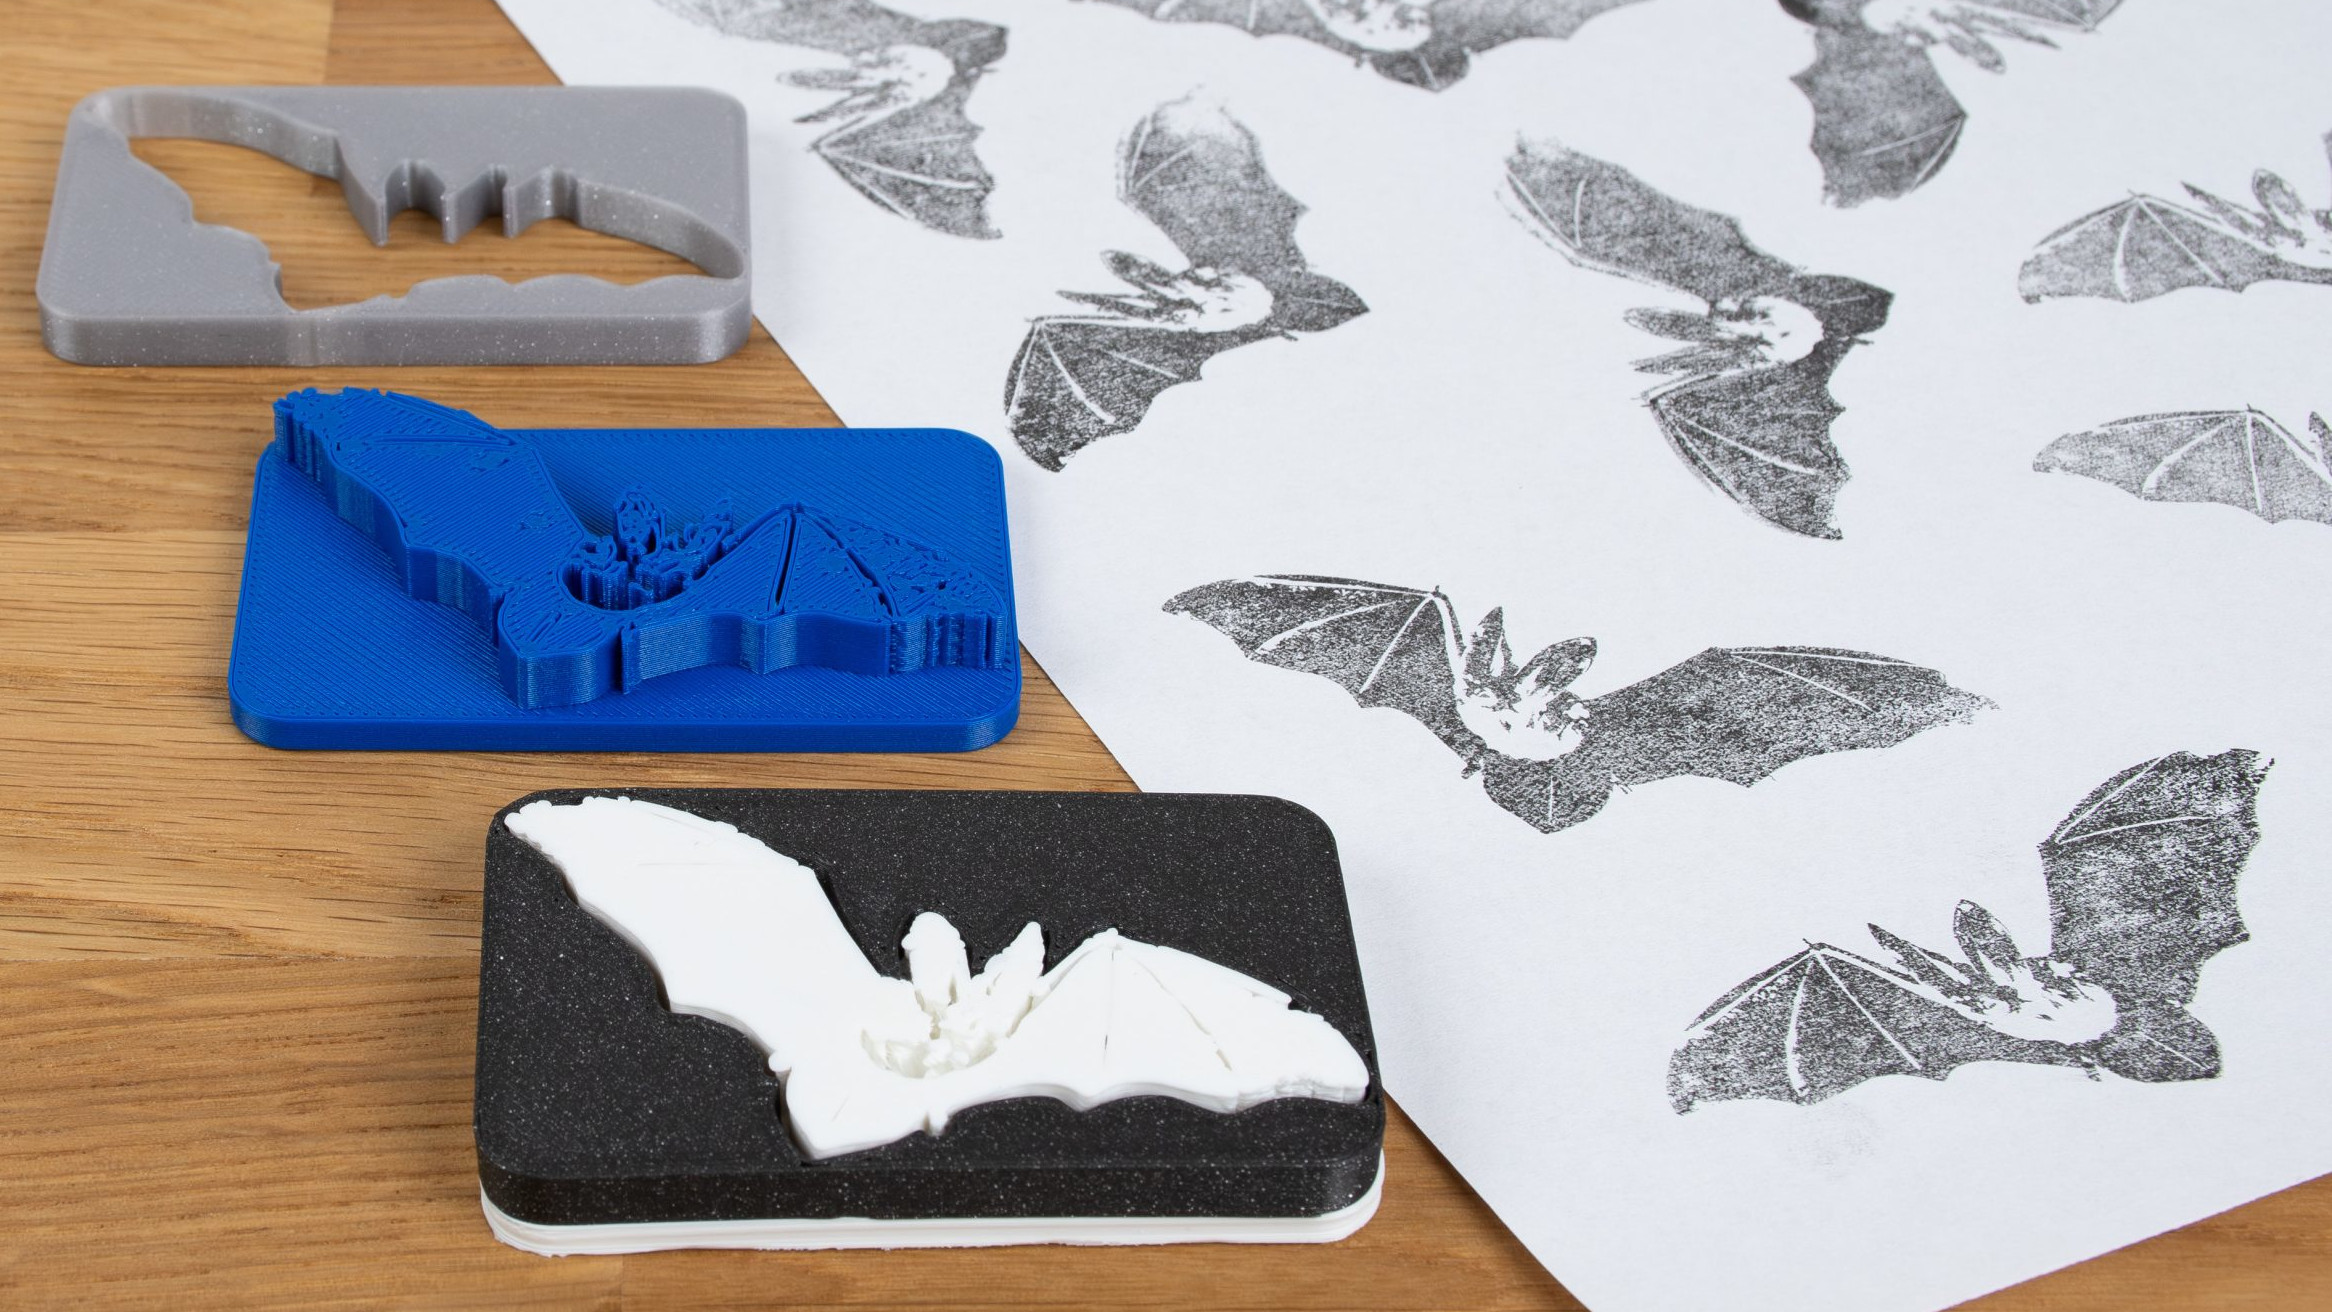
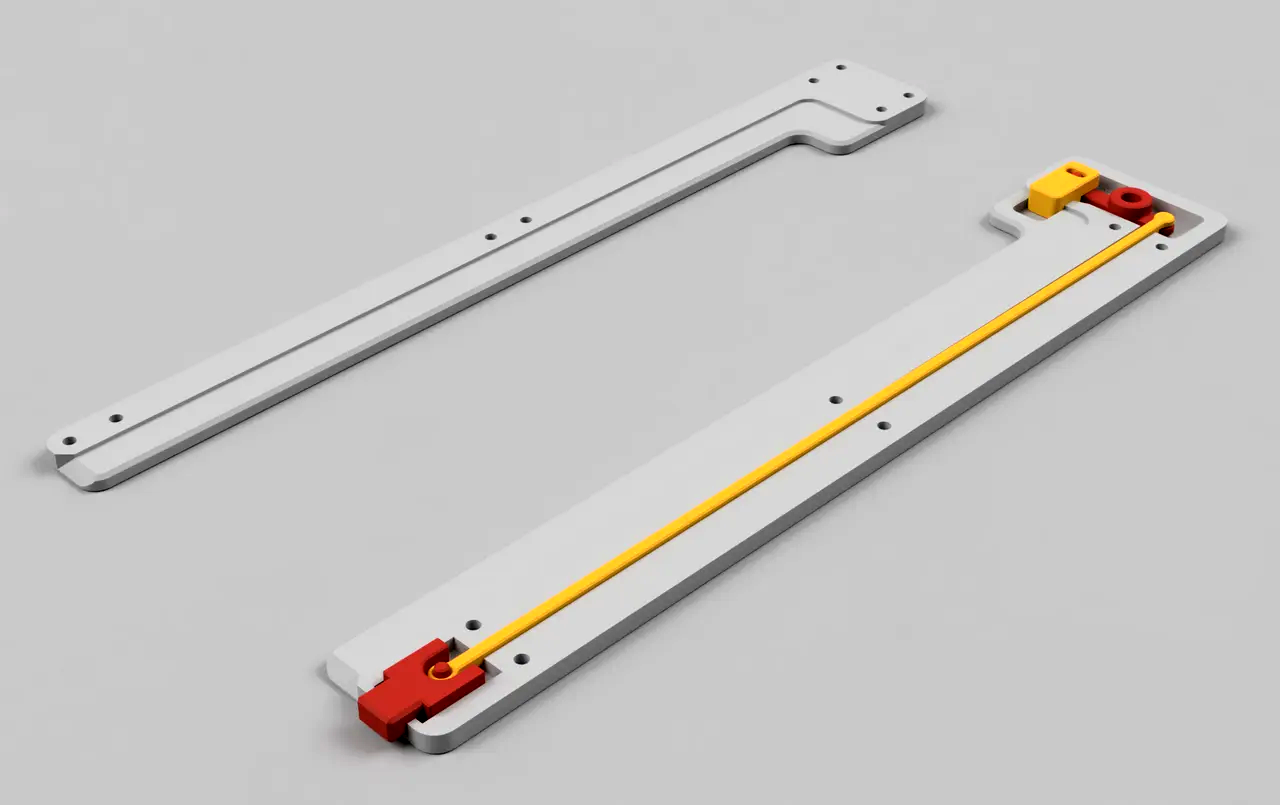
The remaining tricky element is that flexible filaments also tend to be poor at bridging, and if one is printing a stamp face-down on the build plate (to get that important, ultra-flat face) then the upper inside of the stamp may need some support for it to come out right. As [Prusa] suggests, this is a good place to use a manual, drop-in pre-printed support piece. Or if one has the ability to print in multiple materials, perhaps print the support structure in PLA since it is just about the only material that won’t completely weld itself to flex filaments. Of course, if one is designing the stamp entirely in CAD, then the best option would be to chamfer the stamp elements so supports aren’t necessary in the first place. Finally, don’t overlook the value of a physical design that makes handling easy and attractive.
Since 3D printing makes iteration so fast and easy, maybe it would be worth using this to revisit using rubber stamps to help create PCBs?