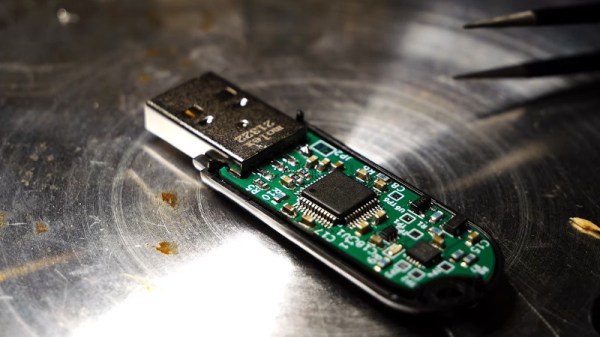
Regular readers may recall that security researcher and general open source hardware fanatic [Walker] has been planning a rather unusual flash drive for some time — one that will only show its contents if the user makes sure to lick their fingers before plugging it in. We’re pleased to report that theory has recently given way to real hardware, and the Ovrdrive “self-destructing” flash drive is now a step closer to reality.
The last time we checked in with [Walker], he hadn’t yet put any hardware together, though he was fairly sure what components he would need and how it would all go together. This was assisted somewhat by the fact that USB flash drives are such a ubiquitous piece of tech, making their principle parts plentiful and fairly well documented. As explained in the video below, all you really need to spin up your own flash drive is the USB connector, the controller chip, and a nice slab of flash memory for it to access. Though naturally you’re on your own for spit detection.
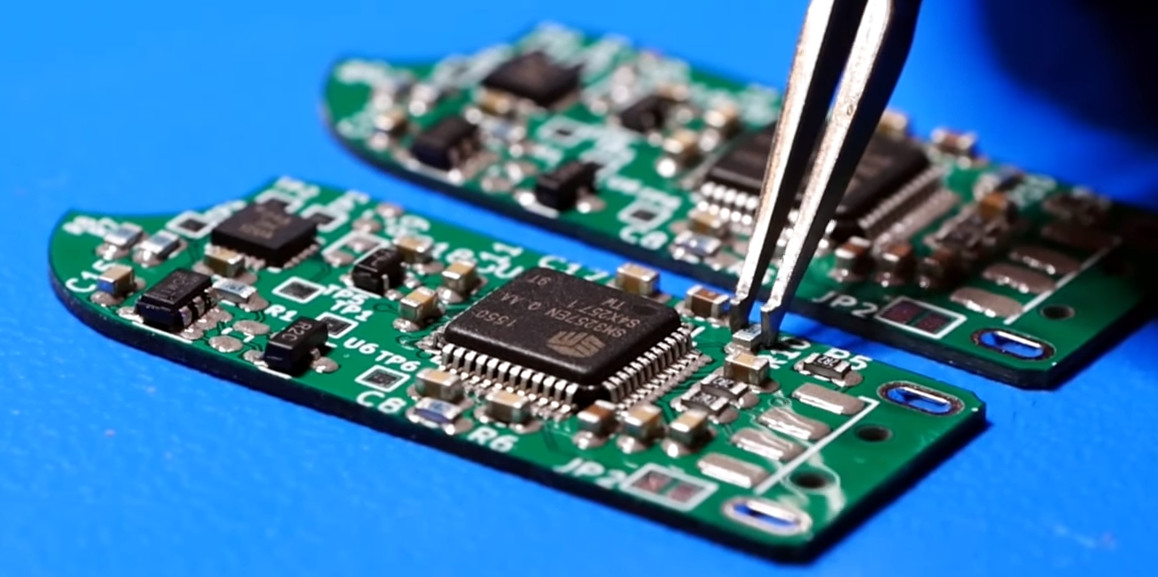
What we especially like about this project is that [Walker] is releasing the whole thing as open source hardware. So even if you’re not interested in the whole lick-for-access feature, you’ve still got a boilerplate flash drive design to build on. We haven’t seen a lot of DIY projects tackle USB Mass Storage previously, and perhaps this design can change that.
But of course, only if the thing works. According to the video after the break, [Walker] seems to have hit a snag with this revision of the hardware. While it enumerates as a storage device when plugged into the computer, the operating system claims its capacity is zero. He thinks there might be a swapped trace between the controller and flash chip to blame, so hopefully he can get things sorted out before too long. We’ve been covering this project since the summer, and are eager to see it cross the finish line.
Continue reading “The Spit-Detecting USB Flash Drive Is Nearly Here”