For many of us the passing of the floppy disk is unlamented, but there remains a corps of experimenters for whom the classic removable storage format still holds some fascination. The interface for a floppy drive might have required some complexity back in the days of 8-bit microcomputers, but even for today’s less accomplished microcontrollers it’s a surprisingly straightforward hardware prospect. [David Hansel] shows us this in style, with a floppy interface, software library, and even a rudimentary DOS, for the humble Arduino Uno.
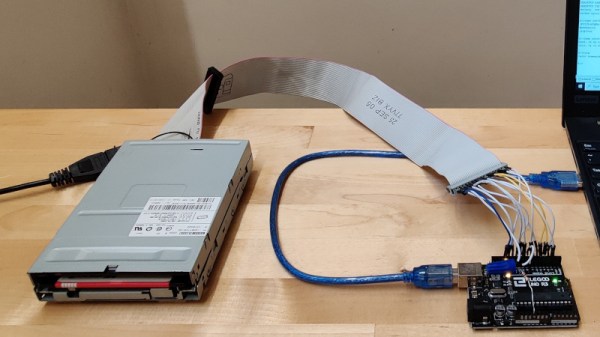
The library provides functions to allow low level work with floppy disks, to read them sector by sector. In addition it incorporates the FatFS library for MS-DOS FAT file-level access, and finally the ArduDOS environment which allows browsing of files on a floppy. The pictures show a 3.5″ drive, but it also supports 5.25″ units and both DD and HD drives. We can see that it will be extremely useful to anyone working with retrocomputer software who is trying to retrieve old disks, and we look forward to seeing it incorporated in some retrocomputer projects.
Of course, Arduino owners needn’t have all the fun when it comes to floppy disks, the Raspberry Pi gets a look-in too.