Recently [Anthony Francis-Jones] decided to take a closer look at the inhaler that his son got prescribed for some mild breathing issues, specifically to teardown the mechanical counter on it. Commonly used with COPD conditions as well as asthma, these inhalers are designed to provide the person using it with an exact dose of medication that helps to relax the muscles of the airways. Considering the somewhat crucial nature of this in the case of extreme forms of COPD, the mechanical counter that existed on older versions of these inhalers is very helpful to know how many doses you have left.
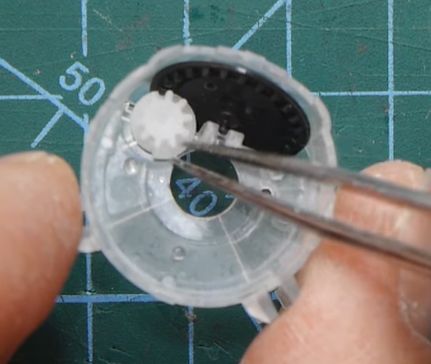
Disassembling the inhaler is very easy, with the counter section easily extracted and further disassembled. The mechanism is both ingenious and simple, featuring the counter wheel that’s driven by a worm gear, itself engaged by a ratcheting mechanism that’s progressed every time the cylinder with the medication is pushed down against a metal spring.
After the counter wheel hits the 0 mark, a plastic tab prevents it from spinning any further, so that you know for certain that the medication has run out. In the video [Anthony] speculates that the newer, counter-less inhalers that they got with the latest prescription can perhaps be harvested for their medication cylinder to refill the old inhaler, followed by resetting the mechanical counter. Of course, this should absolutely not be taken as medical advice.
Continue reading “Simple Counter Mechanism In An Asthma Inhaler”