We’re big fans of the Zynq, which is an answer to the question: what do you get when you cross a big ARM processor with a big FPGA? So it isn’t surprising that [GregTaylor’s] project to emulate the OPL3 FM Synthesis chip in an FPGA using the Zynq caught our eye.
The OPL3 (also known as the Yamaha YMF262) was a very common MIDI chip on older PC sound cards. If you had a Sound Blaster Pro or 16 board, you had an OPL3 chip in your PC. The OPL3 was responsible for a lot of the music you associate with vintage video games like Doom. [Greg] not only duplicated the chip’s functions, but also ported imfplay from DOS to run on the Zynq’s ARM processors so he could reproduce those old video game sounds.
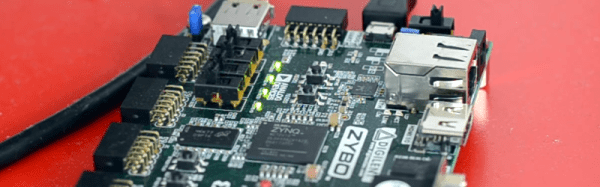
The Zybo board that [Greg] uses includes an Analog Devices SSM2603 audio codec with dual 24-bit DACs and 256X oversampling. However, the interface to the codec is isolated in the code, so it ought to be possible to port the design to other hardware without much trouble.
To better match the original device’s sampling rate with the faster CODEC, this design runs at a slightly slower frequency than the OPL3, but thanks to the efficient FPGA logic, the new device can easily keep up with the 49.7 kHz sample rate.
Using an FPGA to emulate an OPL3 might seem to be overkill, but we’ve seen worse. If you prefer to do your synthesis old school, you can probably get a bulk price on 555 chips.