Awesome Little UAV Flies 1 Km

After going to an SMD soldering workshop at the Stuttgart hackerspace ShackSpace, [Corvus] decided to be an over achiever and build a flight controller for his very own unmanned aerial vehicle.

The airplane itself is a regular store-bought foam contraption, and not terribly interesting in and of itself. Autonomous flight piques some interest, though. A custom flight controller PCB was designed and built by [Corvus] to work alongside a tiny STM32 Linux board. These two boards, combined with the OpenPilot project allow the plane to keep altitude, bearing, speed, and position in check autonomously. Telemetry between the ground station and vehicle is handled by UAVTalk and a ThinkPad.

In the video after the break, [Corvus] piloted the plane up to altitude, then directed it to fly 500 meters North and turn around. The result was an autonomous flight of over one kilometer. The next stage of the project is implementing some SLAM applications with optical path finding and obstacle avoidance.

Continue reading “Awesome Little UAV Flies 1 Km”

Hackaday Podcast 231: Harnessing Sparks, Hacking Food, And Leaving Breadcrumbs

Editor-in-Chief Elliot Williams and Al Williams don’t always agree on the best text editor to use, but they do — usually — agree on what makes a great hack. This week, they found plenty of Hackaday posts to discuss, ranging from exotic eavesdropping on keyboards, oscilloscopes, and several posts of interest to anyone who wants to build good-looking prototypes. If you are like mechanics, you’ll hear about an escapement-like mechanism and a Hobson’s coupler. If you crave more traditional hacks, you can learn more about maximizing battery life and etching PCBs.

In addition to a flurry of hacks, Elliot and Al also share their picks for the best original posts from Hackaday’s staff. This week, we find out how Arya Voronova documents projects and hear what Tom Nardi thinks of his Beepy — a ready-made display and Blackberry keyboard waiting for a Raspberry Pi.

Did you miss anything? Check out the links below. Be sure to send your favorite hacks our way, and let us know in the comments how you liked this episode. Hear it here:

Or download it yourself and listen while testing room-temperature superconductors!

Continue reading “Hackaday Podcast 231: Harnessing Sparks, Hacking Food, And Leaving Breadcrumbs”

Hackaday Prize 2023: LoShark, The Radio Debugger For LoRa

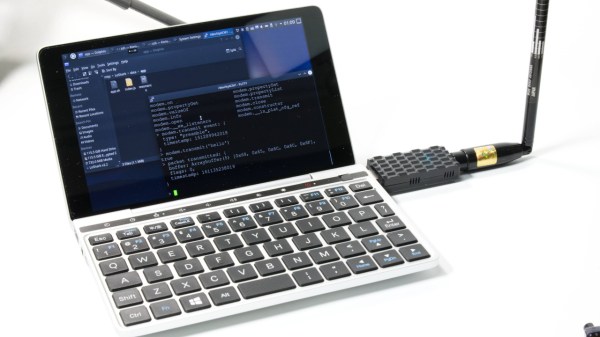
LoRa, the Long Range wireless protocol is pretty great for trickling data across long distances. There are some great embedded devices based around STM32, NRF52, and ESP32 microcontrollers. What’s been missing for quite a while is a device that allows for full access to a LoRa radio from a more capable CPU. The wait may be over, as there’s now the LoShark. It’s a USB key form factor, with a MIPS processor running a real Linux kernel. Cool!

The way debugging works is interesting, too. The team at SudoMaker is working on their Resonance runtime, which allows interacting with the onboard sx126x radio chip using JavaScript code. That chip can both send and receive, so this device should be capable of more than just capturing traffic. And if JavaScript isn’t your thing, the Linux system on the device means you can knock yourself out with C or C++ code. Who knows, we may even see Meshtastic running on this thing some day.

If this gets you excited, it’s already available for order for a reasonable $59.99. The LoShark ships in 433, 868, and 915 megahertz versions. It’s a really slick looking device, and maybe worth your time to check out. Enjoy!

DSP PAW Hardware Platform

Hackaday Prize 2023: Learn DSP With The Portable All-in-One Workstation

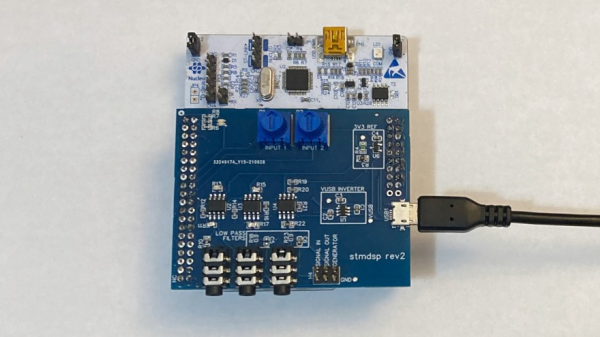
Learning Digital Signal Processing (DSP) techniques traditionally involves working through a good bit of mathematics and signal theory. To promote a hands-on approach, [Clyne] developed the DSP PAW (Portable All-in-one Workstation). DSP PAW hardware and software provide a complete learning environment for any computer where DSP algorithms can be entered as C++ code through an Arduino-like IDE.

Continue reading “Hackaday Prize 2023: Learn DSP With The Portable All-in-One Workstation”

Supercon 2022: Aedan Cullen Is Creating An AR System To Beat The Big Boys

There’s something very tantalizing about an augmented reality (AR) overlay that can provide information in daily life without having to glance at a smartphone display, even if it’s just for that sci-fi vibe. Creating a system that is both practical and useful is however far from easy, which is where Aedan Cullen‘s attempt at creating what he terms a ‘practical augmented reality device’.

In terms of requirements, this device would need to have a visual resolution comparable to that of a smartphone (50 pixels/degree) and with a comparable field of view (20 degrees diagonal). User input would need to be as versatile as a touchscreen, but ‘faster’, along with a battery life of at least 8 hours, and all of this in a package weighing less than 50 grams.

Continue reading “Supercon 2022: Aedan Cullen Is Creating An AR System To Beat The Big Boys”

Everything You Didn’t Know You Need To Know About Glitching Attacks

If you’ve always been intrigued by the idea of performing hardware attacks but never knew where to start, then we’ve got the article for you: an in-depth look at the hows and whys of hardware glitching.

Attentive readers will recall that we’ve featured [Matthew Alt]’s reverse engineering exploits before, like the time he got root on a Linux-based arcade cabinet. For something a bit more challenging, he chose a Trezor One crypto wallet this time. We briefly covered a high-stakes hack (third item) on one of these wallets by [Joe Grand] a while back, but [Matthew] offers much, much more detail.

After introducing the theory of glitching attacks, which seek to force a processor into an undefined state using various methods, [Matthew] discusses the specifics of the Trezor wallet and how the attack was planned.

His target — the internal voltage regulator of the wallet’s STM32 microcontroller — required desoldering a few caps before the attack could begin, which was performed with a ChipWhisperer. After resolving a few initial timing issues, he was able to glitch the chip into dropping to the lowest level of readout protection, which gave access to the dongle’s SRAM through an ST-Link debugger.

While this summary may make the whole thing sound trivial, it’s obvious that the attack was anything but, nor was the effort that went into writing it all up. The whole thing reads a little like a techno-thriller, and there’s plenty of detail there if you’re looking for a tutorial on chip glitching. We’re looking forward to part 2, which will concentrate on electromagnetic fault-injection using a PicoEMP and what looks like a modified 3D printer.

SWO: An ARM Printf By Any Other Name

I’ll confess. Although printf-style debugging has a bad rep, I find myself turning to it on occasion. Sure, printf is expensive and brings in a lot of code, but if you have the space and time to use it while debugging you can always remove it before you are finished. However, what if you don’t have an output device or you are using it for something else? If you are using most modern ARM chips, you have another option — a dedicated output channel that is used for several things, including debugging output. I decided I wanted to try that on the Blackpill running mbed, and found out it isn’t as easy as you might think. But it is possible, and when you are done reading, you’ll be able to do it, too.

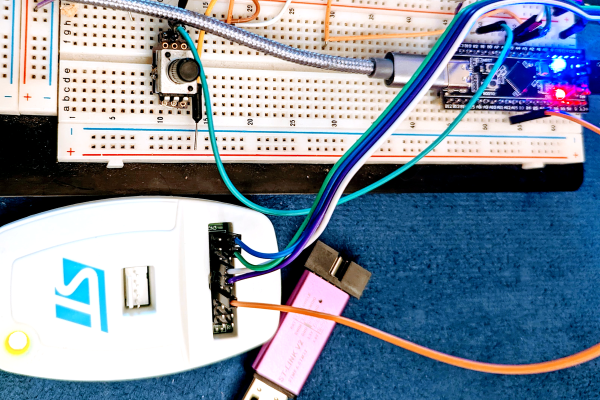
I’m writing this using the STM32-specific ST-LINK hardware. If you use other JTAG devices like the BlackMagic probe, you probably already have this set up for you.

What You Get

I’ll start backward with the end result, then talk about the software, so you’ll be good and motivated by the time you get to the hardware requirements. Spoiler alert: your existing hardware might need a quick hack to make it work, although you can buy something off the shelf if you prefer.

Here is a very simple test program:


SWO_Channel debugport;  // requires #include "SWO.h"
int main() 
  {
  unsigned count=0;
  debugport.printf("\r\nHello World from SWO\r\n");
  debugport.printf("CPU SystemCoreClock is %d Hz\r\n", SystemCoreClock);

  while (1) 
    {
    led = !led; // flip LED if output is true
    ThisThread::sleep_for(rate); // sleepy time
    if (count % 10) debugport.putc('*'); else debugport.printf("%d\r\n",count); 
    count++;
    }
}

Continue reading “SWO: An ARM Printf By Any Other Name”