[Nathanial Hendler]’s Apple2Idiot expansion card for the Apple II family of computers is a nifty mix of modern and vintage, and provides a clever means of allowing the host computer to (indirectly) access the internet over WiFi while keeping things simple from the host computer’s perspective.
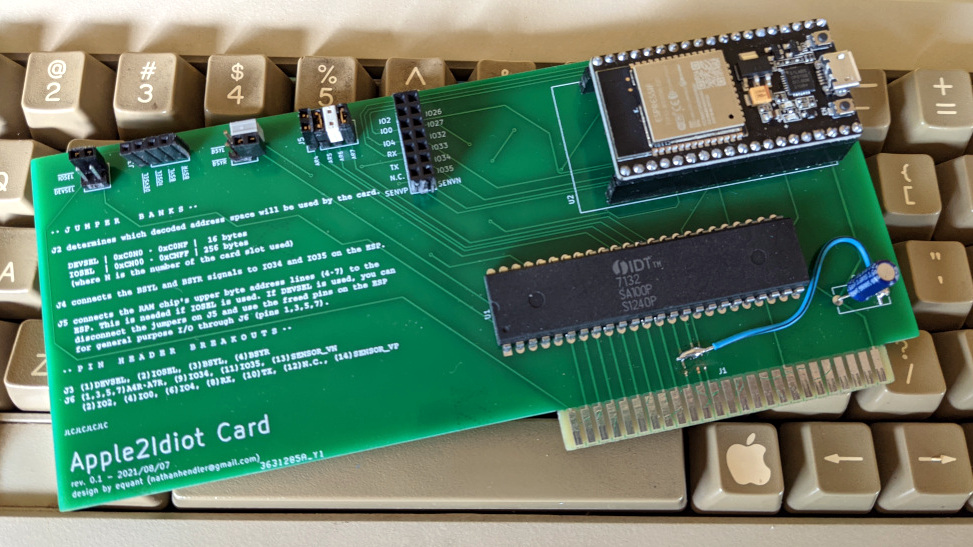
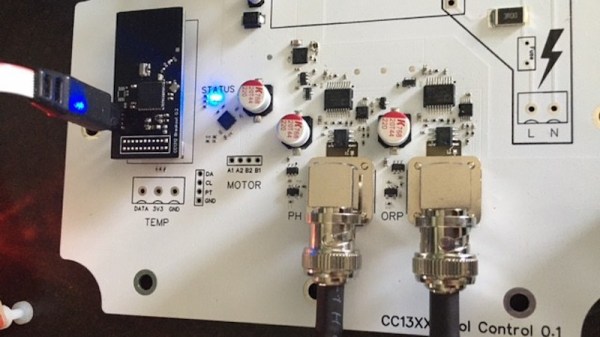
It does this by embedding an ESP32 module and a dual-port RAM chip onto an expansion card. The Apple2Idiot, when installed into a host machine, presents as a memory location which the host machine can access. The ESP32 then takes care of all the WiFi communications and tasks requiring internet access, and the host computer directs these tasks (and reads their output) via PEEK and POKE commands.
This means that there are two pieces of software for any given task: one running on the ESP32 doing the actual work, and one running on the Apple II that communicates with the ESP32 on the card by reading and writing to memory. It’s a simple system, and one that [Nathanial] thinks works quite well for specific tasks.
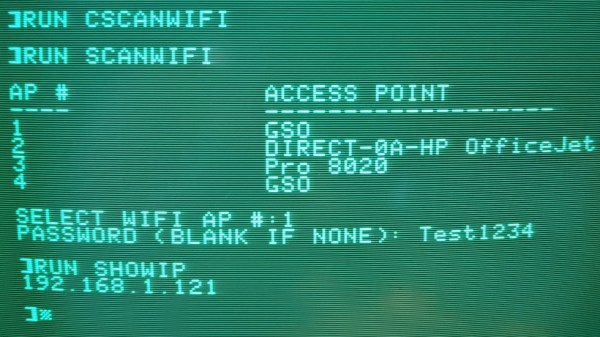
Example programs include things like scanning and selecting a WiFi network, fetching weather data, and sending a message to Slack. Making new applications does mean having to write software on two ends, but the simplicity of the system also means flexibility, because anything the ESP32 does can have its complexity abstracted away by the time its data is presented to the host machine. Not that the Apple II is incapable of dealing with the modern internet more directly; we’ve seen a basic Apple II web server written in BASIC.