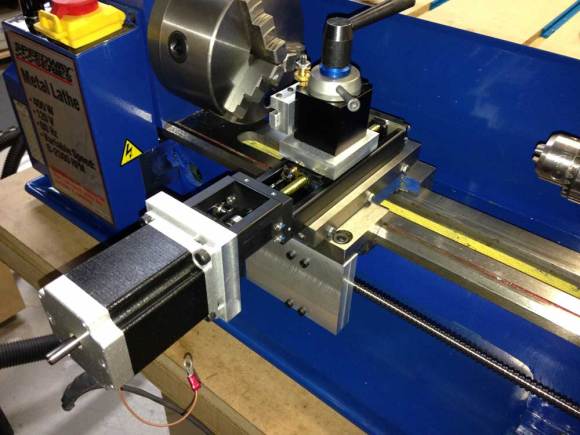
We see a lot of CNC Machines here on Hackaday but not too many of them are lathe-based. [Jim] sent us an email letting us know his dissatisfaction regarding the lack of CNC Lathes and included a link to one of his recent projects, converting a small manual lathe to computer control. This isn’t some ‘slap on some steppers‘ type of project, it’s a full-fledged build capable of tight tolerances and threading.
The project is based on a 7×12 Mini Lathe. There are several brands to choose from and they are almost identical. Check out this comparison. [Jim] started with Homier brand.
The first thing to get upgraded was not related to the CNC conversion. The 3″ chuck was replaced with a 5″. Changing it over was easy using an adapter plate made for the task. For the X Axis, the stock ways and lead screw were removed and replaced by a THK linear slide. This slide only has 2.5″ of travel and is perfect for this application. The travel being so short allowed the final eBay auction price to be under $40.
Continue reading “Lathe CNC Upgrade Is Nothing To Shake A Turned Stick At”

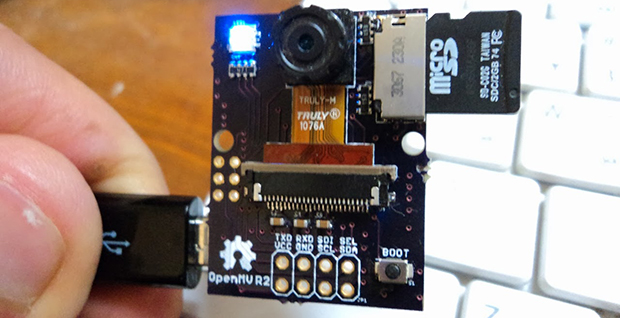
 The flight controller is the nerve center of a drone. Drone flight control systems are many and varied. From GPS enabled autopilot systems flown via two way telemetry links to basic stabilization systems using hobby grade radio control hardware, there is an open source project for you.