Fubarino Contest entries are starting to roll in at a faster rate. If you’re working on one you only have a few hours left! Submissions are due before 12:00am Pacific Time! This bit of inspiration is a two-fer. Both entries decided to use Morse Code to spell out the Hackaday URL.
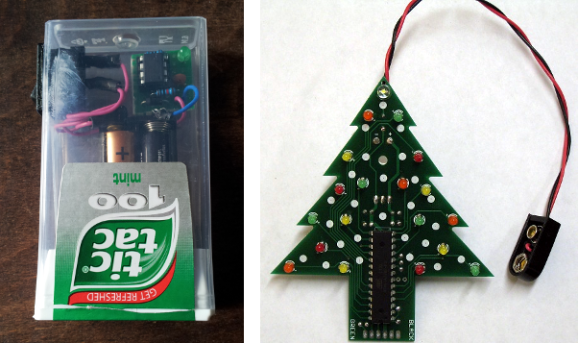
First up, [Tariq] is getting into electronic design because his friend’s 8-year-old son [Yago] is really interested in Math and Science. The device he was working on is a little portable Morse Code message flasher (don’t miss part 2). The idea is that [Yago] can carry it around and pretend it’s a spy device containing a secret message. It might as well be since your average Joe probably wouldn’t notice the irregular flashing and if they did they wouldn’t be able to decode it without some help. The device is built around an ATtiny85. Normally it displays a Christmas greeting for [Yago]. But at the end of the cycle, or at power-up, it flashes the Hackaday URL at an extreme rate. Can anyone actually decode this without putting it on a logic analyzer?
The second offering is in the form of a blinky Christmas tree. [Jim] built the Arduino-compatible ornament for the holidays. It does a great job of flashing a bunch of different patterns, and it wasn’t too much work for him to make it flash the URL.
This is an entry in the Fubarino Contest. Submit your entry before 12/19/13 for a chance at one of the 20 Fubarino SD boards which Microchip has put up as prizes!