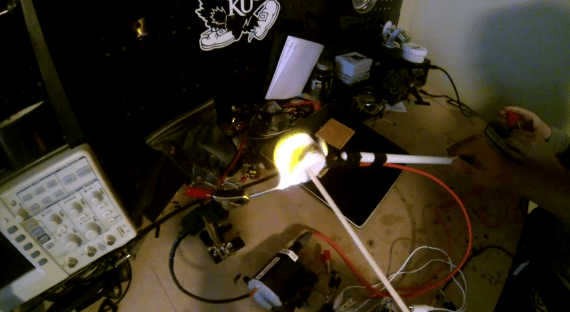
[Skyy] sent us a video of him cooking s’mores with an electric arc. He’s using a flyback transformer with a zero voltage switching (ZVS) driver. This produces about 50 kV, which is more than enough to toast the marshmallow.
ZVS is a technique that triggers the semiconductor switches when they have zero voltage across them. This ensures that there’s minimal heat created by the switches, since they are not interrupting any current at the time they are toggled. ZVS is also used in lighting dimmers to switch off power without creating interference.
If you’re interested in the details, there’s a great tutorial on building the driver. If you’re interested in learning how it works, check out this simulation video.
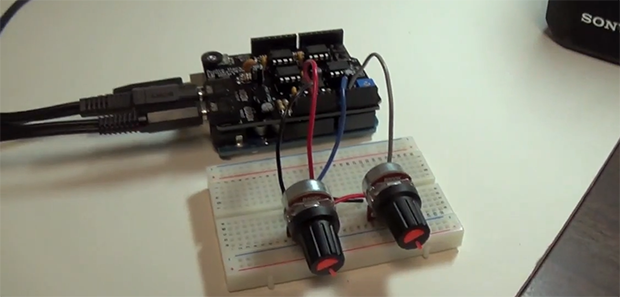
[Skyy] admits that his setup isn’t terribly safe since it uses a breadboard, which isn’t rated for the high voltages and currents. Keep in mind that these circuits could kill you. After the break, watch a marshmallow fry in a 50 kV arc.