[Ruben van der Vleuten] wanted to get a look at the adventure a package experiences when shipped from one place to another. So he threw together this mishmash of components to record the experience. We certainly enjoyed watching the fast motion video found after the break. We wonder what the shipping agency thinks about this sort of thing?
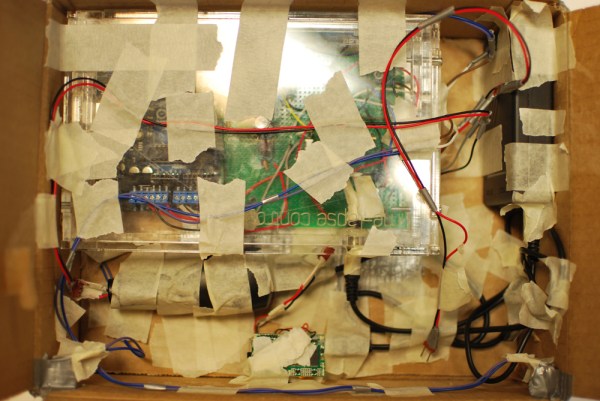
Camera, digital storage, and battery technology have gotten to the point that it’s both cheap and easy to do this sort of surveillance. But there are a few logistical things that [Ruben] took into account to make this work quite well. First off, he need to hide the camera in a way that would ensure the package didn’t look suspicious. He ended up writing his name on the side of the box and boring a hole through one of the black letters which is smaller than a pea and very hard to spot. To make sure he wasn’t recording a ton of empty (dark) frames he also included electronics to sense motion. When the package is moving the video is always rolling. when not moving the hardware wakes for just 3 seconds every minute to shoot video.
Continue reading “Hacker Sends This Through The Mail To Record A Video Of The Process”