3D printing pens may be toys to some, but they can be genuinely useful tools to repair 3D prints, rescue a support structure, or weld together different pieces. However, [BManx2000] found that the way the filament simply sticks out of the back of a 3D printing pen like a bizarre tailfeather was troublesome.
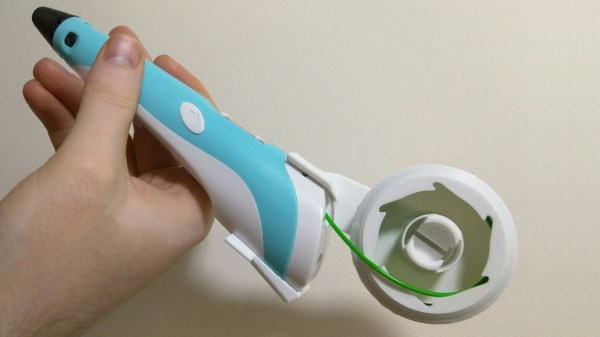
The solution? A Mini Spool System for 3D Printing Pens, with which you can use your 3D printing pen to weld together the parts after printing them. The unit holds 1.75mm filament coiled under its own tension in a tidy package that doesn’t interfere with feeding. Since different 3D pens are shaped differently, the interface to the pen is a separate piece that can be modified or changed as needed without affecting the rest of the design.
We’ve seen some interesting innovations with filament holders before, like this entirely 3D printed filament holder, but a mini spool for a 3D pen is definitely a new one.