SuperSlicer Reviewed: Another 3DP Slicer?

When you think of slicers for FDM 3D printing — especially free slicers — you probably think of Cura, Slic3r, or PrusaSlicer. There are fans of MatterControl and many people pay for Simplify3D. However, there are quite a few other slicers out there including the one [TeachingTech] has switched to: SuperSlicer. You can see his video review, below.

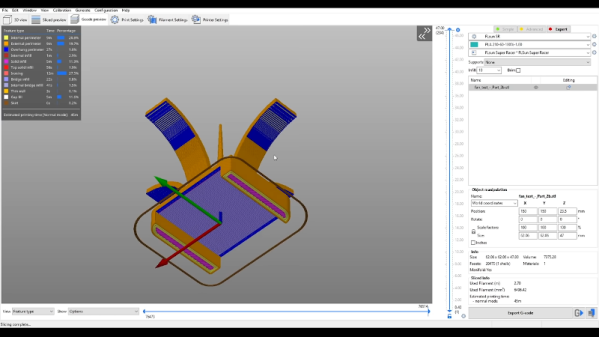
Of course, just as PrusaSlicer is a fork of Slic3r, SuperSlicer is a fork of the Prusa software. According to the project’s home page, the slicer does everything Prusa does but adds custom calibration tests, ironing, better thin wall support, and several other features related to infill and top surfaces. The software runs on Windows, Linux, or Mac.

Continue reading “SuperSlicer Reviewed: Another 3DP Slicer?”

Cura Plugin Offers Custom Support

[Chuck] likes the ability of Simplify3D to add support to parts of a model manually. However, not everyone wants to spend $150 for a slicer, so he’s shared how to install a plugin that allows you to do the same trick in Cura.

The plugin is “Cylindric Custom Support.” That doesn’t sound very exciting, but you get five choices of shapes you can create custom supports easily. There are also size and angle parameters you can use to customize the effect.

Continue reading “Cura Plugin Offers Custom Support”

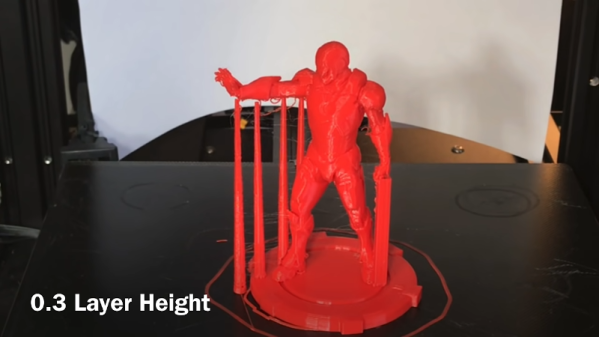
Everything You Wanted To Know About 3D Printing Support But Were Afraid To Ask

At the dawn of 3D printing, support structures were something to avoid. ABS is a hard substance to clear off, and the slicers did a comparatively poor job of making structures that were easy to remove. Today, supports are not a big deal and most of the slicers and materials allow for high-quality prints with supports. We were printing something with supports the other day and noticed that Cura has a support floor and roof function. Curious, we did a quick search and found this very comprehensive post about the current state of support.

With 25 topics in the table of contents, this isn’t a 3-minute read. Of course, you might wish to skip over some of the first parts if you get why you need support and understand the basic ideas. We became more interested when we reached the geometry section.

Continue reading “Everything You Wanted To Know About 3D Printing Support But Were Afraid To Ask”

Gradient Infill Puts More Plastic Where You Want It

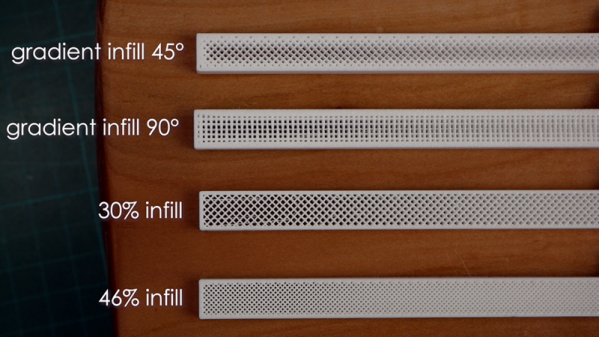
It is always tricky setting the infill for a 3D printed part. High infill parts are strong but take longer to print, while low infill prints take less time, but are weaker internally and in danger of surface layer droop between the infill pattern. [Stephan] has a better answer: gradient infill. You can see a video below and find his Python code on GitHub.

The idea is simple enough. In most cases, parts under stress see higher stress near the surface. Putting more material there will make the part stronger than adding plastic in places where the stress is lower. [Stephan] has done finite element analysis to determine an optimal infill pattern before, but this is somewhat difficult to do. Since the majority of parts can follow the more at the edges and less at the center rule, gradient infill makes sense except for a few special cases.

Continue reading “Gradient Infill Puts More Plastic Where You Want It”

Pathio: New 3D Slicer From E3D

Having a great word processor won’t actually help you write the next bestselling novel. It might make it easier, but if you have a great novel in you, you could probably write it on paper towels with a crayon if you had to. A great 3D printer isn’t all you need to make great 3D prints. A lot depends on the model you start with and that software known as a slicer. You have several choices, and now you have one more: PathIO, a slicer sponsored by E3D, is out in beta. You can see a video about its features below.

The software has a few rough edges as you might expect from a beta. The slicer doesn’t feed Gcode to a printer directly, although Octoprint integration is forthcoming. Developers say they are focusing on the slicing engine which is totally new. According to their website, conventional slicers immediately cut a model into 2D slices and then decide how to realize each slice with respect to the shell and infill. Pathio works in 3D space and claims this has benefits for producing correct wall thickness and an increase in self-supporting geometries.

Continue reading “Pathio: New 3D Slicer From E3D”

Adaptive Layer Height On The Monoprice Select Mini

If you’ve used a desktop 3D printer, you’re likely familiar with the concept of layer heights. Put simply: thicker layers will print faster, and thinner layers will produce better detail. Selecting your layer height is making a choice between detail and speed, which usually works well enough. For example, prints which are structural and don’t have much surface detail can be done in higher layer heights to maximize speed with no real downside. Conversely, if you’ve got a model with a lot of detail you’ll have to just deal with the increased print time of thinner layers.
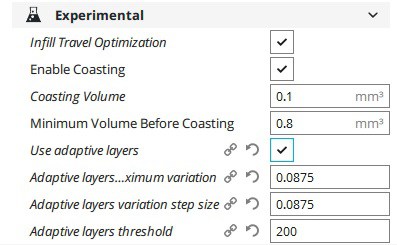
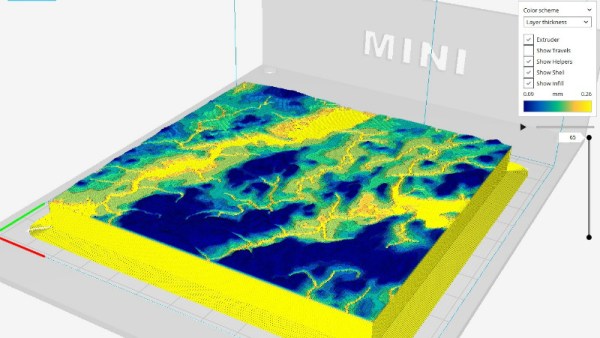
At least, that’s how it’s been up till now. Modern slicer software is starting to test the waters of adaptive layer heights, which change the layer height during the print. So the software will raise or lower the layer height depending on the level of detail required for the current area being printed. [Dylan Radcliffe] wanted to experiment with this feature on his Monoprice Select Mini, but it took some tweaking and the dreaded mathematics to get Cura’s adaptive layer height working on the entry-level printer. He’s documented his settings for anyone who wants to check out this next-generation 3D printing technology without forking out the cash for a top of the line machine.

While Cura is a popular slicer, the fact of the matter is that it’s developed by Ultimaker primarily for their own line of high-end printers. It will control machines from other manufacturers, but it makes no promises that all the features in the software will actually work as expected on lesser printers. In the case of the Monoprice Mini, the issue is the rather unusual Z hardware. The printer uses a 7.5° 48-step motor coupled to 0.7 mm thread pitch M4 rod. This is a pretty suspect arrangement that was no doubt selected to keep costs down, and results in an unusual 0.04375 mm step increment. For the best possible print quality, layer heights should be a multiple of this number. That’s where the math comes in.

After enabling adaptive layers in Cura’s experimental settings, you need to define the value which Cura will add or subtract to the base layer height. In theory you could enter 0.04375 mm here, but while that’s the minimum on paper, the machine itself is unlikely to be able to pull off such a small variation. [Dylan] recommends doubling that to 0.0875 for the “variation step size” parameter, and setting the base layer height to 0.175 mm (4 x 0.04375 mm).

[Dylan] reports these settings reduced the print time on his topographical map pieces from 12 hours to 7 hours, while still maintaining high detail on the top surface. Of course print time reduction is going to be highly dependent on the model being printed, so your mileage may vary.

If Cura isn’t your style, our very own [Brian Benchoff] gave us a tour of “variable layer height”, the Slic3r version of this technique. Perfect for that Prusa i3 MK3 you finally spent the cash on.

3D Printering: Which Raspberry Pi Is Best At Slicing In Octoprint?

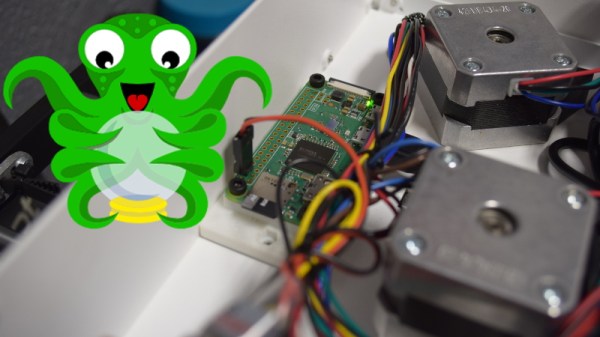
OctoPrint is arguably the ultimate tool for remote 3D printer control and monitoring. Whether you simply want a way to send G-Code to your printer without it being physically connected to your computer or you want to be able to monitor a print from your phone while at work, OctoPrint is what you’re looking for. The core software itself is fantastic, and the community that has sprung up around the development of OctoPrint plugins has done an incredible job expanding the basic functionality into some very impressive new territory.

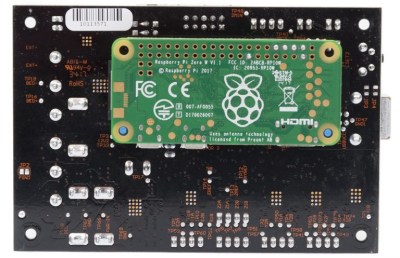
RAMBo 3D controller with Pi Zero Integration

But all that is on the software side; you still need to run OctoPrint on something. Technically speaking, OctoPrint could run on more or less anything you have lying around the workshop. It’s cross platform and doesn’t need anything more exotic than a free USB port to connect to the printer, and people have run it on everything from disused Windows desktops to cheap Android smartphones. But for many, the true “home” of OctoPrint is the Raspberry Pi.

As I’ve covered previously, the Raspberry Pi does make an exceptional platform for OctoPrint. Given the small size and low energy requirements of the Pi, it’s easy to integrate into your printer. The new Prusa i3 MK3 even includes a header right on the control board where you can plug in a Raspberry Pi Zero.

But while the Raspberry Pi is more than capable of controlling a 3D printer in real-time, there has always been some debate about its suitability for slicing STL files. Even on a desktop computer, it can sometimes be a time consuming chore to take an STL file and process it down to the raw G-Code file that will command the printer’s movements.

In an effort to quantify the slicing performance on the Raspberry Pi, I thought it would be interesting to do a head-to-head slicing comparison between the Pi Zero, the ever popular Pi 3, and the newest Pi 3 B+.

Continue reading “3D Printering: Which Raspberry Pi Is Best At Slicing In Octoprint?”