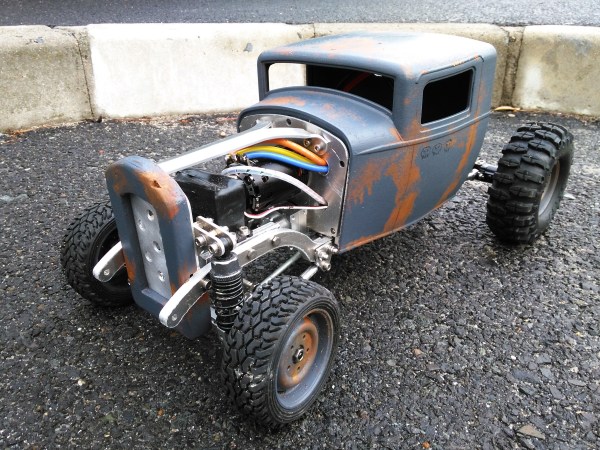
[ossum]’s R/C hot rod shows what’s possible when a talented hacker takes full advantage of all the modern resources available to them. The results are stunning.
[ossum] had a stack of Amazon and Shapeways credits lying around after winning a few competitions. He had this dream of building an R/C car for a while, and decided now was the time. After ordering all the needed parts from Amazon, he made an extremely nice model of the car in Fusion 360. The CAD model is a great learning resource. If you want to learn how to use reference photos, parts, and more to build a detailed and useful CAD model we recommend downloading it as a Fusion archive and scrubbing through the timeline to see how he did it.
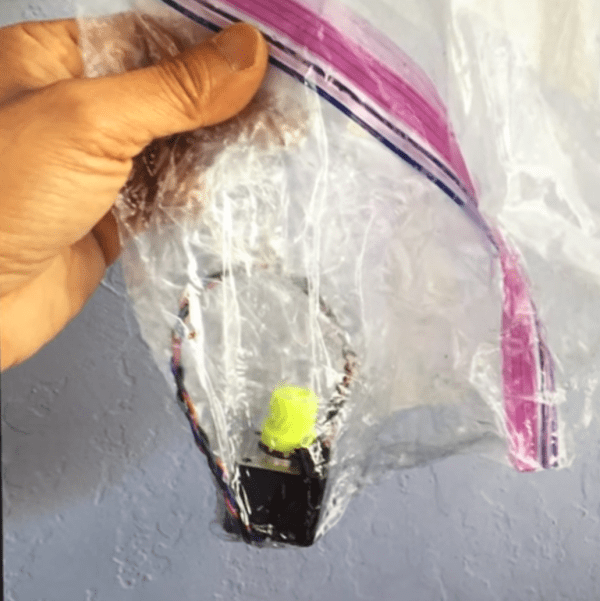
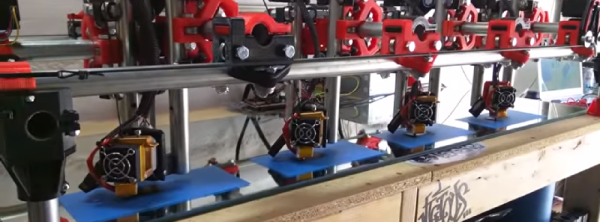
Some of the parts were sent off for laser cutting. Others were 3D printed. The rest he made himself. Thanks to his model, they all went together well. You can see his R/C rod racing in the video after the break.
Continue reading “R/C Hot Rod Built Completely From Scratch”
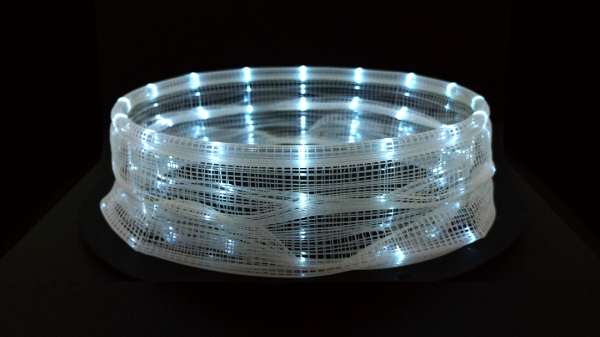
 “Slices” of that object, when illuminated by a thin shaft of light, reveal the figure’s pose at a particular moment in time. When the object is spun while illuminated in this way, the figure appears to be animated in a manner very similar to a