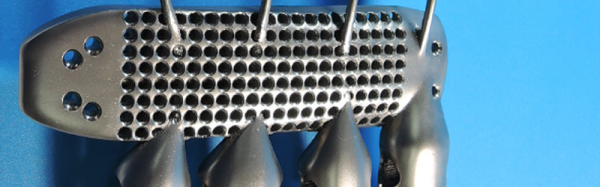
If you’ve ever tried to use a pen knife for anything other than cutting open a box or slicing material in one direction, you’ll know they really aren’t that ergonomic. When [Seamusriley] started Architecture school a few years ago he started on a journey — an epic journey to make the perfect pen knife handle.
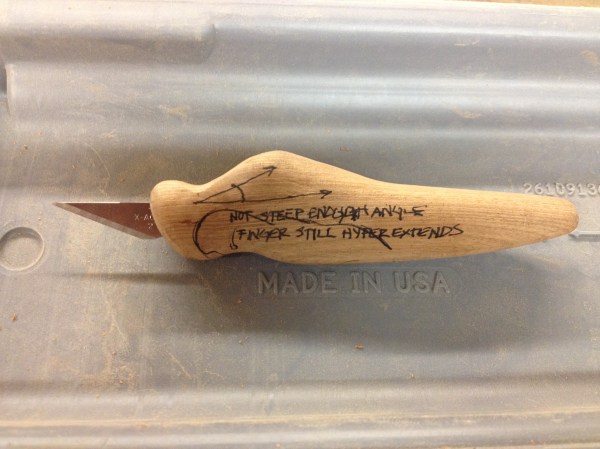
He started by analyzing existing handles — the biggest problem with them is the skinny pen shape causes hyper-extension of the first joint in your index finger, so once he identified that as the root cause he started crafting a more ergonomic version. He started out with foam, then up to wood carved by hand, then 3D printing, and back to wood — but this time, with a CNC machine. Literally dozens of prototypes later, he’s come up with a very nice pen knife handle, so much so, he was asked to present it around Boston at design events!
This is a great example of the hacker mindset — identifying a problem, trying out a solution, trying out another solution, trying out a solution… and then finally getting to a finished product. It’s the tenacity that keeps us going which rewards us in the long run.
[via r/somethingimade]