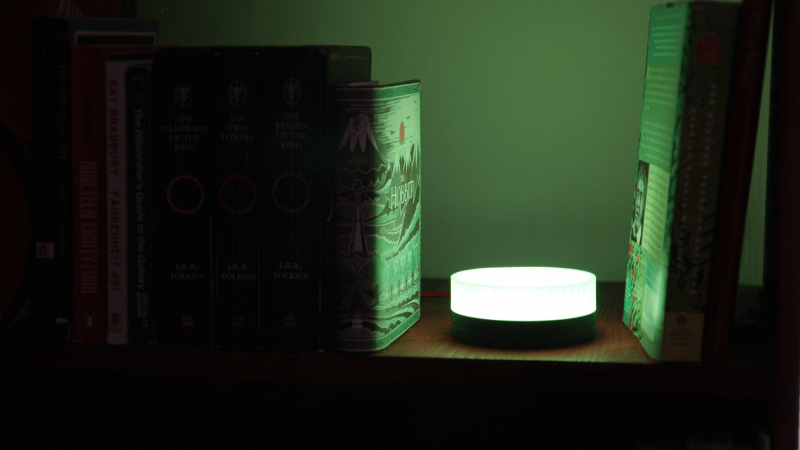
While there is a time and place for wirelessly controlled devices, sometimes you want something you can just reach out and touch to interact with, no apps to install or devices to configure. In this case [John] wanted a lamp that was just that. Drawing inspiration from the rotary phone, he created the LightComposer.
This small lamp, just a bit smaller than a hockey puck, uses a 3D printed enclosure and a straightforward PCB. It’s a very accessible project to recreate. The 3D prints are well thought out including a TPU ring on the bottom to keep the lamp from sliding around. The light source comes from 32 SK6812 LEDs, which are very similar to NeoPixels. An ATmega328P microcontroller powers the project and can easily be programmed using the Arduino IDE. A rotary encoder in the center, coupled to the top diffuser, lets you control LED brightness and color by turning it. The firmware also includes some fun hidden light-effect modes.
Head over to [John]’s site for all the files needed to make your own LightComposer, or links to buy a premade one. What devices have you made that use a straightforward physical user interface in lieu of an app? Be sure to check some of the other lamp builds we’ve featured before.
For many of us, when we think of creating a custom enclosure, our minds immediately go towards our 3D printer. A bit of time in your CAD program of choice, and in an hour (or several), you’ve got a bespoke plastic box. A hacker’s dream come true.
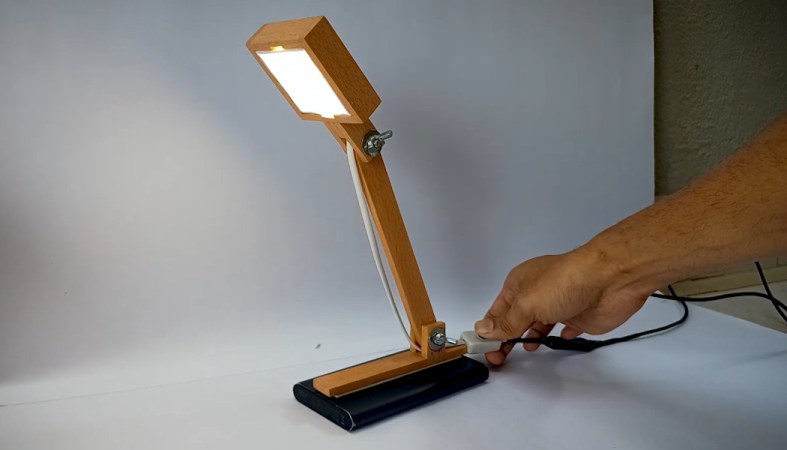
But extruded plastic is hardly perfect. For one thing, you might want a finished piece that looks a little more attractive on your desk. Which is why we appreciate this quick hack from [Tilma]. When faced with a broken LED light and minimal equipment, he decided to transplant the repaired electronics into a scratch-built wooden frame that not only looks better than the original, but is more functional.
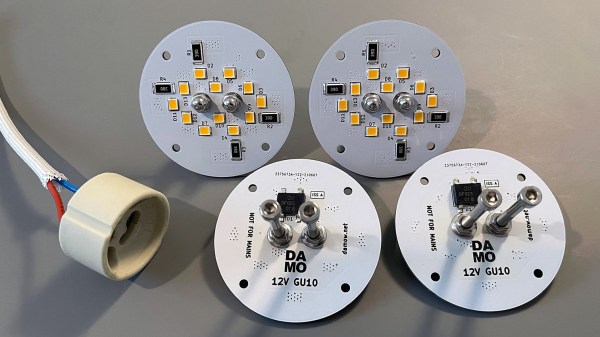
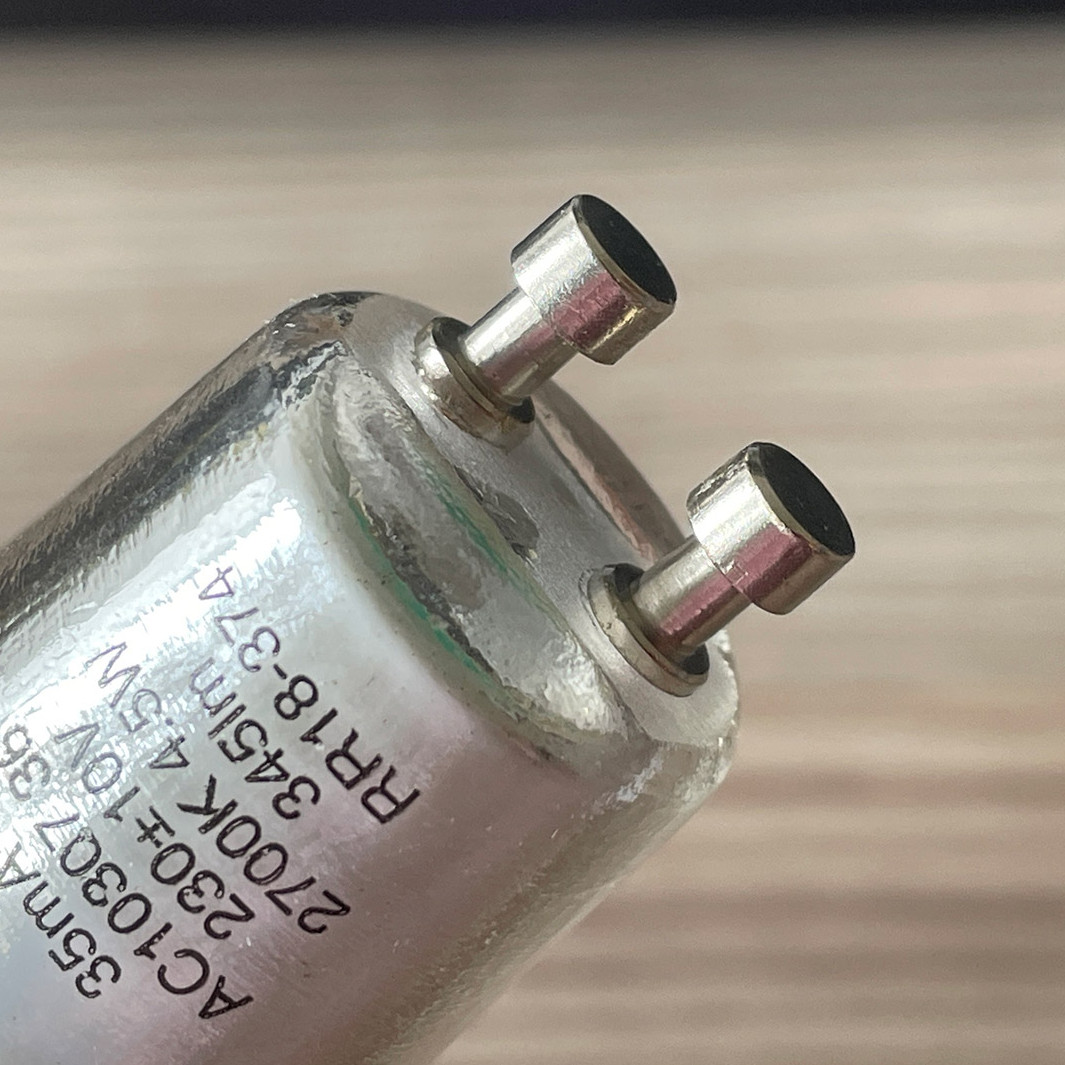
These GU10 bulb lugs are tough to buy in small quantities. Luckily, M3 socket head bolts are a near-perfect match.
Those distinctive lugs that twist into GU10 sockets? [Damo] simply couldn’t find anywhere offering to sell them in small quantities. So he did what any enterprising hacker would do and found a substitute that was both accessible and economical: M3 bolts. Apparently, socket-headed M3 bolts are pretty much identical in size to GU10 lugs. Who’d have thought?
[Damo]’s retrofit worked great, and thanks to M3 bolts he was able to re-use the existing weatherproof wiring and sockets in his yard. His design files are here on GitHub.
We do love using things for other than their intended purpose, but as [Damo] points out, GU10 sockets are normally connected to mains power. So if you decide to use his design (or use GU10 sockets for your own purposes), be aware that you’ll have hardware that looks interchangeable with other (mains-connected) sockets, but isn’t. Be mindful of that, and take appropriate precautions. Avoiding electrical oopsies is always worth putting effort into, after all.
Since the very beginning, the prevailing wisdom regarding consumer desktop 3D printers was that they were excellent tools for producing prototypes or one-off creations, but anything more than that was simply asking too much. After all, they were too slow, expensive, and finicky to be useful in a production setting. Once you needed more than a few copies of a plastic part, you were better off biting the bullet and moving over to injection molding.
But of course, things have changed a lot since then. Who could have imagined that one day you’d be able to buy five 3D printers for the cost of the crappiest Harbor Freight mini lathe? Modern 3D printers aren’t just cheaper either, they’re also more reliable and produce higher quality parts. Plus with software like OctoPrint, managing them is a breeze. Today, setting up a small print farm and affordably producing parts in mass quantities is well within the means of the average hobbyist.
Flickering LEDs provide a sense of motion
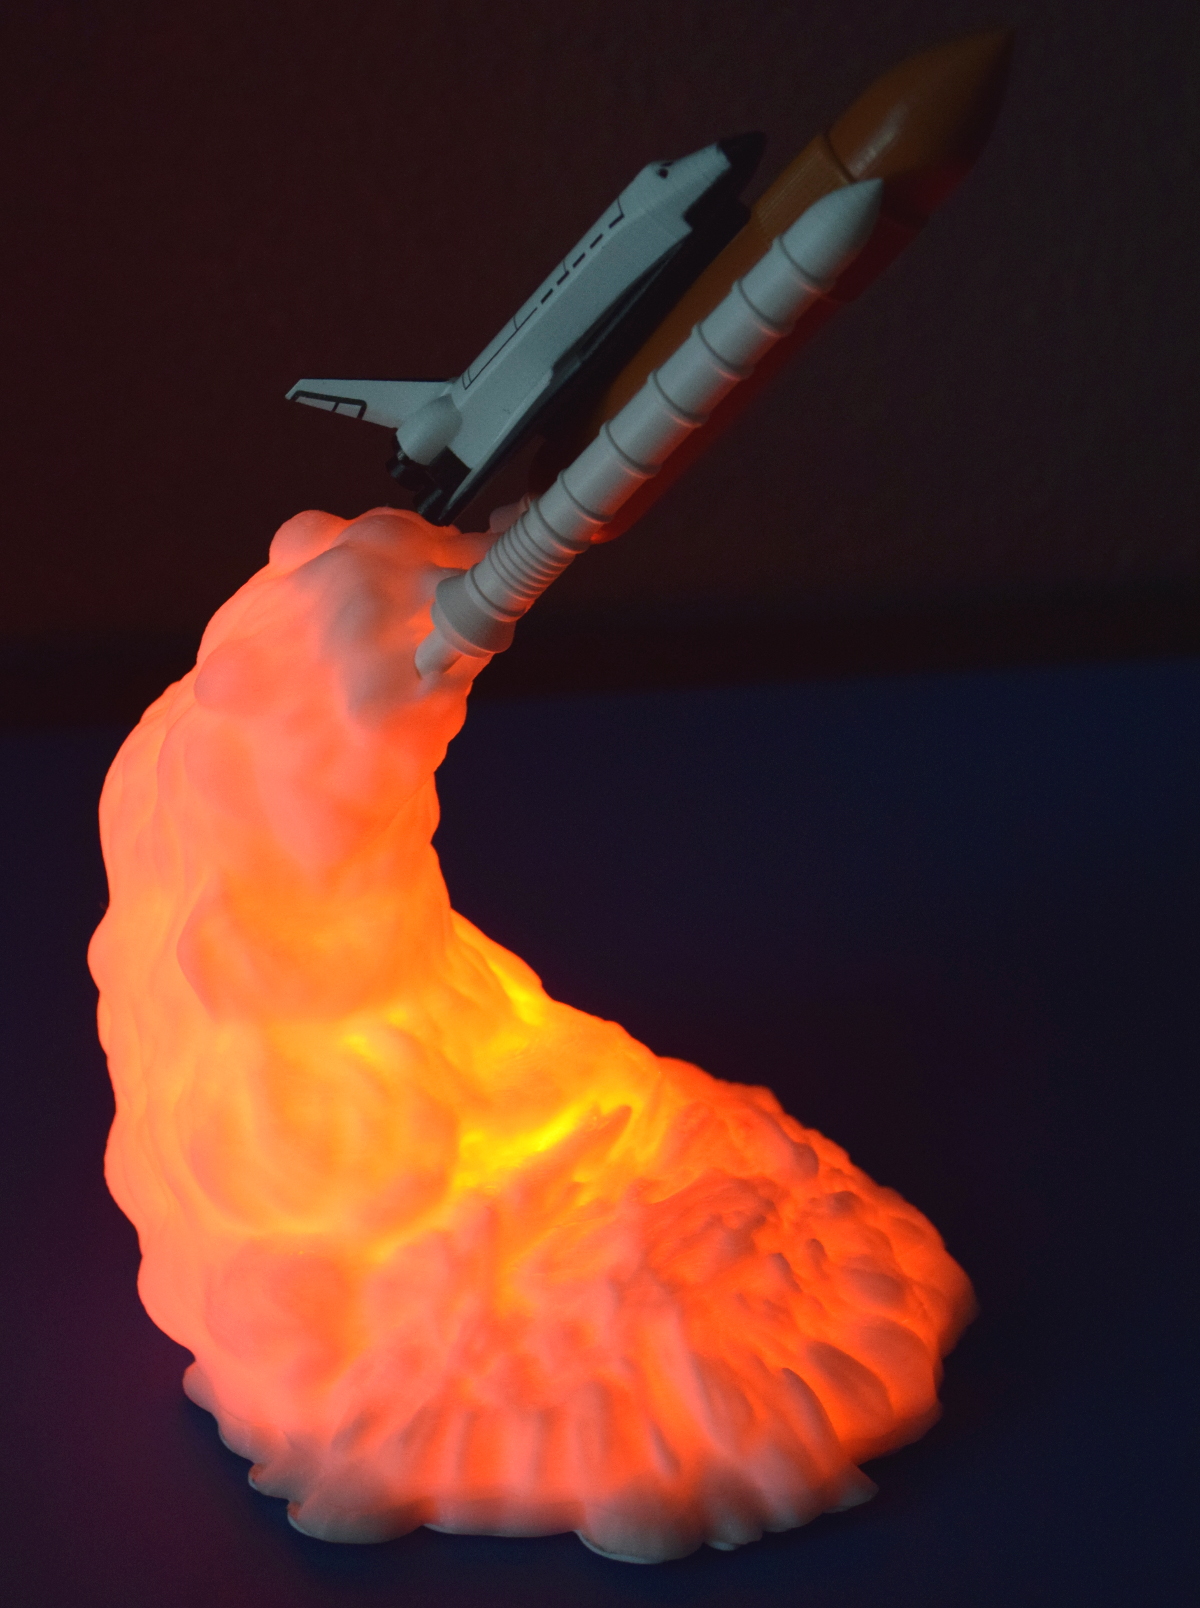
So perhaps I shouldn’t have been so surprised when I started seeing listings for these 3D printed rocket lamps popping up on eBay. Available from various sellers at a wide array of price points depending on how long you’re willing to wait for shipping, the lamps come in several shapes and sizes, and usually feature either the Space Shuttle or mighty Saturn V perched atop a “exhaust plume” of white PLA plastic. With a few orange LEDs blinking away on the inside, the lamp promises to produce an impressive flame effect that will delight space enthusiasts both young and old.
As a space enthusiast that fits somewhere in between those extremes, I decided it was worth risking $30 USD to see what one of these things looked like in real life. After waiting a month, a crushed up box arrived at my door which I was positive would contain a tiny mangled version of the majestic lamp I was promised — like the sad excuse for a hamburger that McBurgerLand actually gives you compared to what they advertise on TV.
But in person, it really does look fantastic. Using internally lit 3D printed structures to simulate smoke and flame is something we’ve seen done in the DIY scene, but pulling it off in a comparatively cheap production piece is impressive enough that I thought it deserved a closer look.
Now it’s always been my opinion that the best way to see how something was built is to take it apart, so I’ll admit that the following deviates a bit from the rest of the teardowns in this series. There’s no great mystery around flickering a couple LEDs among Hackaday readers, so we already know the electronics will be simplistic in the extreme. This time around the interesting part isn’t what’s on the inside, but how the object itself was produced in the first place.
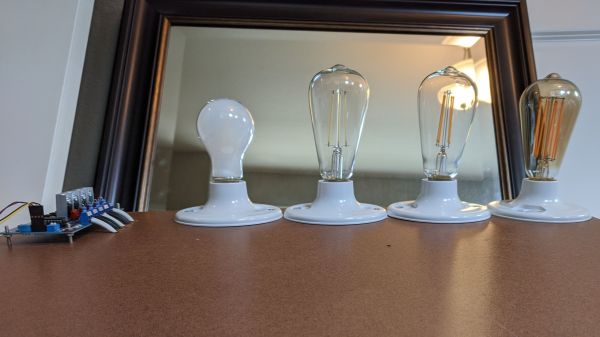
We consider ourselves well-versed when it comes to the technical literature plastered on hardware store parts. Acronyms don’t frighten us, and our Google-fu is strong enough to overcome most mysteries. One bit of dark magic we didn’t understand was the gobbledygook on LED lamps. Wattage is easy and color temperature made sense because it corresponds with warm and cool colors, but Color Rendering Index (CRI) sounds like deep magic. Of course, some folks understand these terms so thoroughly that they can teach the rest of us, like [Jon] and [Kevin], who are building a light controller that corrects inadequacies in cheap lamps by installing several lamps into one unit.
We learned a lot by reading their logs, which are like the Cliff Notes from a lighting engineer’s textbook, but we’ll leave it as an exercise for the students to read through. Their project uses precise light sensors to measure the “flavor” of light coming off cheap lamps so you can mix up a pleasing ratio. In some ways, they are copying the effects of incandescent bulbs, which emit light relatively evenly across the visible light spectrum, right into the infrared. Unfortunately, cheap LEDs have holes in their spectrum coverage, and a Warm White unit has different gaps compared with Daylight, but combining them just right gives a rich output, without breaking the bank.
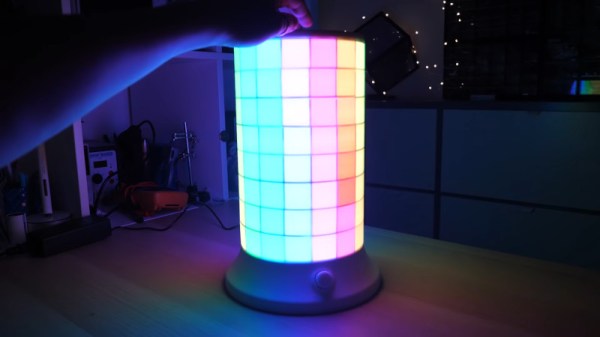
The lamp in question is the work of [Heliox], who knows her way around an LED or two (hundred). In this build, a string of WS2812 addressable RGB LEDs are hooked up to an Arduino Mega brain. The LEDs are fitted into a round lamp body, with a rectangular diffuser for each one. This creates an attractive pixellated effect and gives the animations a charming 8-bit quality. A thin outer shell is 3D printed in white plastic to further diffuse the light. The top of the lamp rotates an internal potentiometer to control mode selection. There’s also a brightness knob on the bottom if things get a touch too intense.
It’s a tidy build that uses 3D printing and addressable LEDs to quickly and easily create a lamp with a fun retro aesthetic. We could imagine this making a great piece for a hip sitcom apartment. We fully expect to see similar lamps on sale in the next couple of years. Video after the break.
Representing the weather on an LED lamp in a manner that’s easy to interpret can be difficult, but [Gosse Adema]’s weather/matrix lamp makes it not only obvious what the weather is but also offers a very attractive display. For rain, drops of light move downward, and for wind, sideways. The temperature is shown using a range of colors from red to blue, and since he is situated in the Netherlands he needed snow, which he shows as white. A rainy, windy day has lights moving both down and sideways with temperature information as the background.
To implement it he mounted LED strips inside a 3D printed cylinder with reflectors for each LED, all of which fitted into a glass cylinder taken from another lamp purchased online. The brains of it is a Raspberry Pi Zero W housed in the bottom along with a fan. Both the LEDs and the fan are controlled by the Pi. He took a lot of care with power management, first calculating the current that the LEDs would draw, and then writing Python code to limit that draw. However upon measurement, the current draw was much lower than expected and so he resized the power supply appropriately. He also took care to correctly size the wires and properly distribute the power with a specially made power distribution board. Overall, we really like the thorough job he’s done.