
In the dark ages, you had to use a key to lock and unlock your car doors. Just about every car now has a remote control on the key that lets you unlock or lock with the push of a button. But many modern cars don’t even need that. They sense the key on your person and usually use a button to do the lock or unlock function. That button does nothing if the key isn’t nearby.
[Pierre Charlier] wanted that easy locking and unlocking, so he refitted his car with a Keyduino to allow entry with an NFC ring. What results is a very cool fistbump which convinces your car to unlock the door.
Keyduinio is [Pierre’s] NFC-enabled project, but you can also use a more conventional Arduino with an NFC and relay shield. The demo also works with a smartphone if you’re not one for wearing an NFC ring. Going this round, he even shows how to make it work with Bluetooth Low Energy (BLE).
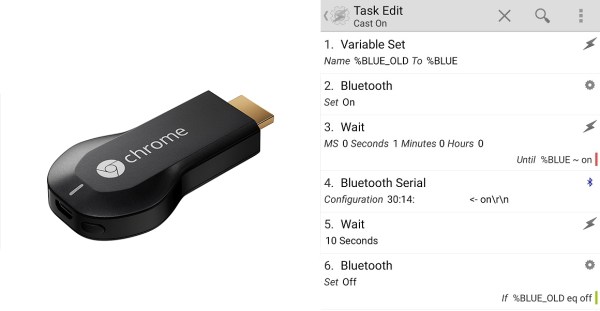
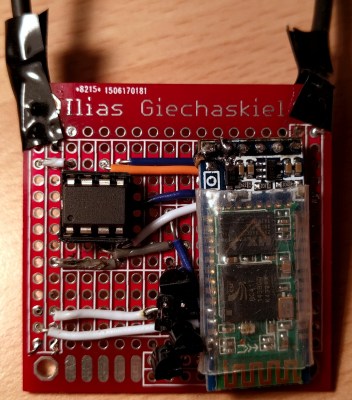 Now in all honesty, the Chromecast gets hot but the amount of power it draws when not in use is still pretty negligible compared to the draw of your TV. Every watt counts, and [Ilias] took this as an opportunity to refine his skills and combine a system using an Arduino, Bluetooth, and Android to create a robust power switch solution for the Chromecast.


