Recently, we sat down with [Federico Musto], CEO of Arduino SRL, for a chat about how the Italian Arduino firm was doing, what new products and projects they’ve got in the hopper, and what they’ve been up to for the last six months or so. It was high time!
Boards
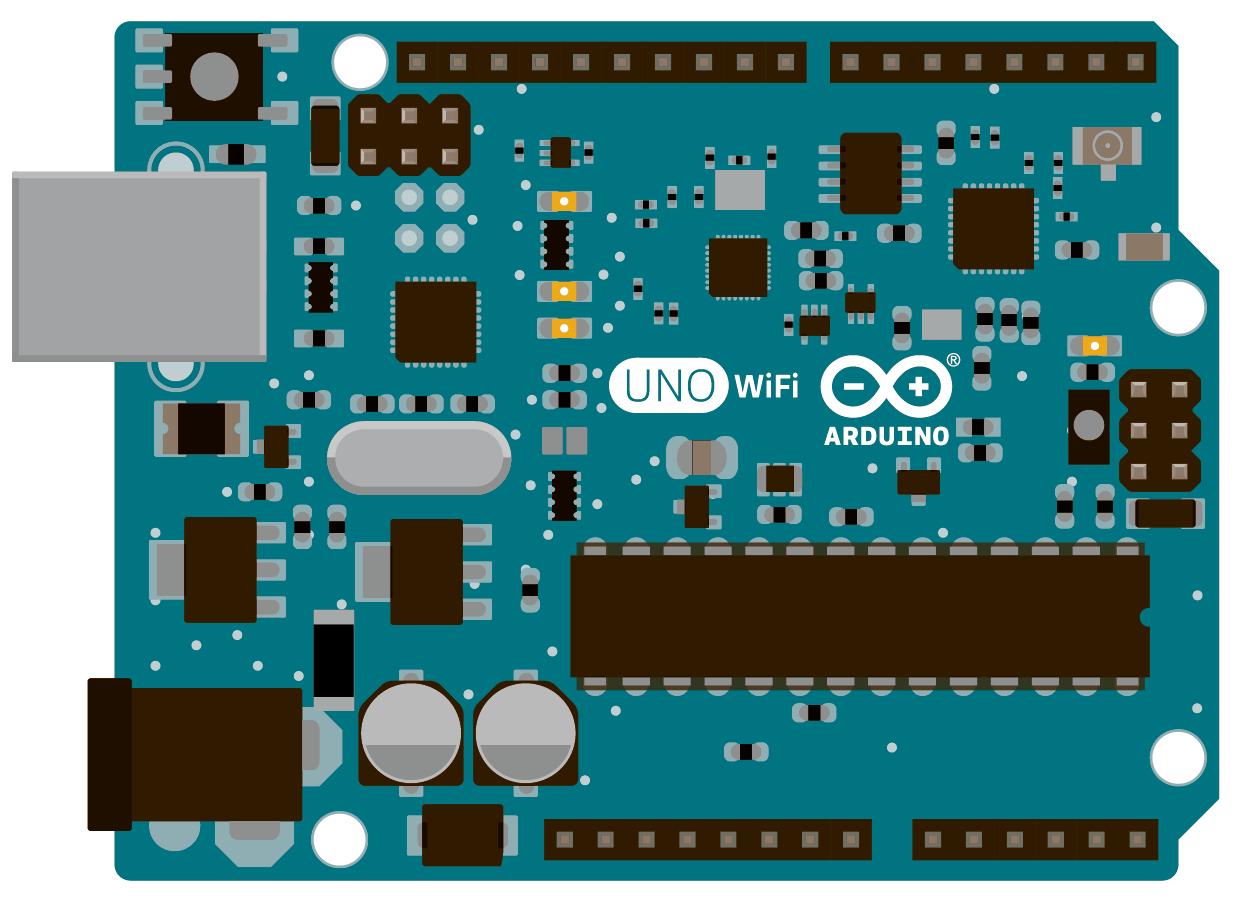
The big story from our meeting, that [Federico] actually hinted at before, is the release of the Uno WiFi. How many projects have you seen on Hackaday that are based on an Arduino Uno with an ESP8266 WiFi module plugged into it? A bazillion. The Uno and ESP8266 are like the peanut butter and jelly of the last few years’ hacker zeitgeist.
Uno WiFi
 The Uno WiFi, then, is the Goober Grape (not an endorsement, you consume this stuff at your own risk). Less poetically put, Arduino has soldered the ESP8266 onto the Arduino Uno for you: no fiddling around with modules and pin-headers necessary. It’s not a ground-breaking innovation, but this is the kind of smart, community-led development that we like to see. You wanted cheap and easy WiFi on your Arduino? You got it.
Indeed, since the Arduino Yun came out, a lot of hackers were using it as a simple way to get their Arduino onto a wireless network: IoT and all that. When the ESP8266 hit the scene, many thought that the Yun looked dead in the water: with the ESP chip, you could get WiFi on your Arduino for half the price. But some folks need the extra power, or would rather just program in Python. Think of all the simple IoT projects based on the Raspberry Pi, for instance.
With the addition of the Uno WiFi, both the simple IoT devices and the more demanding applications can stay within the Arduino family. Go with the Uno WiFi if you want something networked but simple that the standard AVR ATmega328 processor can handle easily. If you actually need the extra computational power and flexibility of an embedded Linux distribution in addition to the ATmega, go for the Yun. If the ATmega isn’t cutting it, or if you need more power or peripherals from the microcontroller side, the new Tian board with its ARM Cortex-M0+ will fit the bill. It’s actually a compelling range of products even if they are superficially similar.
Tian
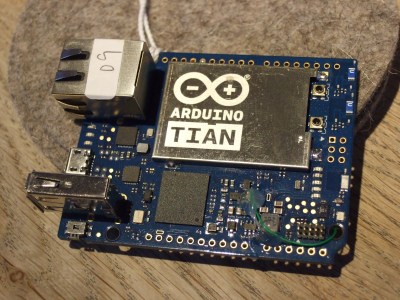 Which brings us to the Tian. The Arduino Tian is a neat new board, in our opinion. It’s got an integrated MIPS processor with 2.4 and 5GHz WiFi on board, as well as being able to do Bluetooth and Bluetooth LE. It runs faster than the Yun by a bit, and it’s got 4 GB of eMMC memory on-board so you don’t have to fool around with an external SD card as you do with the Yun or fruit-pastry Linux single-board computers.
We can’t decide if the Tian (or the Yun, for that matter) is a microcontroller with a Linux computer tacked on, or a Linux computer with a microcontroller to handle GPIO. Most of the applications that we’ve seen fit in with the former. We’d like to see more development on the Linux side, à la Raspberry Pi. In that light, we’re glad to see Arduino SRL continuing work on their Ciao library to help streamline communication between the microcontroller and the Linux box.
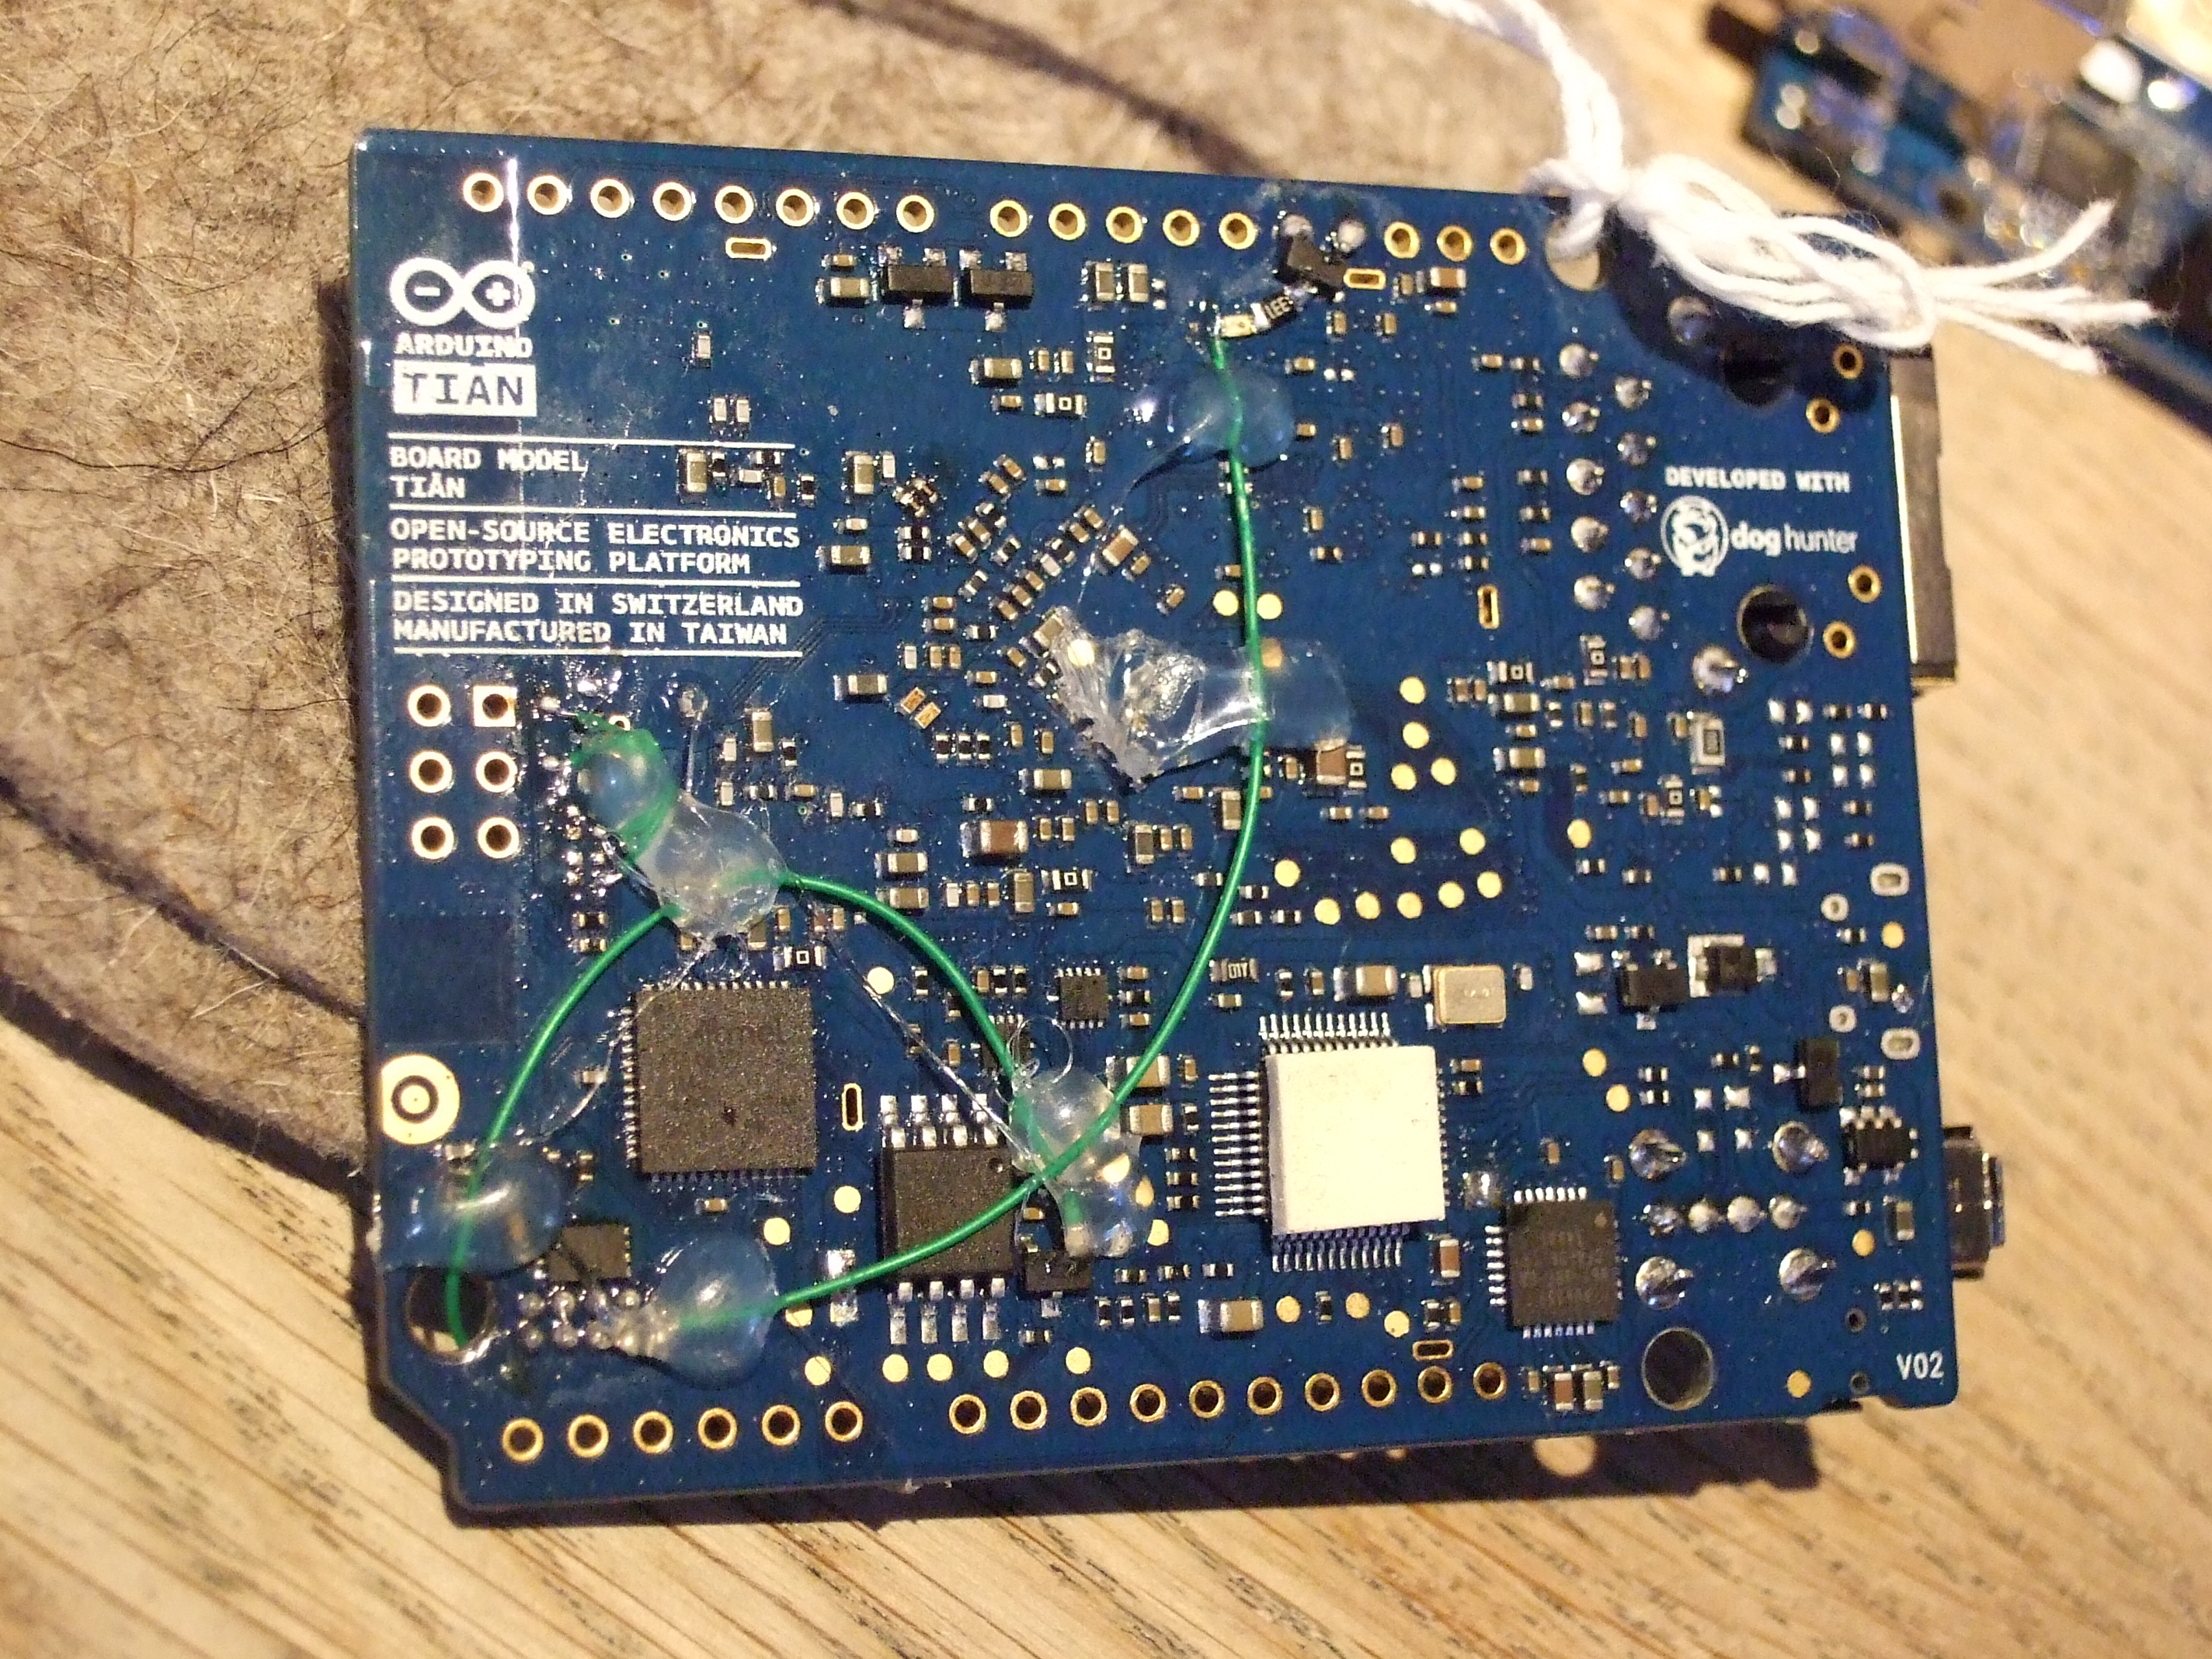
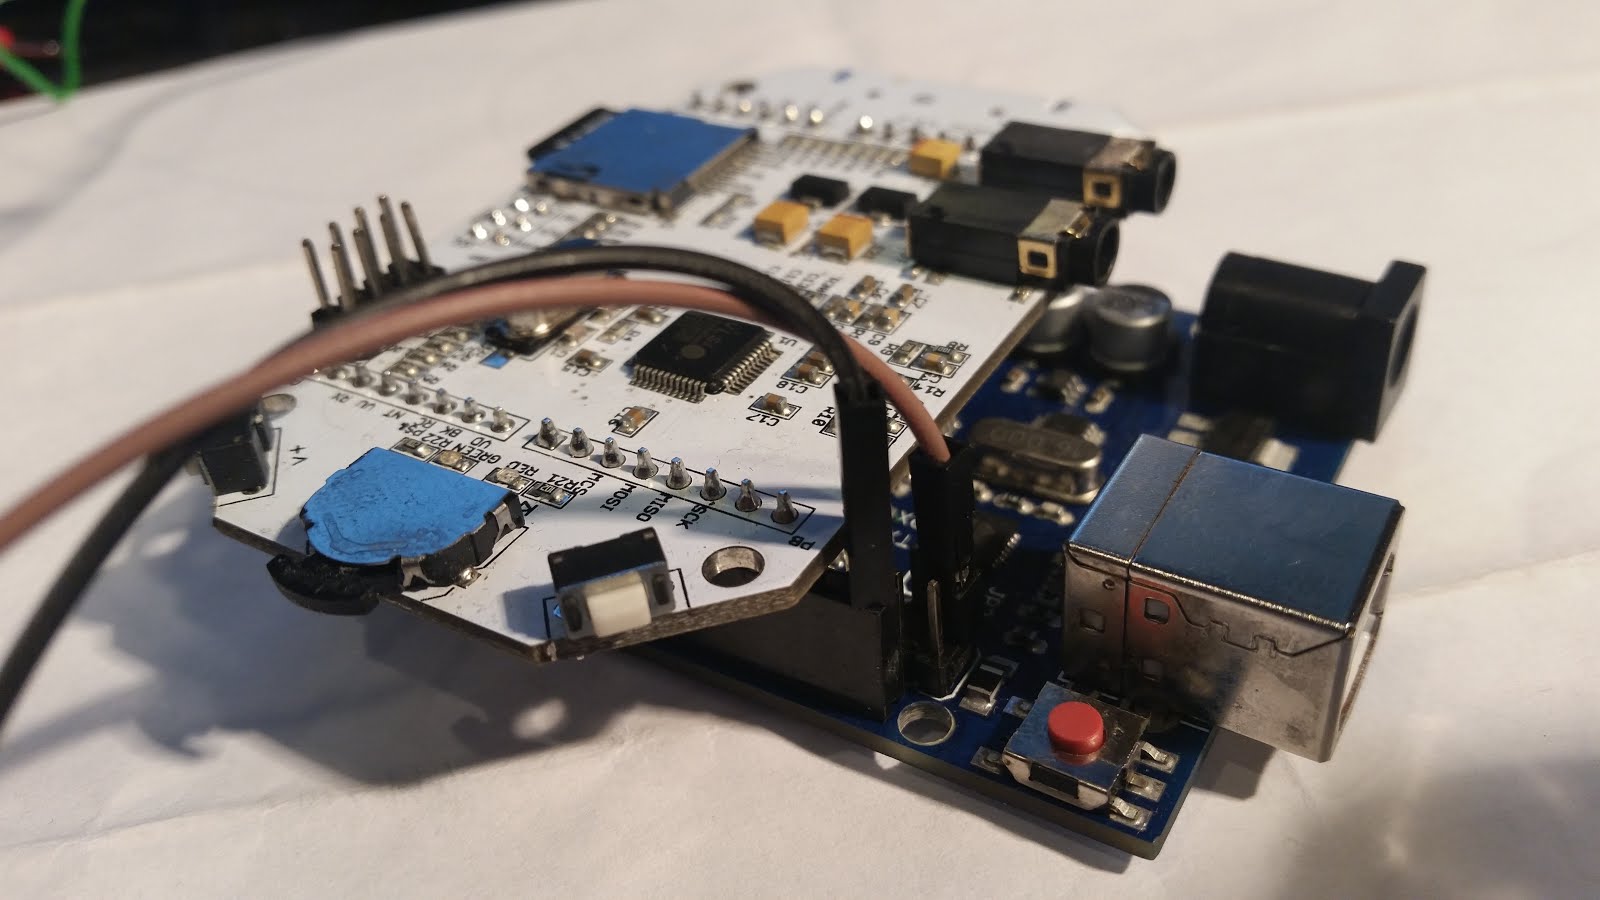
 One of the cool tricks that [Federico] showed with the Tian was the ability to control the Linux computer from the Cortex M0+ microcontroller. As you can see in this prototype, only a few green wires (and some hot glue) were needed to make it work. The production version of the Tian should have this functionality built in.
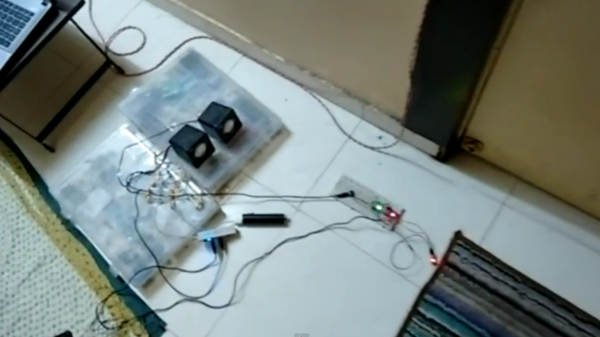
As a demonstration, we SSH’ed into the Linux side of the Tian and pressed a button connected to the M0+ microcontroller.
The Linux side shut down gracefully, and we later booted it back up again. This is a particularly cool trick because the Linux side, with its fast processor and WiFi, is a power hog. The M0+ and its associated circuitry, on the other hand, run on very little power and can be throttled back into sleep mode when not crunching numbers. Although the boot-up time for the Linux side means that you wouldn’t be turning it on an off every few minutes, the ability to get the combined system into a low-power state for longer periods of time vastly increases the scope of projects where the Tian would be useful. Cute hack.
The Tian has only been available for about a month now. Have any of you tried one out?
Other Boards
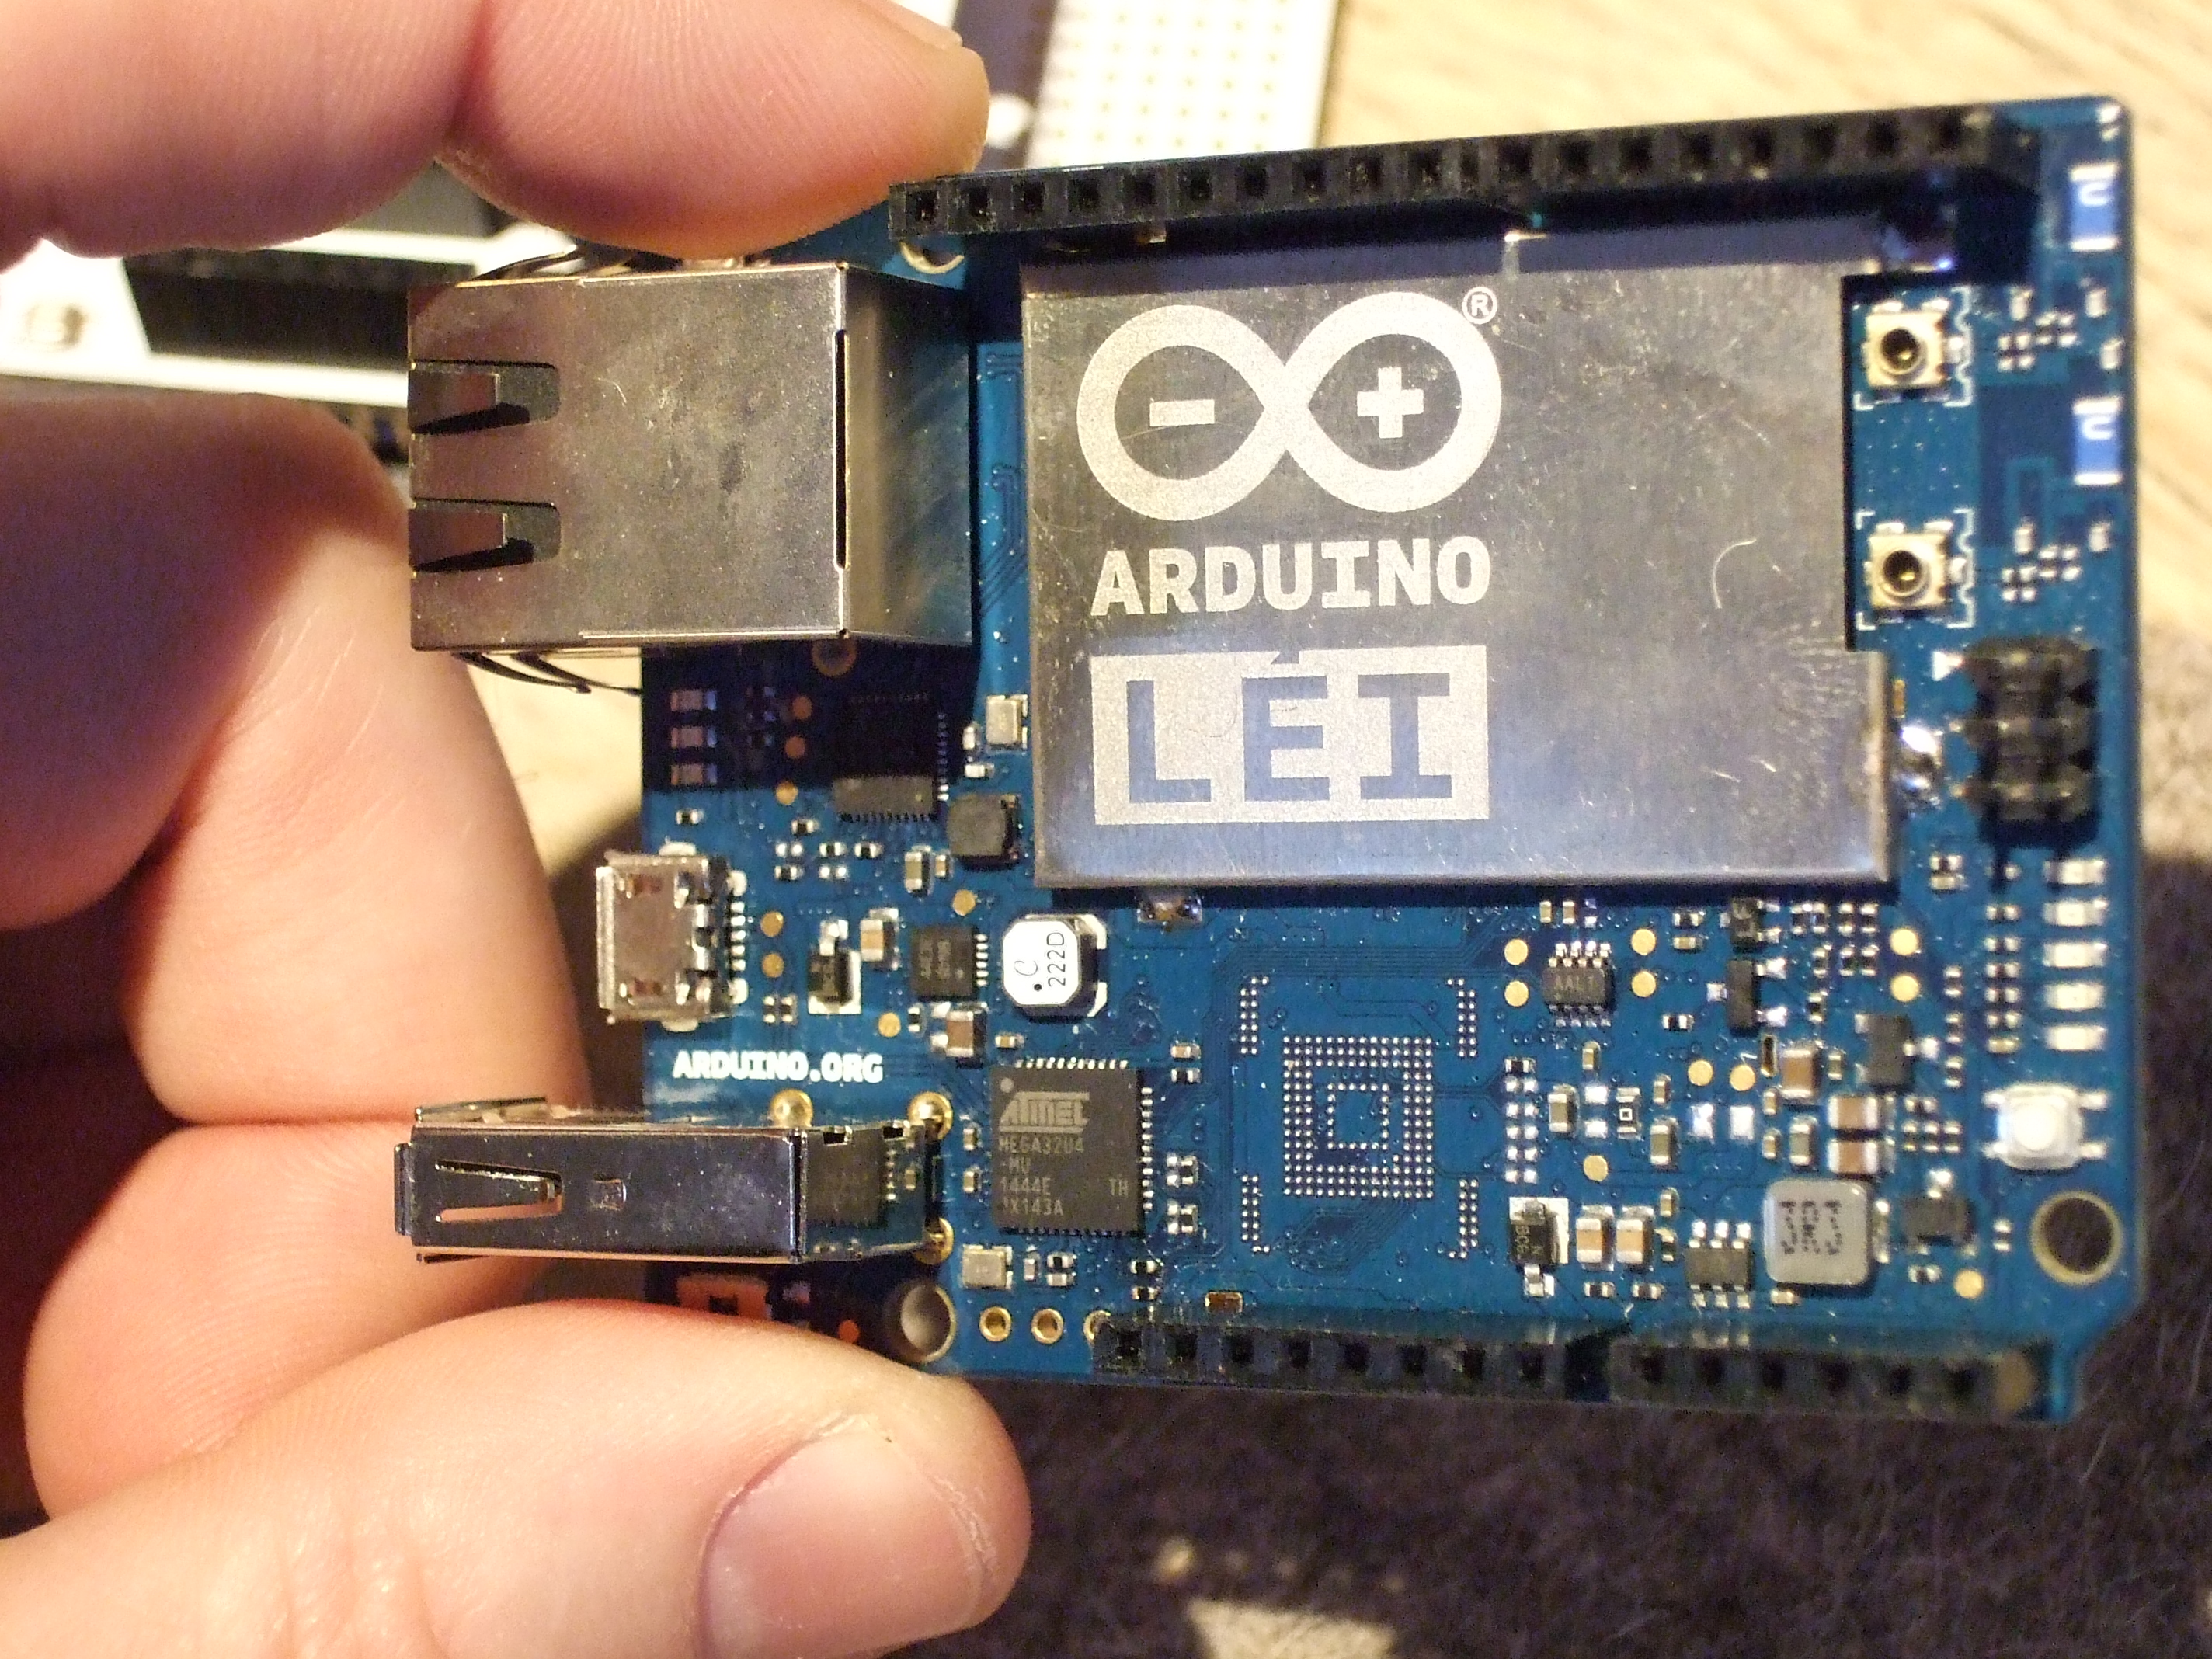
 [Federico] also showed us the Lei, which is a China-only Arduino board that combines the Tian’s Linux side with the Atmel ATmega part from the Yun, and has no onboard memory. It’s a cheaper hybrid between the two boards that [Federico] said wasn’t worth getting FCC certified for the US and the rest of the world. With the Yun and the Tian being so broadly similar already, we think that he’s probably right.
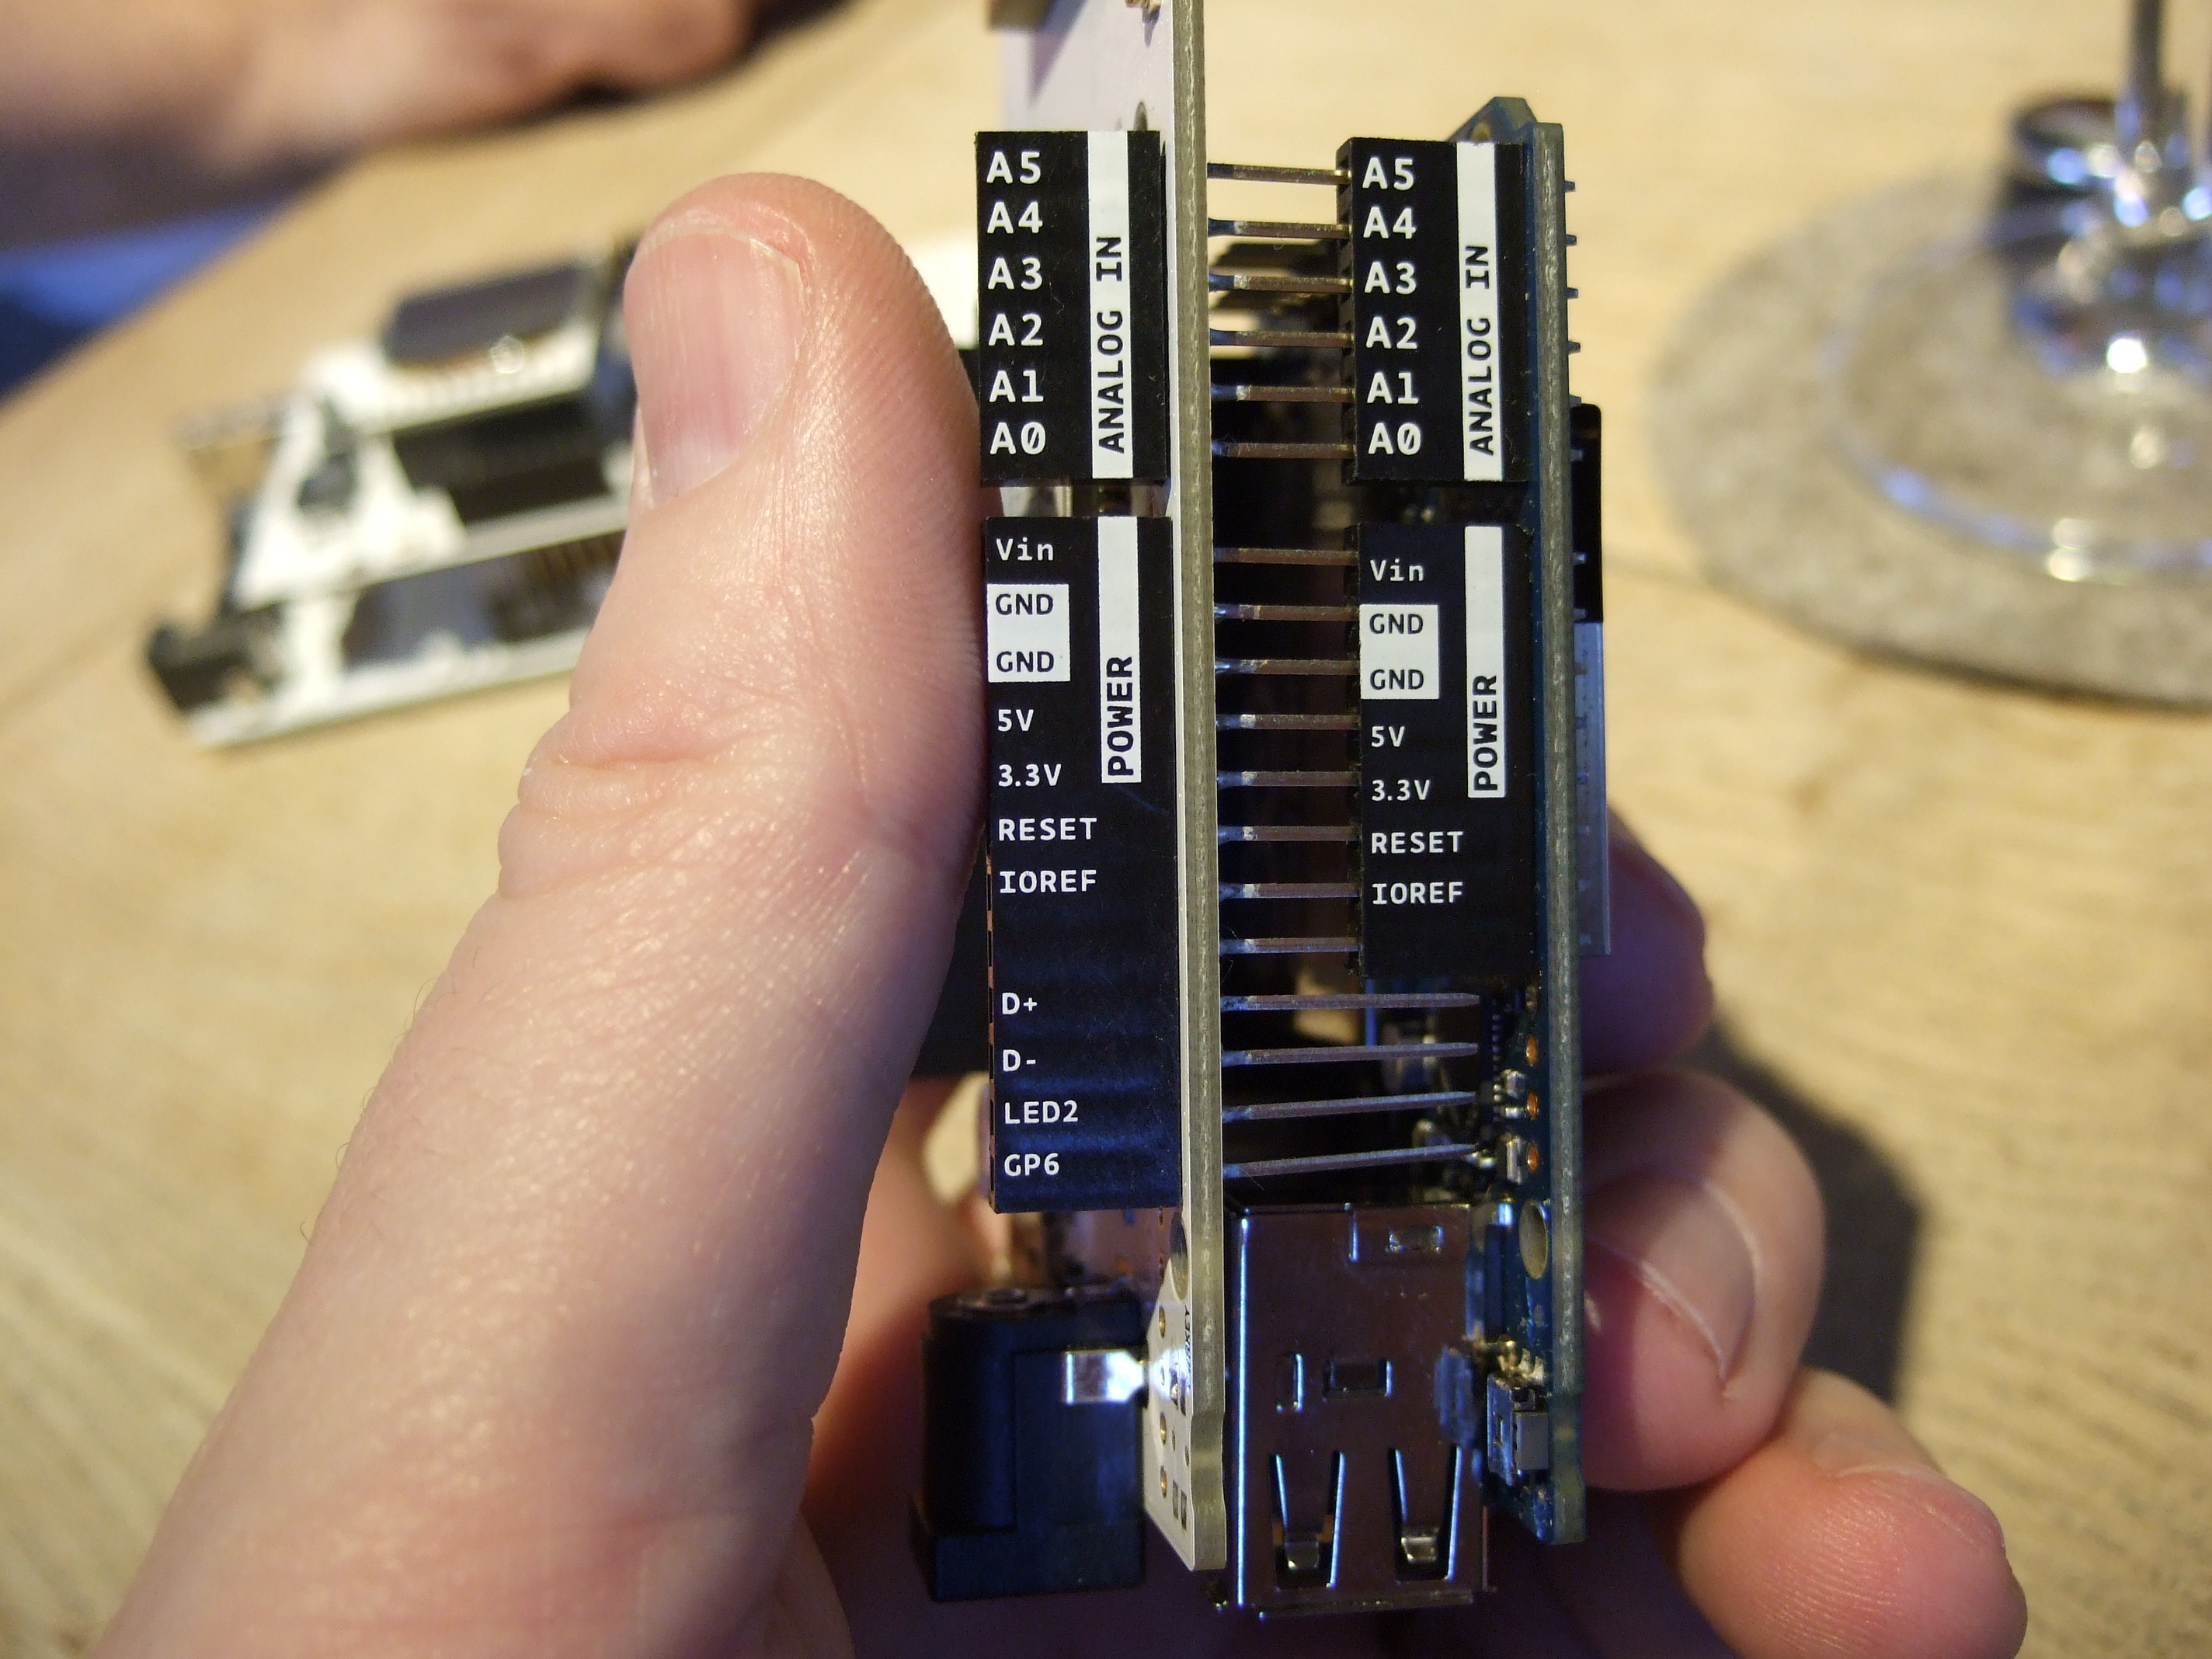
What the newest revision of the Yun, the Tian, and even the Lei have in common is that the microcontroller’s USB pins have been broken out to headers so that it could more easily be used as a standalone USB device. This gives even the cheapest boards in the family three ways to connect to USB — device mode through the microcontroller, and both host mode and USB OTG mode also through the Linux side. And it also enables shields, like this GSM shield below, to connect up to the microcontroller over USB. (Although the headers weren’t populated in this photo.)
 This photo also shows a cute touch in the physical design of all of the Arduino SRL boards. All of the pinouts are labelled on the side of the female headers. Although we’re sure that you diehard Arduino fans out there can tell your A0 from your A5 in your sleep, we think it’s great not to have to go running back to the datasheet to double-check.
And finally, [Federico] showed me some of the new development they’ve been making on the Industrial and the Industrial 101 demonstration board. The Industrial is essentially the same Linux side as in the Yun, just in a smaller stand-alone package. Pairing this up with the Industrial 101 board, with its ATmega32u4 gives you essentially a Yun, but with a few more pinouts. We’re not yet sure what to make of the module-style packages that we’ve seen from many firms of late — we think that they’re too fidgety for hobbyists, and easy enough to DIY for a firm that’s producing tens of thousands of units. We could easily be wrong.
Anyway, the fun part about the Industrial 101 board was showing off all of the special shields that Arduino SRL has designed to go along with them. Here’s an OLED screen and joystick combo, for instance.
Free Stuff
If you’re interested in the Uno WiFi, you should probably check out the Arduino Christmas Challenge that’s going on through January 31st. If you enter a project on GitHub and register with Arduino, you stand a decent chance of winning a free Uno WiFi in January. (For what it’s worth, Arduino LLC and Microsoft are doing something similar. We’re not picking sides, just pointing out how to get free boards.)
IDE Developments
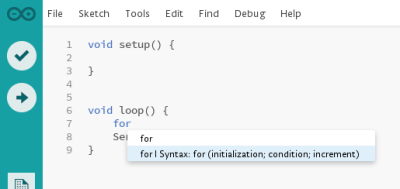 We’d seen the new(ish) Arduino Studio development environment before, but it only just now made sense to us. Sure, it’s great to have a better editor than the old Java-based one. We’ve all been whining about the lack of code completion and so forth. The new editor environment, based on Adobe’s open-source Brackets editor is a huge step forward. But we’ve got a further direction that we’d like to see Arduino SRL take this, and the fact that the new editor is written in client-side Javascript is a big help.
The Yun, the Tian, and the China-only Lei boards all feature an OpenWRT-based Linux distribution onboard as well as WiFi connectivity. They also managed to get the entire GCC compilation chain compiling natively on the MIPS cores. It shouldn’t be too much more work to get a cross-compiler for the microcontroller up and running on the Arduino’s Linux side. Once that happens, you could compile and flash code onto the microcontroller entirely from within the Yun or Tian. Add in a nice, browser-based graphical editor, and you have a recipe for a self-contained development environment.
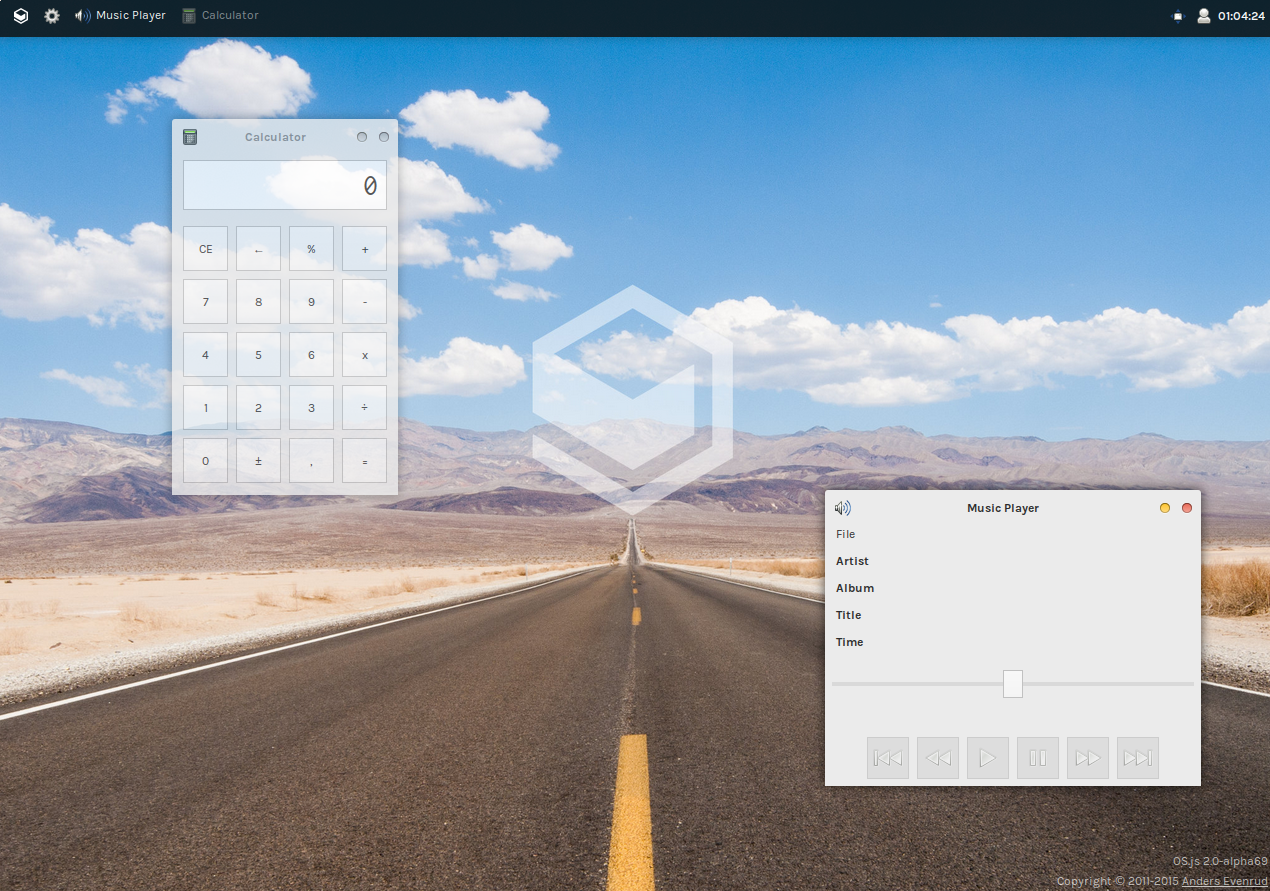
 And [Federico] demoed some more tricks that point obliquely toward this future of Arduino-hosted Arduino development: we connected over the public Internet to an Arduino Yun in their R&D labs in Sicily that was serving an Arduino-branded version of OS.js, an “operating system” written in Javascript that runs in the client’s browser. Coupling something like OS.js to their Javascript-based Studio, running a cross-compiler on the Arduino’s Linux side would put the last pieces together to enable you to write, debug, and flash microcontroller projects completely on the Yun or Tian, without installing anything on your laptop other than a browser. The Arduino could become its own self-contained toolchain. How neat would that be? We hope we’re right.
Foundation and Stores
After months of legal work and lining up partners, Arduino SRL recently announced the formation of the Arduino Foundation. The Foundation is a non-profit that aims to give out Arduino boards and materials to schools and communities that might not have the resources to do so themselves, and also simply to give back to the Arduino community. In fact, the Uno WiFi Christmas challenge we mentioned above is sponsored by the Foundation.
 We’d like to see the Foundation figure out how to reward the people who wrote popular Arduino libraries. In our mind, the success of Arduino is largely due to the enthusiastic and talented pool of coders who’ve written diverse libraries that support every kind of hardware peripheral known to man. There’s a million projects out there that simply use a Dallas one-wire temperature sensor or an RFM12B radio, and every one of them owes the coders who wrote the initial libraries a big debt. It’d be neat if the Arduino Foundation could find a way to pay some of this debt back. And from talking with [Federico], paying the community back is one of their main goals.
Arduino SRL has also thought about how to connect up better with the people making hardware that goes along with their boards — the shield-makers out there. [Federico] said that they’d open up their first brick-and-mortar Arduino store in Berlin any day now. The plan is to have a section of the store dedicated to community projects, giving the people who make shields and other add-ons a place to have their wares seen and sold. It’s also a clever way for the Arduino company to connect closer with the people who are doing the most innovative work in the Arduino ecosystem, so we think it’s a win all around.
Legal
And finally, we couldn’t talk Arduino without asking about the legal situation. Although everyone’s lawyers have been busy, [Federico] told me that there’s not much news on the trademark court cases since the last time we talked.
In Italy, and presumably the rest of the world outside of the USA, it’s all over but the shouting. It looks very likely that the court will rule for Arduino SRL, because Italy and Europe has a very straightforward trademark law — the company to file first essentially gets the trademark. And that was Arduino SRL.
Only in the USA is the situation more complicated, both because Arduino LLC filed first, and because it’s possible that Arduino SRL will demonstrate that they were producing boards with the Arduino name on them before Arduino LLC was even incorporated. We’re not lawyers, but this case certainly looks like it could go either way to us. And the US case is not likely to be settled until the summer of 2016, though, so don’t hold your breath.
Wrapup
Maybe 2015 will be remembered as the year of the dueling Arduinos, but we’re hopeful that instead it will be remembered as a year in which a bunch of new and improved Arduino hardware got released. From Arduino LLC, we’ve seen further collaborations with Intel. Arduino SRL has stayed true to their Linux and WiFi roots, coming out with the Tian, Industrial, and the Uno WiFi and continuing work on their operating system and the microcontroller interfacing. All in all, it’s been a good year for Arduino.
We’ve already hinted at some of what we’d like to see on the Arduino scene next year. What do you want to see for 2016?

 running a calculus function on an Arduino presents a seemingly impossible scenario. In this article, we’re going to explore the idea of using derivative like techniques with a microcontroller. Let us be reminded that the derivative provides an instantaneous rate of change. Getting an instantaneous rate of change when the function is known is easy. However, when you’re working with a microcontroller and varying analog data without a known function, it’s not so easy. Our goal will be to get an average rate of change of the data. And since a microcontroller is many orders of magnitude faster than the rate of change of the incoming data, we can calculate the average rate of change over very small time intervals. Our work will be based on the fact that the average rate of change and instantaneous rate of change are the same over short time intervals.


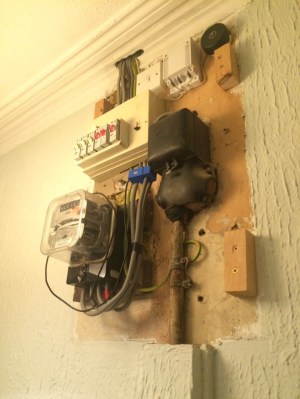 Looking at the “before” pictures on [John]’s blog, we can see why he’d want to invest the effort – not exactly an attractive way to greet guests at the front door. A simple wooden box to replace the previous cover would have sufficed, but why pass up the opportunity to add value? [John] opted for a Nixie tube display to complement the glass of the electric meter. The Nixie modules were a bit on the pricey side, though, so with only a pair of tubes to work with, [John] came up with a clever system to indicate the scale of the display. We doubt he’ll ever see megawatt-level instantaneous power draw, but the meter is also capable of totalling energy use, and as a bonus an ESP-8266 gives lets him stream data to the web.