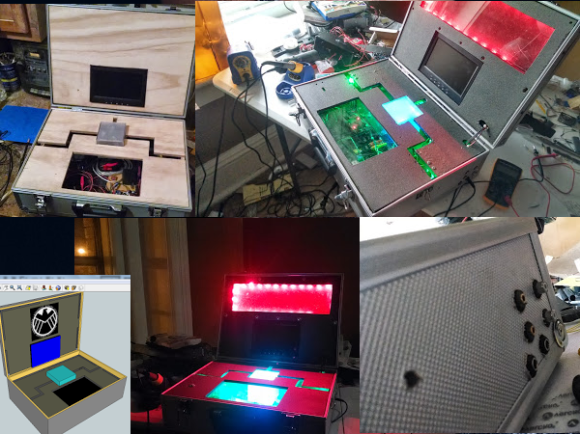
[Dustin Evans] is a big fan of the recent Avengers movies — heck, we are too! So he decided to make this awesome Tesseract Case prop replica!
Tesser-what? A tesseract, or cubic prism is a geometric shape that is technically a four-dimensional hypercube — in the Avenger’s movie, it is an incredibly powerful and unstable alien energy source.
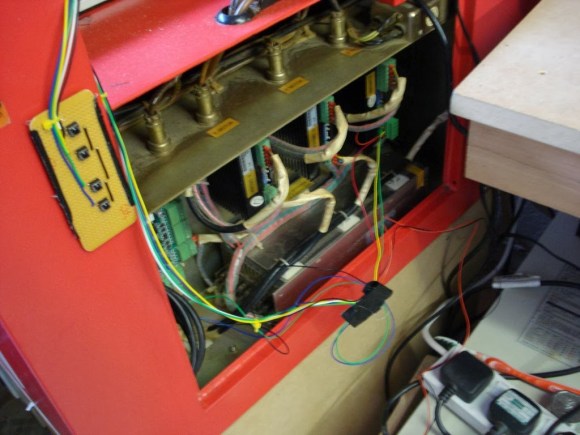
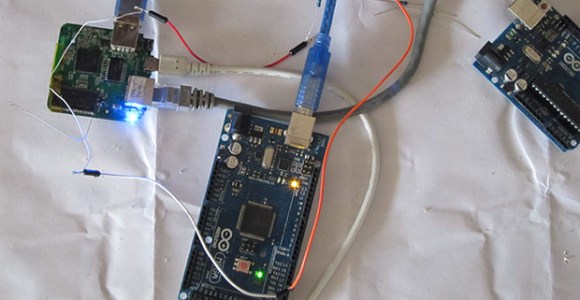
To make the replica, [Dustin] picked up a cheap aluminum tool case from the hardware store, took some measurements and began designing the inside of it using SketchUp. He’s crammed in an Arduino with a spectrum shield, a BlueSmirf Bluetooth modem, a Raspberry Pi, a 7″ LCD, speakers and an amp, a WiFi card for the Pi, and a few strips of Neopixels. It is running Raspbian with a stand-alone version of XBMC, which means using AllCast he can wirelessly control the box from a phone or tablet — now all he’s missing is a mini-generator that can put out a few million watts!
Continue reading “Prop Replica Tesseract Case Has Some Serious Tech Inside”

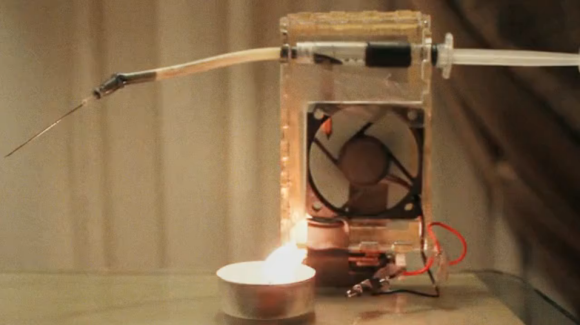 [Anirudh] and his friends were sitting around reminiscing about India. In particular, they recalled riding around in auto-rickshaws in stifling heat, watching their skin turn black from the exhaust. They started thinking about all of the soot and pollution in crowded cities the world over and wondered whether the stuff could be re-purposed for something like printer ink. That’s how they came up with


