Have a significant other that isn’t the best at picking up the phone? [Aaron] was having a hard time reaching his wife, so he hacked up a solution. The Moshi Moshi detects calls from [Aaron], and plays music to get her attention.
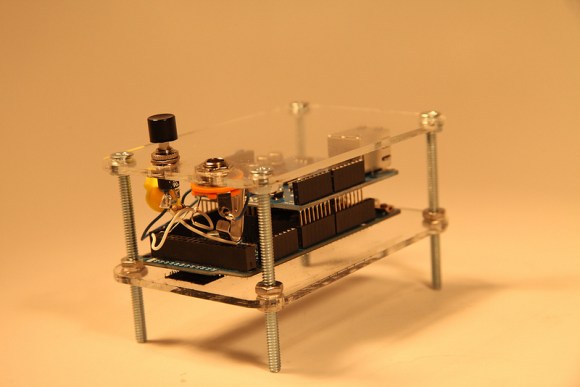
A remote server running Asterisk picks up the call and uses a Ruby script to log the call. Every ten seconds, an Arduino Due with an Ethernet shield polls a Sinatra web server to see if a call has arrived. If a new call has come in, a music loop is played. Getting the Due to loop audio was a bit of a challenge, but the end result sounds good.
Quite a bit of tech is brought together to make the Moshi Moshi, and all the code is provided in the write up. This could be helpful to anyone looking to combine hardware with the Asterisk PBX. After the break, [Aaron] shows us how the system works.
Continue reading “Get Phone Calls Answered With The Moshi Moshi”