We’ve seen Arduino-powered Twitter machines, and even some that can send text messages, but how about one that’s a video phone? That’s what the guys over at Cooking Hacks put together with their very impressive 3G Arduino shield.
On board the shield is an internal GPS receiver, microphone, speaker, 3G module, and a camera sensor with VGA resolution. The 3G module is able to act as a 3G modem via a USB connection, allowing any computer to take advantage of wireless Internet with a SIM card.
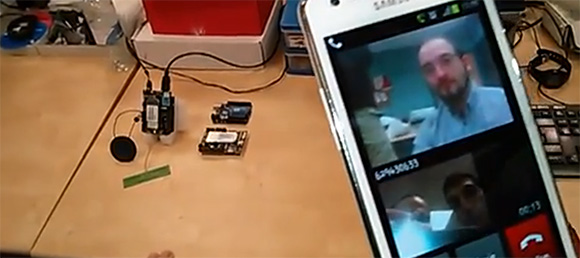
While in their tutorial the guys use a terminal running on their computer to send AT commands to place a call, it’s possible to simply put all that info in a sketch making for a small, battery-powered video link straight to your cell phone. Seems like the perfect piece of hardware for a wireless, 3G-enabled video feed for a robot. You can check out the video from their tutorial after the break.