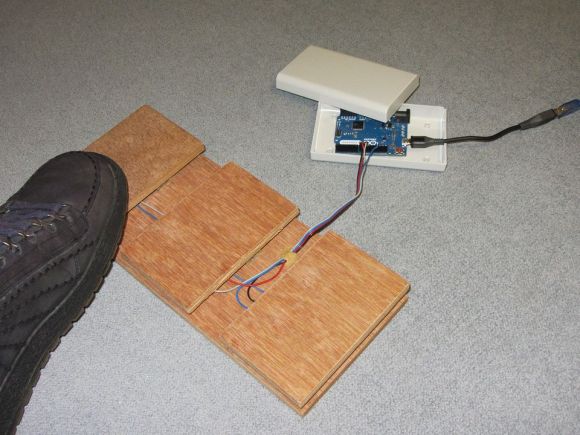
Your hands do a lot of work between the keyboard and the mouse, why the heck are you letting your feet be so lazy? [Dossier van D.] is putting an end to the podiatric sloth. He built this set of three foot pedals which have gone through two versions of functionality.
The buttons themselves are made from a base plate of plywood with a smaller piece on top for each ‘key’. The two parts are separated with some foam carpet pad, with a tactile push button in between to register a click. The only thing we’d change about this is adding a couple of wooden spacers next to the switch so that accidentally sanding on a button doesn’t break that electronic component.
Originally each button was soldered to a gaming controller. This worked just fine using button mapping, but recently [Dossier] made the switch to using an Arduino Leonardo. This is a perfect choice. Unlike input devices made with older Arduino versions the Leonardo board can natively register as a keyboard, making it a snap to programmatically map any key to the switches.
If you like this project you should check out [Dossier’s] foot mouse as well.

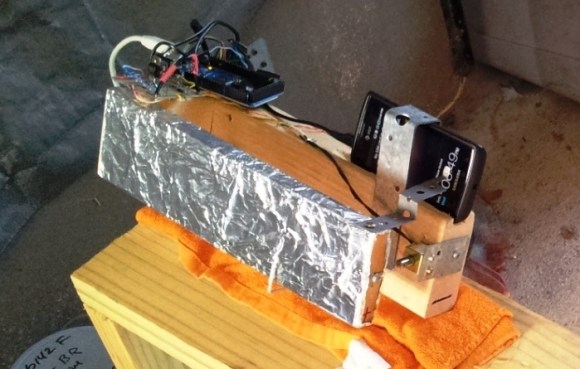
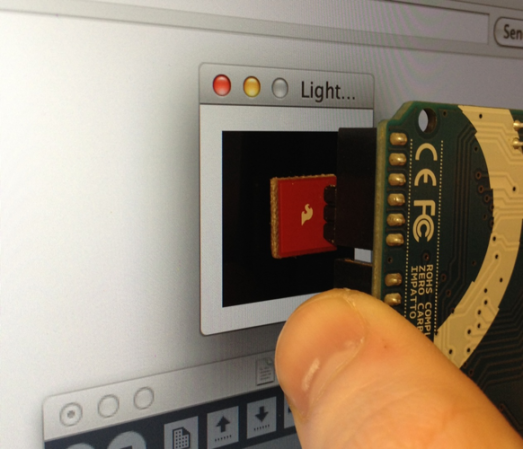 We love the concept of using an LCD screen to transfer data. The most wide-spread and successful method we know of is the combination of a QR code and the camera on a smart phone. But for less powerful/costly devices data can be transferred simply by flashing colors on the screen. That’s what [Connor Taylor] is testing out with this project. He’s using