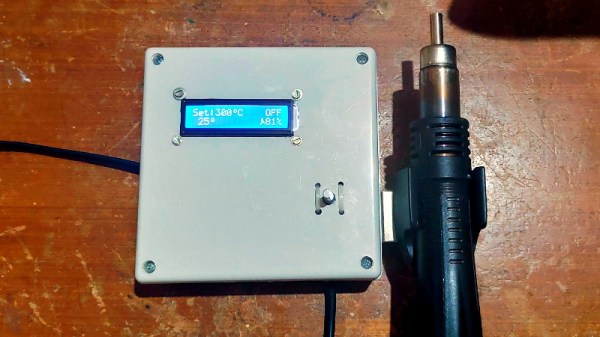
In general, the cost of electronic components and the tools used to fiddle with them have been dropping steadily over the last decade or so. But there will always be bargain-hunting hackers who are looking to get things even cheaper. Case in point, hot air rework stations. You can pick up one of the common 858D stations for as little as $40 USD, but that didn’t keep [MakerBR] from creating an Arduino controller that can be used with its spare handles.
 Now to be fair, it doesn’t sound like price was the only factor here. After all, a spare 858D handle costs about half as much as the whole station, so there’s not a lot of room for improvement cost-wise. Rather, [MakerBR] says the Arduino version is designed to be more efficient and reliable than the stock hardware.
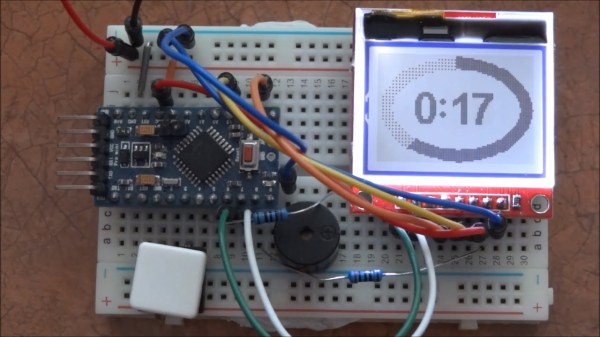
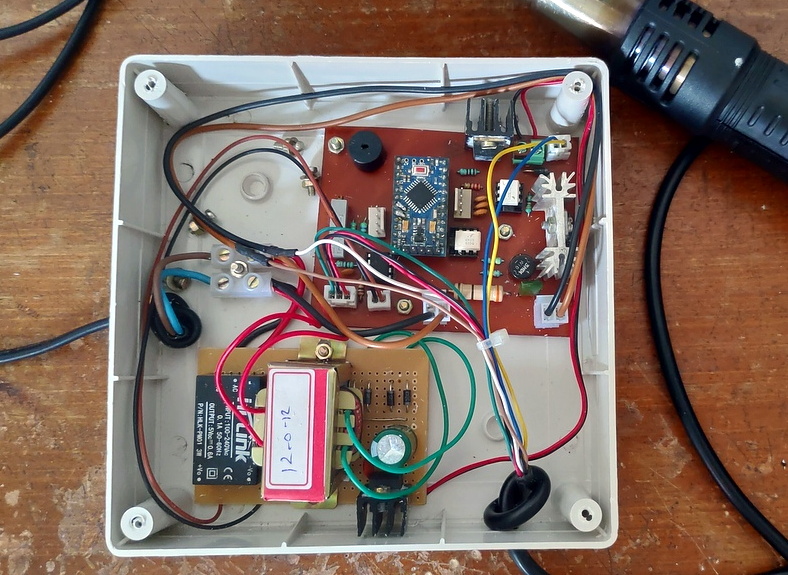
The seven wires in the handle connector have already been mapped out by previous efforts, though [MakerBR] does go over the need to verify everything matches the provided circuit diagrams as some vendors might have fiddled with the pinout. All the real magic happens in the handle itself, the controller just needs to keep an eye on the various sensors and provide the fan and heating element with appropriate control signals. An Arduino Pro Mini is more than up to the task, and a custom PCB makes for a fairly neat installation.
This isn’t the first time we’ve seen somebody replace the controller on one of these entry-level hot air stations, but because there are so many different versions floating around, you should do some careful research before cracking yours open and performing a brain transplant.
Continue reading “An Arduino Controller For Hot Air Handles”