Touch screen head units are pretty much the norm these days. Many compromise with annoying on-screen volume controls or tiny buttons. If you find yourself with such a unit, you might like to hack in a real volume knob. [Daniel Ross] shows us how to do just that.
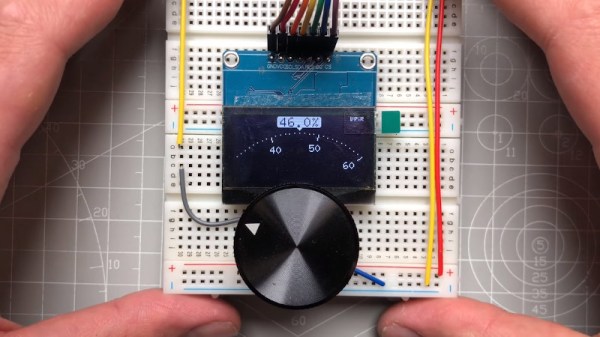
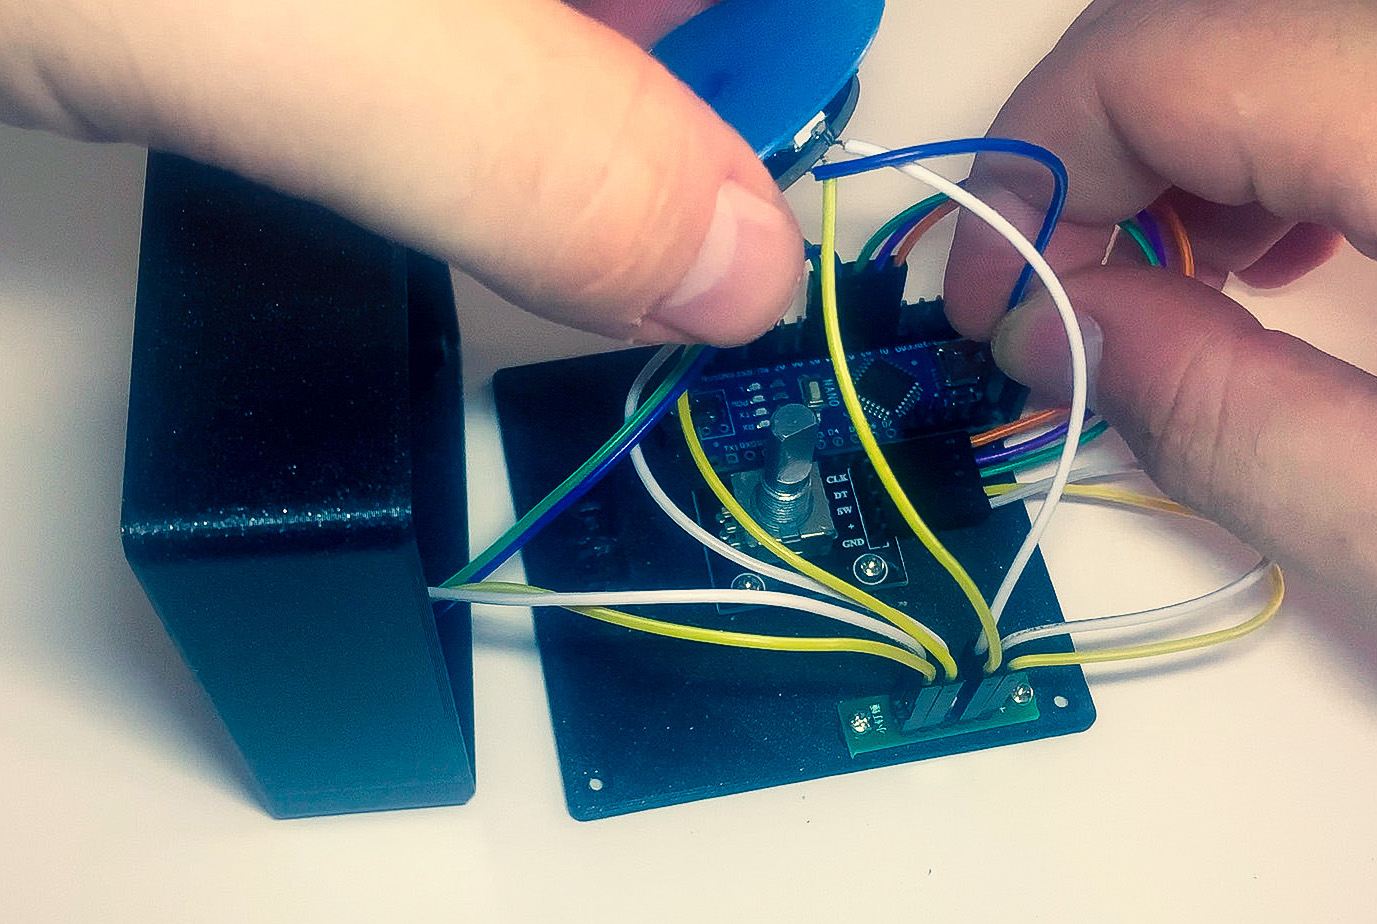
The build uses an ATMega328 as the heart of the operation, though [Daniel] notes an Arduino Uno or Mini would have done just fine. It’s set up with a 74HC14 hex Schmitt trigger, and a CD4066 quad bilateral switch on a custom PCB. As for the volume knob itself, it’s not a real analog pot, instead it’s using a rotary encoder with a center push button. The way it works is that the Arduino reads the encoder, and figures out whether you’re trying to turn the volume up or down based on the direction you’re turning it. It then sends commands to the CD4066 to switch resistors in and out of circuit with lines going to the stereo to emulate the action of volume buttons on the steering wheel.
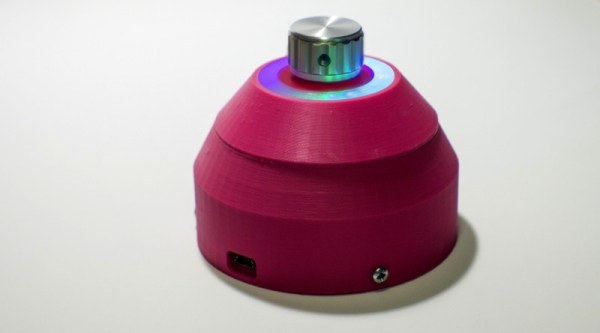
[Daniel’s] guide explains how everything works in greater detail, and how you can calibrate your head unit to accept these signals while preserving the function of your actual steering wheel volume buttons. Then you just have to find a neat way to integrate the knob into your existing dashboard.
We don’t see as many car stereo hacks in this era when infotainment systems rule all, but we’ve seen some great stuff from older vehicles over the years. Video after the break.
Continue reading “Android Head Unit Gets Volume Knob Upgrade”