You might think the game of Rock Paper Scissors is just the random chance, but that’s not true. There is a strategy for Rock Paper Scissors, multiple ones in fact, and the best human players can consistently beat any Joe Schmoe off the street. But what about computers? [Paul] answered that question with a tiny little keychain dongle that can beat you at Rock Paper Scissors.
This is a neural network, and you need to train a neural network, so where did [Paul] get all that data? roshambo.me offers thousands of paper rock scissor games, and trained the network on more than 85,000 human games, along with about 10,000 simulated games. Rock Paper Scissors isn’t a complicated game at all, and the entire neural network is stored on an ATtiny1614 microcontroller. The calculations are done as floats, even. That’s how non-computationally intensive this project is.
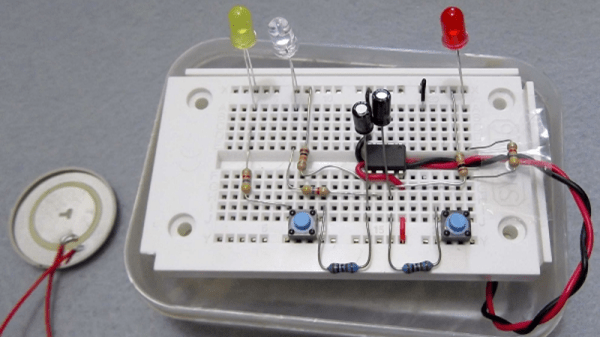
Building a neural network is one thing, but putting it in a handy keychain enclosure is something else. This handsome device fits on a PCB just larger than a 2032 coin cell battery and is enclosed in a 3D printed case. The buttons are 3D printed as well, with some clever application of fiber optic as light pipes for the LEDs. The end result is something that is slightly better than random chance at Rock Paper Scissors and shows off some matrix programming skills. Check out the video below.
Continue reading “Rock, Paper, Neural Net” →
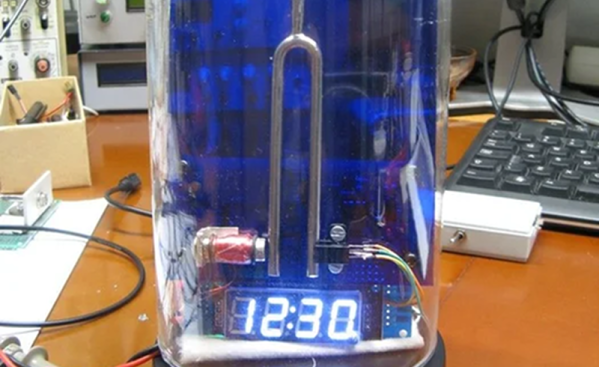


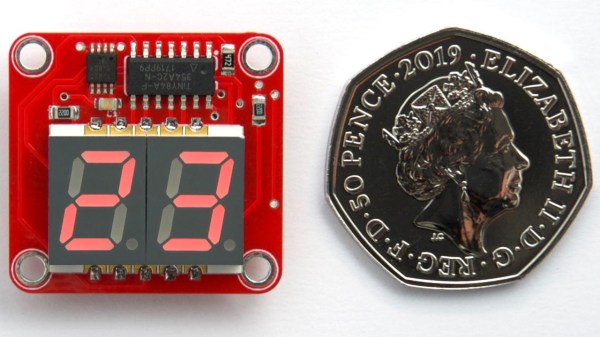
 You may think that a display that flashes only once every 24 seconds might be difficult to actually read in practice, and you’d be right. [David] found that it was indeed impractical to watch the display, waiting an unknown amount of time to read some briefly-flashed surprise numbers. To solve this problem, the decimal points flash shortly before the temperature appears. This countdown alerts the viewer to an incoming display, at the cost of a virtually negligible increase to the current consumption.


