While it might be in its twilight years, the venerable VGA video connector conceals a versatile interface that can still provide the experimenter with the opportunity for a variety of hacks. We’ve not seen anything quite like [flok]’s one, in which he uses the VGA interface to insert timing information from which an NTPd instance gets its reference.
If this seems counter-intuitive because a VGA interface is an analogue output rather than a digital input, then you are correct to smell a rat. And he comes clean in his first sentence, as he’s not using the VGA lines themselves but the I2C interface that is a feature of all but the most basic of VGA cards. This is the means by which a plug-and-play operating system can identify a monitor’s capabilities, but there’s little to stop it being used for other purposes. In this case an Arduino fed by a 1-pulse-per-second timing signal from a temperature compensated crystal oscillator provides the I2C peripheral which is polled by NTPd.
This project should be of interest to any tinkerer because of its invaluable information on identifying and using the I2C interface on a VGA socket. So if you’ve used your VGA card as an SDR you might find it interesting, but hurry or you could have missed the boat entirely.
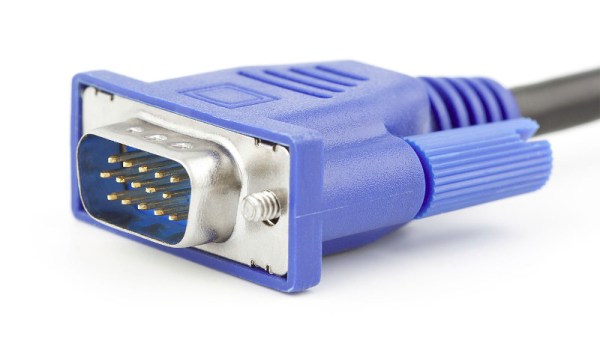
VGA plug image: Swift.Hg [CC BY-SA 3.0]