[Mark Gibson] probably has nothing against silicon. He just knows that a lot that can be done with simple switches, relays, and solenoids and wants to share that knowledge with the world. This was made abundantly clear to me during repeat visits to his expansive booth at Denver Mini Maker Faire last weekend.
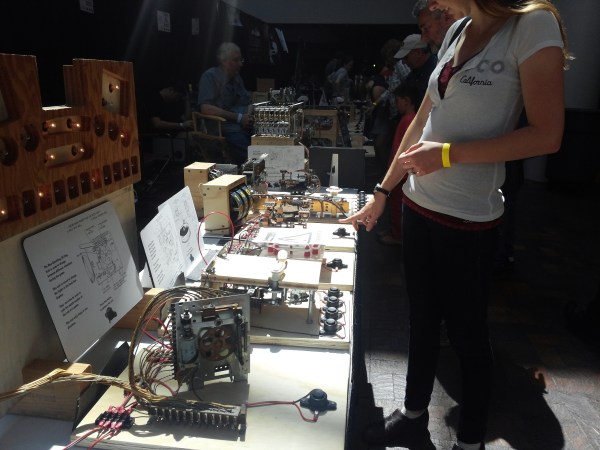
In the sunlight-filled atrium of the Museum of Nature and Science, [Mark] sat behind several long tables covered with his creations made from mid-century pinball machines. There are about two dozen pieces in his interactive exhibit, which made its debut at the first-ever Northern Colorado Maker Faire in 2013. [Mark] was motivated to build these boards because he wanted to get people interested in the way things work through interaction and discovery of pinball mechanisms.
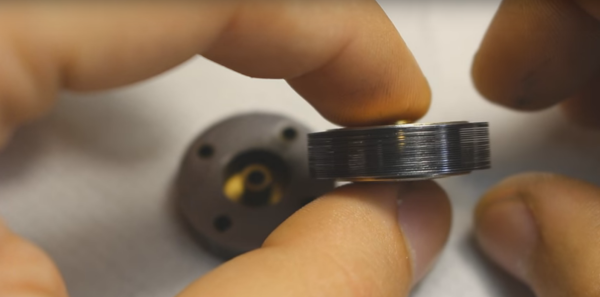
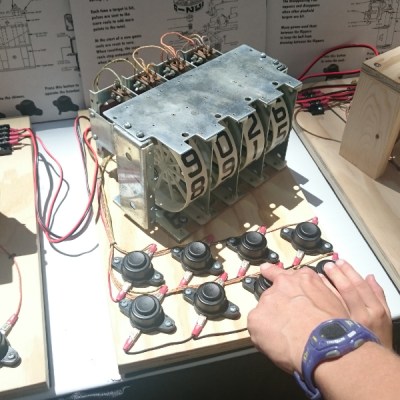 Most of the pieces he has built are single units and simple systems from pinball machines—flippers, chime units, targets, bumpers, and so on—that he affixed to wooden boards so that people can explore them without breaking anything. All of the units are operated using large and inviting push buttons that have been screwed down tight. Each of the systems also has a display card with an engineering drawing of the mechanism and a short explanation of how it works.
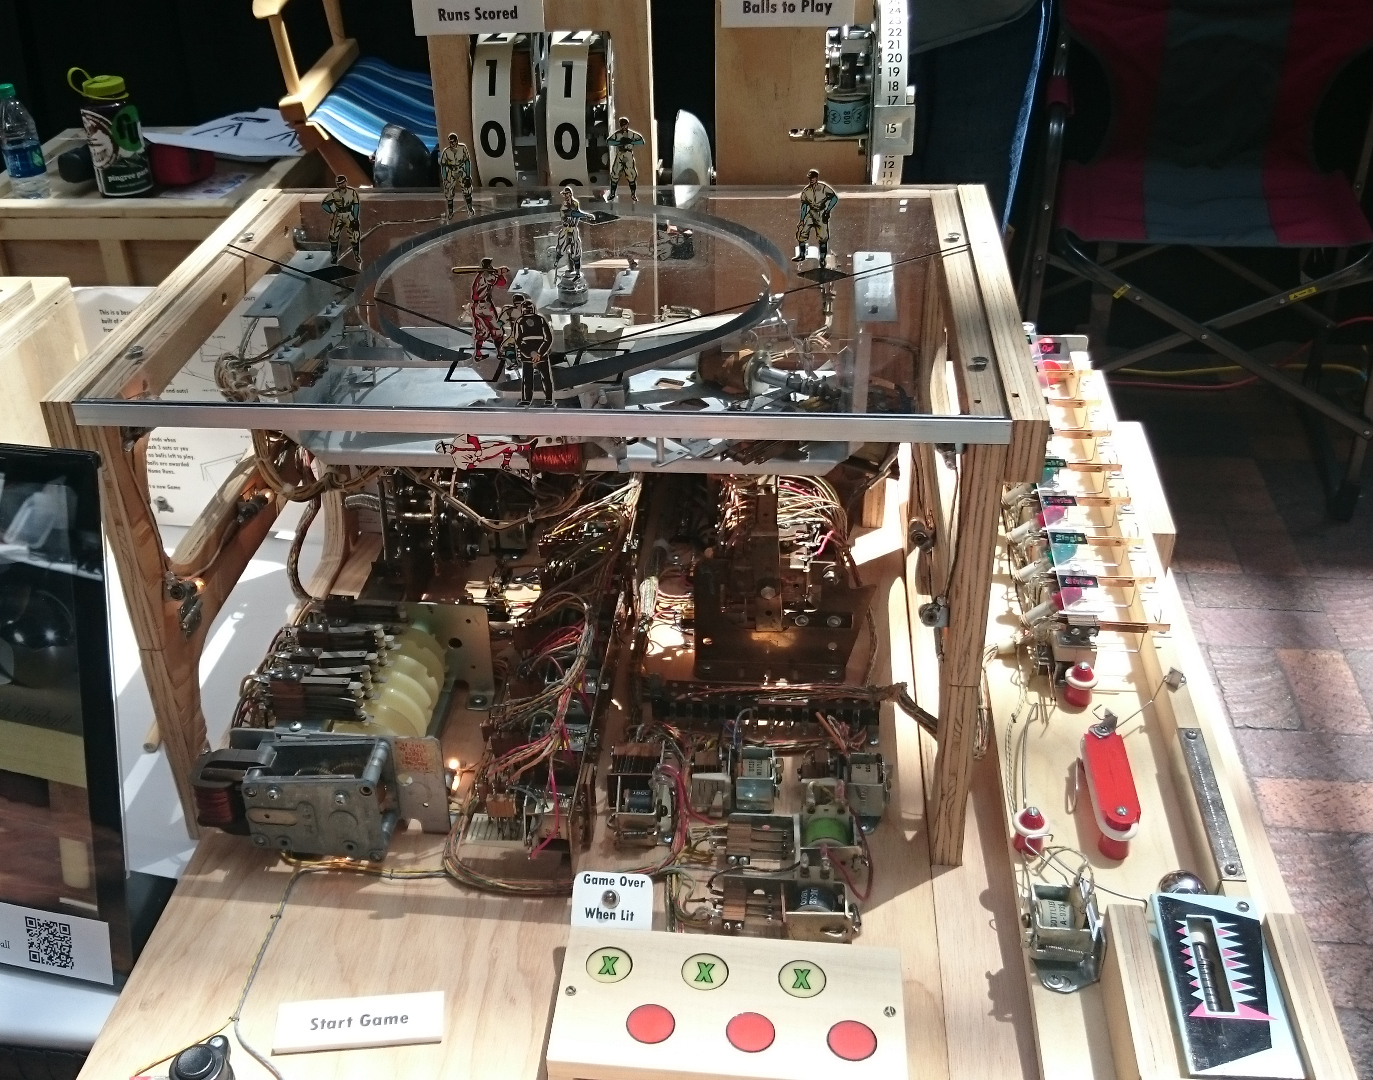
[Mark] also brought some of the original games he has created by combining several systems from different machines, like a horse derby and a baseball game. Both of these were built with education in mind; all of the guts including the original fabric-wrapped wires are prominently displayed. The derby game wasn’t working, but I managed to load the bases and get a grand slam in the baseball game. Probably couldn’t do that again in a million summers.
About five years ago, we covered [Mark]’s build of an atomic clock from pinball machine parts. It’s about time we featured his work again. We have shared a lot of pinball-related builds over the years from the immersive to the gigantic to the dankest of the dank.