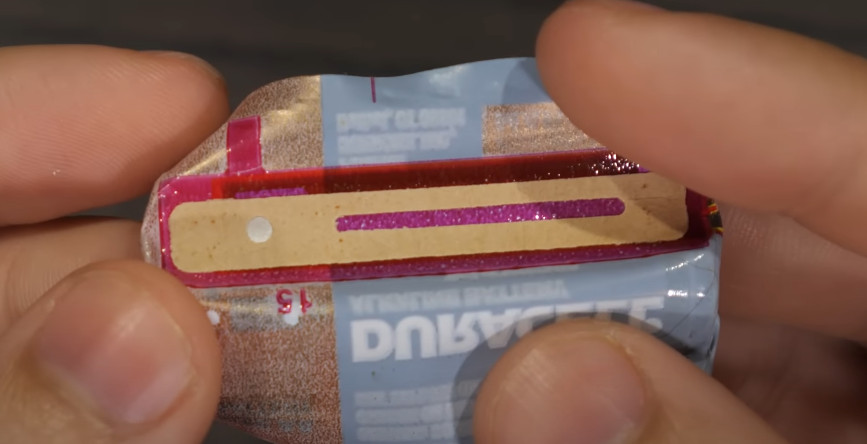
A ceiling-mounted model of the Solar System

Ceiling-Mounted Orrery Is An Excercise In Simplicity

Ever since humans figured out that planets move along predetermined paths in the heavens, they have tried to make models that can accurately predict their motion. Watchmakers and astronomers worked together to create orreries: mechanical contraptions that illustrate the positions of all planets and the way they move over time through complex gear systems. [Illusionmanager] continues the orrery tradition but uses a different approach: he built a beautiful ceiling-mounted model of our Solar System without a gearing system.

The mechanism that makes his Solar System tick is deceptively simple. All planets can move freely along their orbit’s axis except Mercury, which is moved along its orbit by a motor hidden inside the Sun. Once Mercury has completed a full revolution, a pin attached to its arm will begin pushing Venus along with it. After Venus has completed a full circle, its own pin will pick up Earth, and so on all the way to Neptune. Neptune is then advanced to its correct location as reported by NASA, after which Mercury’s motion is reversed and the whole procedure is repeated in the opposite direction to position Uranus.

Cycling through the entire Solar System in this way takes a long time, which is why the planets’ positions are only updated once a day at midnight. An ESP32, also hidden inside the Sun, connects to the internet to retrieve the correct positions for the day and drives the motor. The planet models, sourced from a museum shop, are hanging from thin aluminium tubes attached to wooden mounts made with a desktop CNC machine.

[Illusionmanager] made a detailed Instructables page showing the process of making a miniature version of the mechanism using just laser-cut wooden parts, as an update to a version we featured earlier. We really like the simplicity of this design, which stands in stark contrast to the huge gear trains used in more traditional orreries.

Continue reading “Ceiling-Mounted Orrery Is An Excercise In Simplicity”

The motherboard of a Mattel Aquarius, with a small daughterboard mounted on top

Adding Composite Video To The Mattel Aquarius

In the home computer market of the 1980s, there were several winners that are still household names four decades later: the Commodore 64, the Apple II and the Sinclair Spectrum, to name a few. But where there are winners, there are bound to be losers as well – the Mattel Aquarius being a good example. A price war between the bigger players, combined with a rather poor hardware design, meant that the Aquarius was discontinued just a few months after its introduction in 1983. However, this makes it exactly the type of obscure machine that [Leaded Solder] likes to tinker with, so he was happy to finally get his hands on a neat specimen listed on eBay. He wrote an interesting blog post detailing his efforts to connect this old beast to a modern TV.

The main issue with the Aquarius is that it only has an RF video output, which results in a rather poor rendition of its already very limited graphics capabilities. Luckily, there is a fix available in the form of a composite A/V adapter that’s an almost plug-and-play upgrade. The only thing you need to do, as [Leaded Solder] illustrates in his blog post, is open up the computer, desolder the RF modulator and solder the A/V adapter in its place. Getting to that point was a bit tricky due to heavy EMI shields that were fixed in place with lots of solder, requiring liberal use of a desoldering iron. Continue reading “Adding Composite Video To The Mattel Aquarius”

Transistor Radio Repair, More Complex Than It Seems

The humble transistor radio is one of those consumer devices that stubbornly refuses to go away, but it’s fair to say that it’s not the mover and shaker in the world of electronics it might once have been. Thus it’s also not a staple of the repair bench anymore, where fixing a pocket radio might have been all in a day’s work decades ago now they’re a rare sight. [David Tipton] has a Philips radio from we’re guessing the later half of the 1960s which didn’t work, and we’re along for the ride as he takes us through its repair.

It’s an extremely conventional design of the era, with a self-oscillating mixer, 455 kHz IF amplifier, and class AB audio amplifier. The devices are a little archaic by today’s standards, with comically low-gain germanium transistors and passives from the Ark. Injecting a signal reveals that the various stages all work, but that mixer isn’t oscillating. A lot of fault-finding ensues, and perhaps with a little bit of embarrassment, he eventually discovers a blob of solder shorting a collector resistor to ground. All isn’t over though, for the volume pot is also kaput. Who knew that the track from a modern component could be transplanted into one from the 1960s?

Continue reading “Transistor Radio Repair, More Complex Than It Seems”

The Neo6502 Is A Credit-Card Sized Retro Computer

The venerable MOS Technology 6502 turned up in all kinds of computers and other digital equipment over the years. Typically, it was clocked fairly slow and had limited resources, but that was just how things used to be. Today, the 6502 can run at an altogether quicker pace, and the Neo6502 was the board built to take it there.

The Neo6502 from [Olimex] is a credit-card sized retro computer built around the W65C02. If you’re unfamiliar with that chip, it’s essentially a 6502 that can go fast. How fast? It can be readily overclocked to a blazing 16 MHz, if you’re so inclined!

Unlike some 6502 retro builds, the Neo6502 doesn’t live so firmly in the past. It’s outfitted with an HDMI video interface to make it easy to hook up to modern monitors, so you needn’t fuss around with old displays. Similarly, it has a USB host port to accept input from a keyboard, and audio out via a 3.5 mm jack. There’s also a tiny PCB-mount speaker, as well as I2C, SPI, and UART interfaces. Finally, there’s 2 MB of flash onboard, and a 40-pin connector hosting all the 6502 signals that you know and love. Which is all of them. Much of this lavish equipment comes courtesy of an RP2040 microcontroller onboard that handles all the bits and bobs that aren’t fit for the CPU itself.

It’s still a new project, with things like a BASIC interpreter currently in development and boards not yet openly available.  But, if you’ve always wanted to play with a hotshot 6502, this could be the board for you. Try out the emulator and see how you go.

Continue reading “The Neo6502 Is A Credit-Card Sized Retro Computer”

Wooden Wide-Angle Wonder Wows World

An old-fashioned film camera can be an extremely simple device to make, in that as little as a cardboard box with a pin hole in it will suffice. But that simplicity at heart leaves endless scope for further work, and a home-made camera can be every bit as much a highly-engineered object of beauty as its commercial stablemate. A great example comes from [Aaron Cré], whose desire for something close to a Hasselblad XPan panoramic camera led him to build his own equivalent out of wood.

The video below the break shows in detail how the wooden case is crafted, and how a lens mount ring sawn from a lens adapter is mounted on the front of it. He’s skipped making all the tiresome parts of the camera associated with winding and film transport and instead taken them from a cheap plastic snapshot camera. The original aspect ratio is stretched by cutting the guts of the snapshot camera apart, and extended to make a 75 mm long negative which also exposes over the sprocket holes.

The final camera is carefully finished to the point at which it really looks the part as well as taking those striking wide-angle photographs. We’re not photography buffs enough to identify the lens and shutter combination he’s using, but we can’t help envying him the results. Fancy making your own 35 mm camera too? Here’s another, in case you need inspiration.

Continue reading “Wooden Wide-Angle Wonder Wows World”

New Take On The Camera Obscura Brings Paris Indoors

We haven’t checked, but we’ll go out on a limb here and say this is the first project we’ve featured with a BOM that includes “an apartment in Paris with a breathtaking view of the Eiffel Tower.” We suppose there are other places in the world where a giant camera obscura like this would work too, but you’ve got to admit that the view is pretty spectacular.

Of course, a camera obscura is really just a dark room — that’s literally what it means in Latin — with a small aperture to admit light from the outside world. This projects an inverted image on the opposite wall, which must have looked absolutely magical to pre-technical people and honestly is still pretty stunning today. Either way, it’s a low-tech way of seeing the world in a different light. [Mathieu Stern] decided his camera obscura would turn the traditional design on its head. Literally — he wanted an upright image. Luckily, he found a supplier that makes special optics for camera obscura that do just that. It looks like the optic uses a Dove prism to invert the image, or in this case to turn it back into an upright image.

The real hack here was finding the perfect place with just the right view of the Eiffel Tower — not at all an easy task in a medieval city where streets go where they will and buildings tend to block the sightlines. [Mathieu] eventually managed to find just the right place. With a little aluminum foil to make the rented room really obscura and some strategically positioned sheets to improve the projection surface, he was able to project some beautiful images of the landmark and surrounding cityscape in a panorama on the apartment walls. The video below has some stills and time-lapse sequences that are pretty breathtaking.

We’ve seen other camera obscura before, including this mobile version which may have made things easier for [Mathieu], at the price of giving up a lot of the charm.

Continue reading “New Take On The Camera Obscura Brings Paris Indoors”

A Time-Lapse Film, Not A Time-Lapse Video

We’re used to time-lapse photography being merely a feature of our smartphone camera app, but of course it has its origins in film. A movie camera would be triggered frame by frame at fixed intervals, with the result being the timelapse. A dead art, you might wonder, were it not for [Kevin Santo Cappuccio], who is capturing his work in timelapse on 16mm film, with a vintage Bolex camera.

For those of us with a penchant for film the camera alone makes it worth a second look, but the actuation mechanism is at the heart of the project. It uses a slightly unusual but nevertheless strangely ubiquitous actuator, in the form of a car door central locking actuator. This in turn is triggered by an Arduino Nano, and he has the ultimate dream of using a 16mm film timelapse as part of a fully-16mm submission video for the Hackaday prize.

We think it’s a pity that more film-based projects don’t end up on these pages, so we’re very pleased indeed to see this one. If you’re curious about the other side of the 16mm system, well we’ve introduced you to the inner workings of a projector before, too.