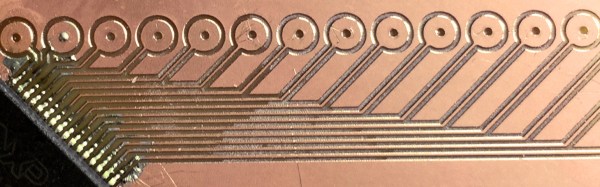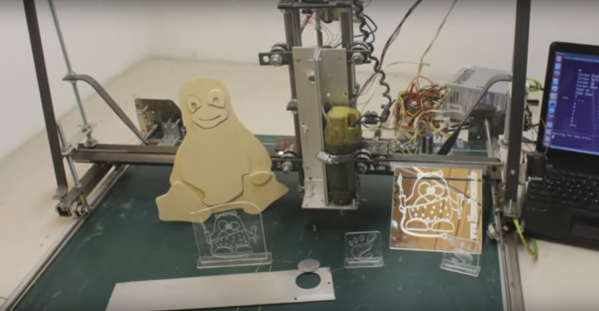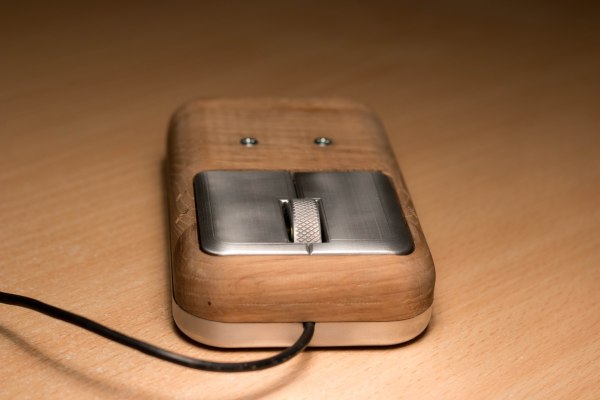
Be the hero at your next hackathon with this foldable cnc. When the line for the laser cutter is four teams deep, you’ll come out ahead. It might even be accurate enough to pop out a quick circuit board. Though, [wwwektor] just wanted a CNC that could be taken from storage and unfolded when needed. Sit it on a kitchen table and cut out some ornaments, or hang it from the front door to engrave the house’s address. Who needs injection molded chrome plated numbers anyway?
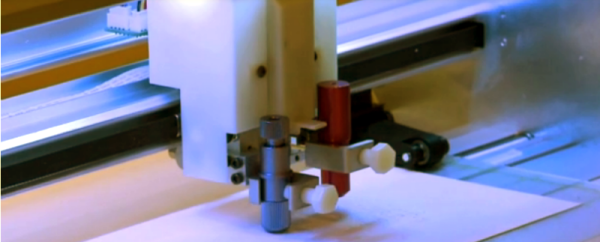
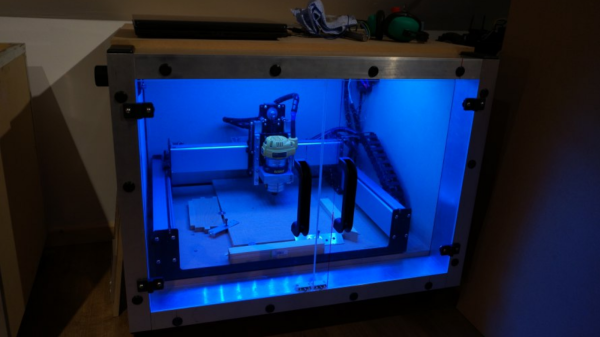
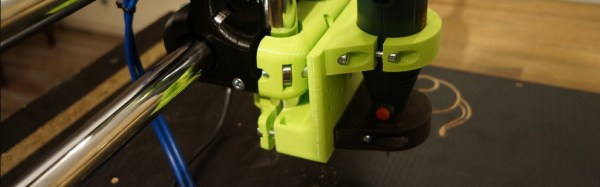
It’s based around tubular ways, much like other 3D printed CNCs we’ve covered. The design’s portable nature gives it an inherently unstable design. However, given the design goals, this is reasonable. It uses timing belts, steppers, and ball bearings for its movement. The way the frame sits on the table it should deal with most routing tasks without needing adjustment to stay in plane with the surface it’s set-on. As long as you don’t need square edges.
There’s a video of it in operation after the break. We love these forays into unique CNC designs. We never know what new idea we’ll see next.
Continue reading “Be A Hero At Your Next Hackathon With A Foldable CNC”