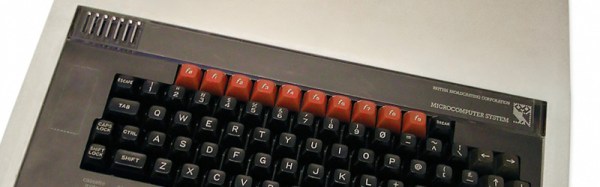
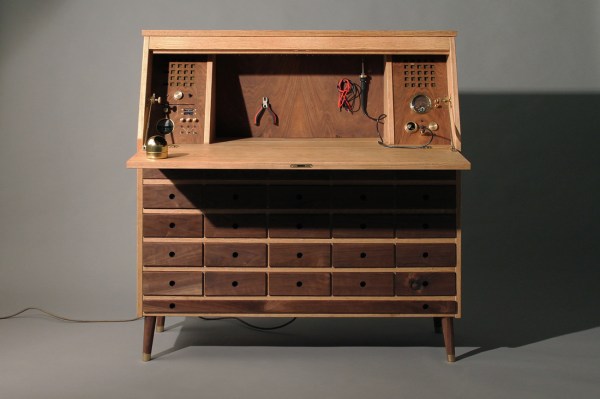
If you are familiar with ARM processors, you may know of their early history at the 1980s British home computer manufacturer Acorn. The first physical ARM system was a plug-in co-processor development board for Acorn’s BBC Micro, the machine that could be found in nearly every UK school of the day.
For an 8-bit home computer the BBC Micro had an unusually high specification. It came with parallel, serial and analog ports, built-in networking using Acorn’s proprietary Econet system, and the co-processor interface used by that ARM board, the Tube. There were several commercial co-processors for the Tube, including ones with a 6502, a Z80 allowing CP/M to be run, and an 80186.
As with most of the 8-bit generation of home computers the BBC Micro continues to maintain a strong enthusiast following who have not stopped extending its capabilities in all directions. The Tube has been interfaced to the Raspberry Pi, for instance, on which an emulation of original co-processor hardware can be run.
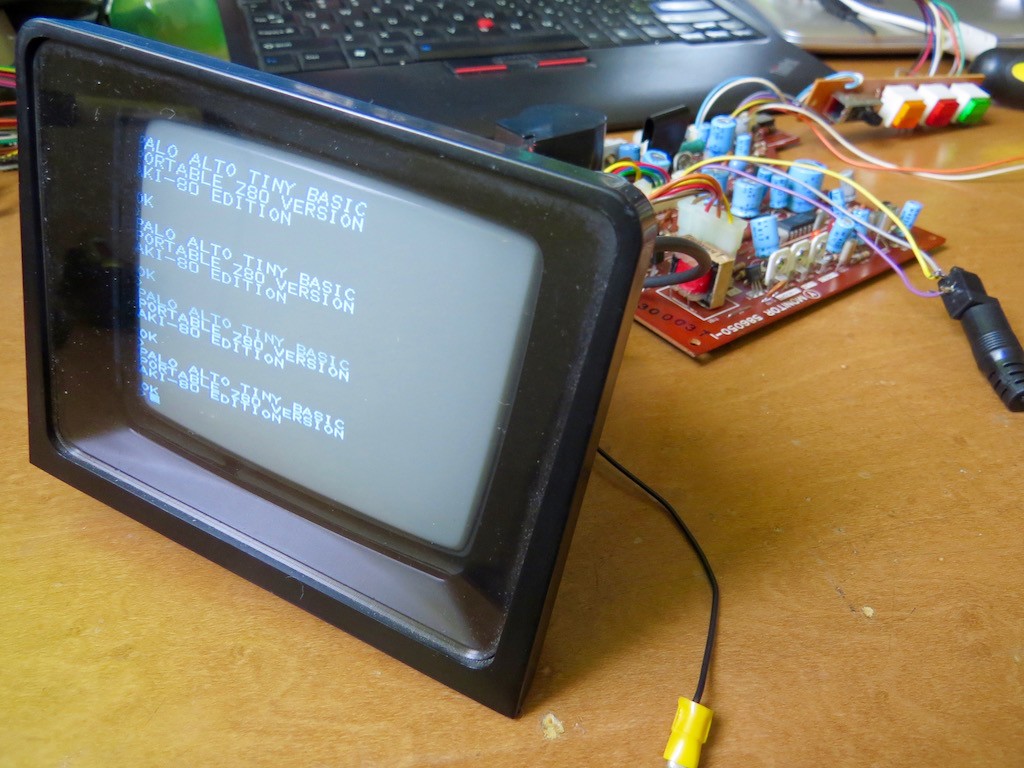
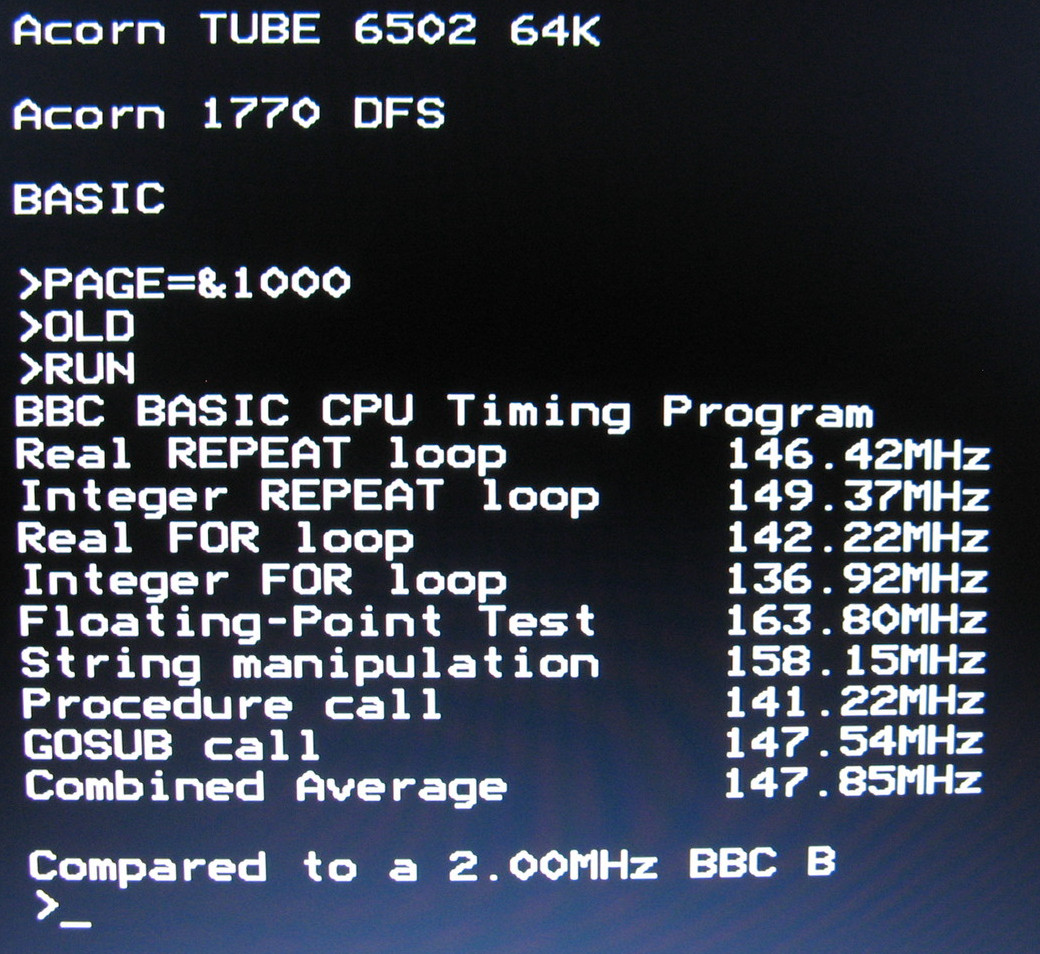
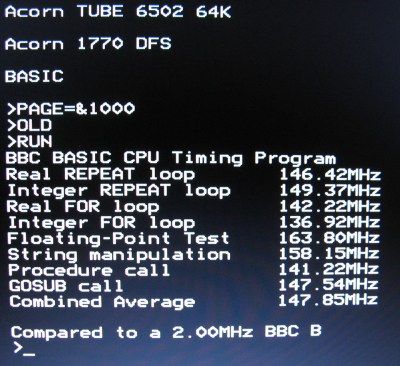 And thus we come to the subject of this article, [Hoglet] and [BigEd]’s 150MHz 6502 coprocessor for the BBC Micro. Which of course isn’t a 6502 at all, but a 6502 emulated in assembler on an ARM which is in a way the very distant descendant of the machine it’s hosted upon. There is something gloriously circular about the whole project, particularly as the Pi, like Acorn, the BBC Micro, and modern-day ARM, has its roots in Cambridge. How useful it is depends on your need to run 8-bit 1980s software in a tearing hurry, but they do report it runs Elite, which if you were there at the time we’re sure you will agree is the most important application to get running on a BBC Micro.
We’ve featured the Tube interface before when we talked about an FPGA co-processor with a PDP/11 mode that was definitely never sold by Acorn. And we’ve also featured an effort to reverse engineer the primordial ARM from that first BBC Micro-based co-processor board.
BBC Micro image: Stuart Brady, Public Domain, via Wikimedia Commons.
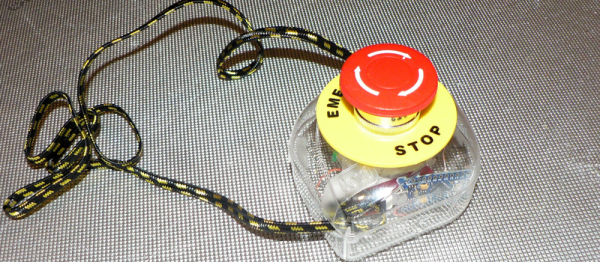
 Like most complicated pieces of software, it can get hung, and the only way to stop it is to manually kill the running processes. Apparently, that happened one time too many for [Maciej].