[Foobarbob] posted a pretty simple job of bringing an LCD viewfinder back to life. He doesn’t specify what was wrong, but since he replaced the backlight, we’re guessing that was the main issue. It was pulled off of a JVC camcorder. The camcorders with LCD viewfinders are getting more and more common at garage sales, so we’re surprised we don’t see more of these used. [Foobarbob] cracked it open, traced out the power lines and replaced the backlight with an LED and a makeshift diffuser made from a bottle cap. His results look great, we could see this being perfect for an HMD, or possibly a home made VR helmet.
digital cameras hacks941 Articles
No More Blurry Pictures
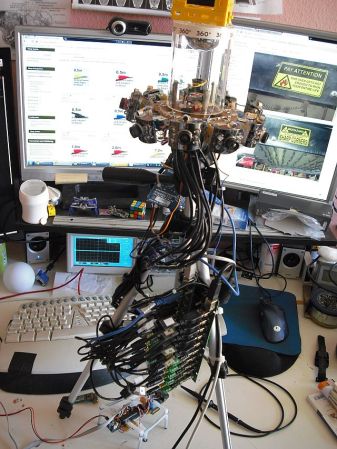
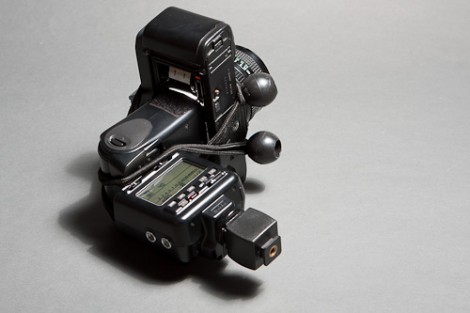
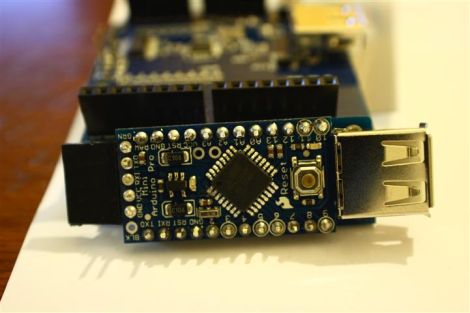
Say goodbye to ruined images thanks to this add-on hardware. It measures the movement of the camera when a picture is taken and corrects the image to get rid of motion blur. Above you see a high-speed camera which is just there for testing and fine-tuning the algorithm that fixes the photos. Once they got it right, the setup that the camera is attached to only includes an Arduino board, Bluetooth modem, 3-axis accelerometer, gyroscope, and a trigger for the camera. You use the new hardware to snap each image and it takes care of triggering the SLR’s shutter in order to ensure that the inertial data and the image are synchronized correctly.
[Thanks Rob]
Rapatronic Shutter; Snap A Pic Of An Atomic Bomb
We never really thought about it before, but this post about Rapatronic Shutters answers the question of how to photograph an atomic bomb detonation. The post includes an MIT video where [Charles Wyckoff] explains how he and [Harold Edgerton] developed the Rapatronic Camera. It is designed to snap a photograph based on zero time, marked by the X-ray transmission emanating from the bomb before it actually explodes. This pulse is picked up by a light sensor on a delay circuit, allowing for very precise exposure timing. Many of these cameras were used at the same time, all with slightly different delays so that the images could be viewed in order to show what happens during each stage of detonation.
[Thanks Petrus]
Is Your Camera Lying?
It is easy to rely on the ratings marked on different tools, whether it is a power supply, scale, or speedometer. However calibration is essential for any part that is relied upon either professionally or for a hobby. [Jeremy] wanted to see if his Lomography camera shutter really was only open for 1/100ths of a second when set to that. In order to test his rig, he set up an LED on one side of the shutter, and a high speed phototransistor to gauge the time spent open, using an oscilloscope to measure the time the reference point was pulled low. In his case, when the camera was set to 1/100, the shutter was actually open for closer to 1/150th of a second (the mean was 1/148ths of a second, with a standard deviation of 417 uSecs). This difference can make a large difference in picture brightness.
Be sure to check his blog for more pictures of the setup, as well as some useful part references and circuit diagrams.
Converting 8mm Film To Digital
Many of us have these old 8mm family videos lying around and many of us have lamented at the perspective cost to get them converted to digital. [Paul] came up with a pretty slick way of digitizing them himself. He cracked open an 8mm projector and replaced the drive motor with one he could run at a much slower speed, allowing him to be able to capture each frame individually with his digital camera. He’s rigged his remote shutter control to the shutter of the projector so that it would be perfectly synchronized. There’s a video of it in action on the flickr page, and a video of the full 16,000 frame clip after digitization here.
[via Make]
DIY Air Gap Flash Saves At Least Seven Grand
Did you know that a standard camera flash is much too slow to capture high quality images of bullets? A relatively long flash duration results in blurred images of the bullet. By building this air gap flash a bullet can be frozen in mid-air, producing some stunning results. There is an element of danger here, and not from the bullet. This flash uses a 35,000 volt capacitor to produce the mini-bolt of lightning which serves as the light source. The unit can be built for a few hundred dollars, which sounds like a heck of a deal if commercial models really do start at $8k and go up from there.
Now that the photographer has a super-fast flash, a camera axe takes care of the timing… which is everything.
Foldaway Photo Booth
For his wedding [Dave] wanted to have a photo booth but the $1k rental price was really getting him down. Instead, he decided to build his own. This cost less money and he gets to keep the booth once the festivities have concluded. He started by designing the assembly in Sketchup, taking into consideration the portability requirements that allow this to fit through doorways. What he came up with is a unit made from one sheet of plywood that folds up via piano hinges and takes about eight minutes to set up (video after the break). But where the design really shines is the all-in-one electronics module seen modeled on the right. It houses the monitor and the computer in one compact and rugged package.
If you like this you should also check out the suitcase photo booth and one other wedding-prompted build.