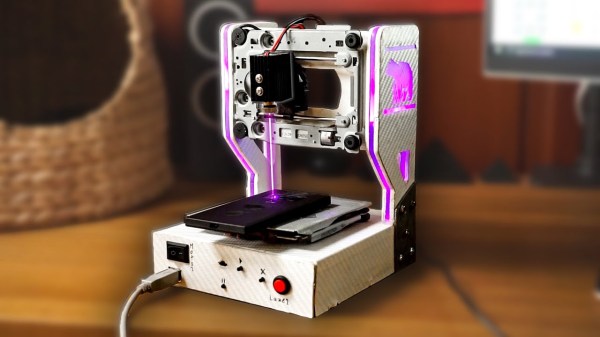
These days, very few of us use optical media on the regular. If we do, it’s generally with a slot-loading console or car stereo, or an old-school tray-loader in a desktop or laptop. This has been the dominant way of using consumer optical media for some time.
Step back to the early CD-ROM era, though, and things were a little kookier. Back in the late 1980s and early 1990s, drives hit the market that required the use of a bulky plastic caddy to load discs. The question is—why did we apparently need caddies then, and why don’t we use them any longer?
Caddyshack
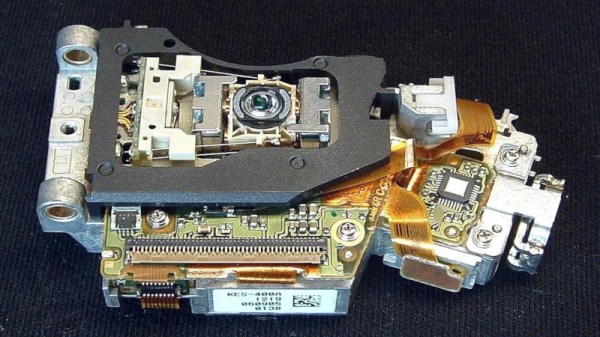
The Compact Disc, as developed by Phillips and Sony, was first released in 1982. It quickly became a popular format for music, offering far higher fidelity than existing analog formats like vinyl and cassettes. The CD-ROM followed in 1985, offering hundreds of megabytes of storage in an era when most hard drives barely broke 30 MB. The discs used lasers to read patterns of pits and lands from a reflective aluminum surface, encased in tough polycarbonate plastic. Crucially, the discs featured robust error correction techniques so that small scratches, dust, or blemishes wouldn’t stop a disc from working.
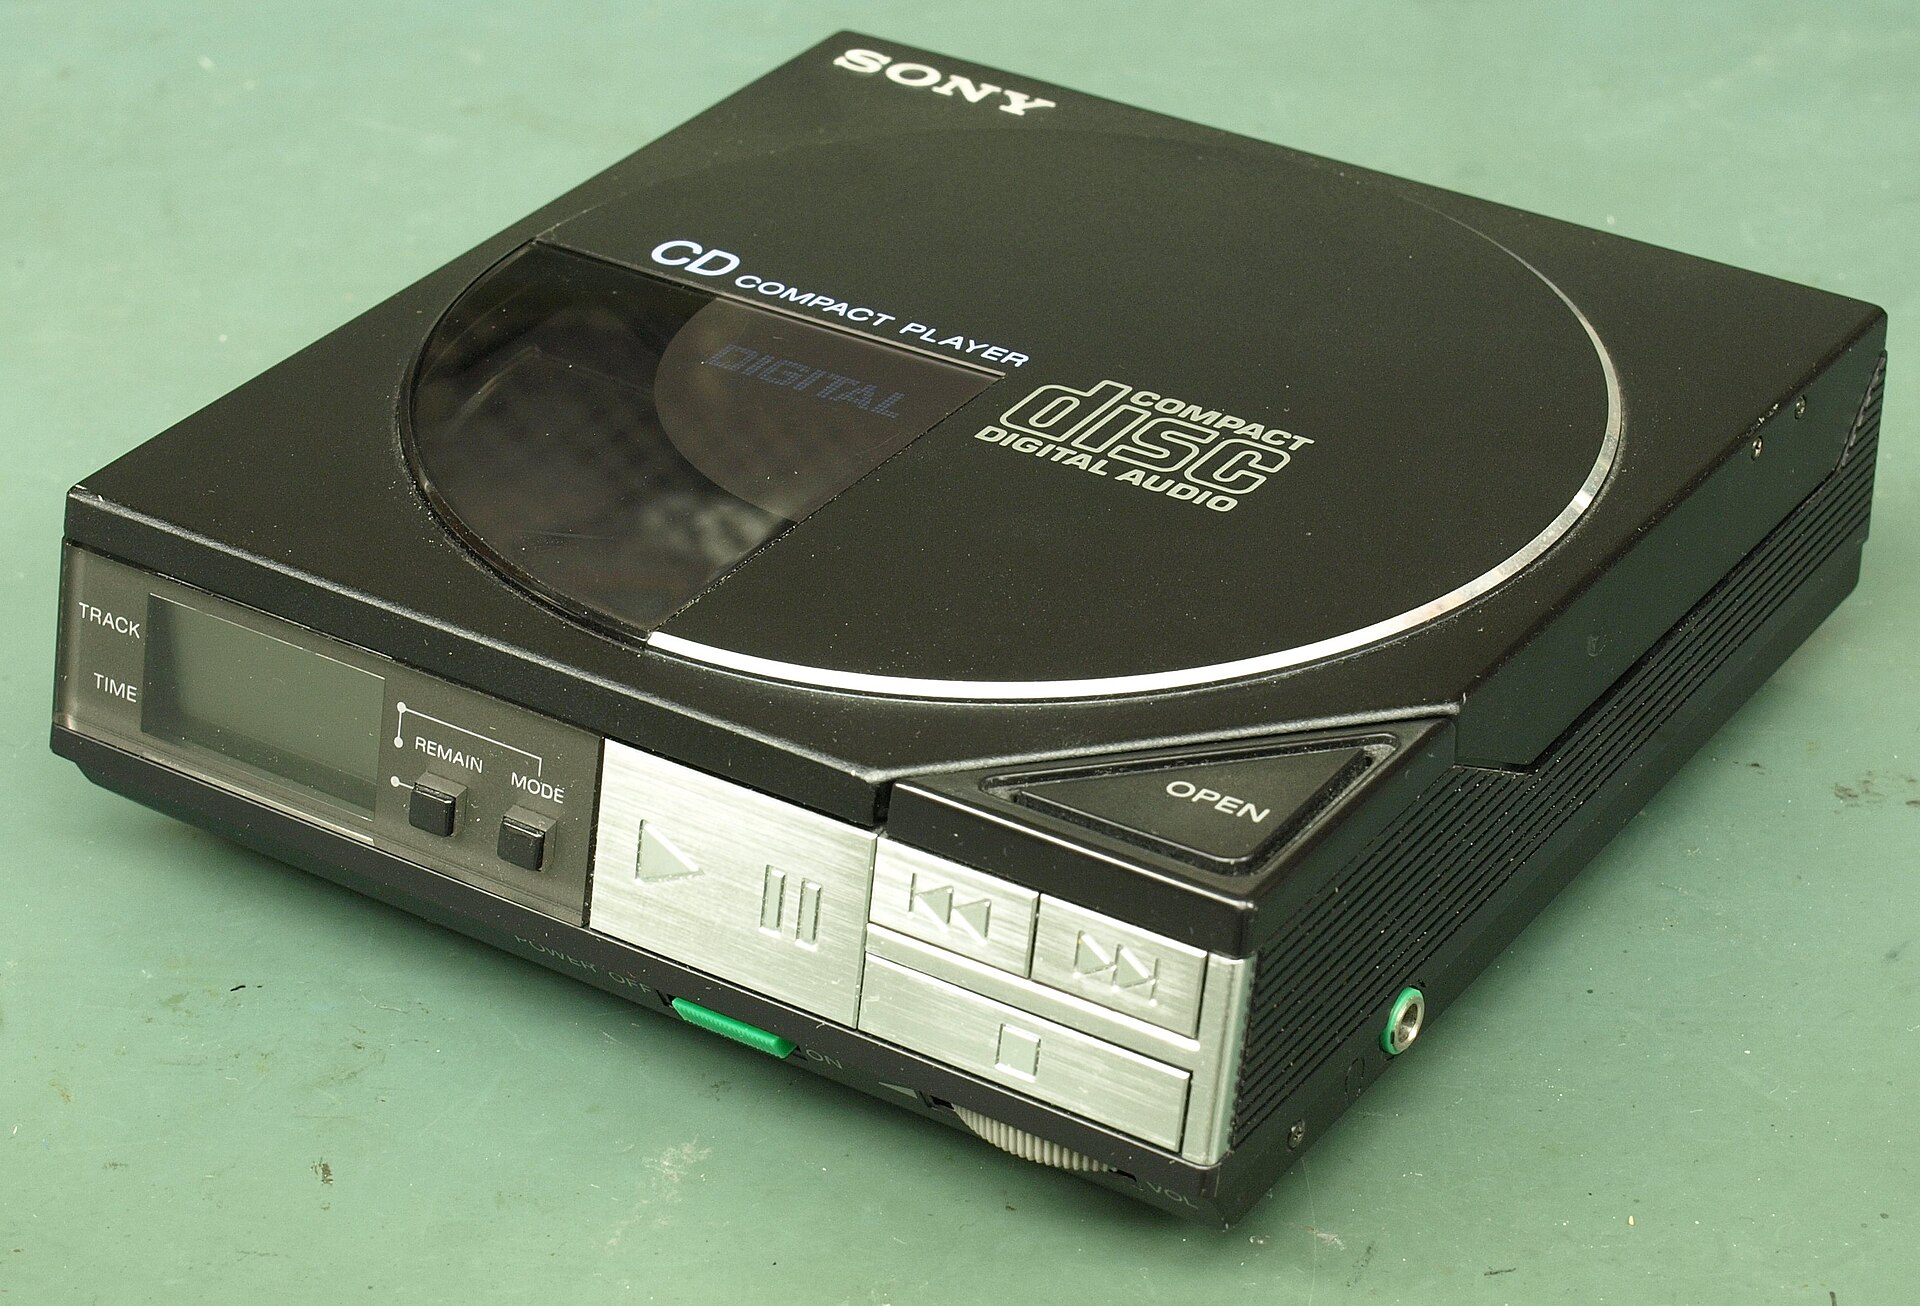
Notably, the first audio CD player—the Sony CDP-101—was a simple tray-loading machine. Phillips’ first effort, the CD100, was a top-loader. Neither used a caddy. Nor did the first CD-ROM drives—the Phillips CM100 was not dissimilar from the CD100, and tray loaders were readily available too, like the Amdek Laserdrive-1. Continue reading “Why Did Early CD-ROM Drives Rely On Awkward Plastic Caddies?”