Anaglyphic Photography Made Easy

[ProfHankD] came up with a pretty easy way to take 3D photos using a single lens. He’s making Anaglyph images which use color filtering glasses to produce stereoscopic 3D effects. We’ve seen stereoscopic imaging hacks that use two cameras or a clever combination of mirrors, but this one uses a special filter and post-processing. [ProfHankD] drew up a template that can be used to properly align two colored filters, like those in the lens cap seen above. Once installed, just snap all the pictures you want and then hit them with your favorite photo editing software. This involves separating the color channels of the photograph and offsetting them to increase the depth of focus.

It’s a nice little process, and his writeup is easy to understand even if you’re not a hardcore photography guru.

[Thanks Paul]

Motion Activated Wildlife Camera (or A Spy Device)

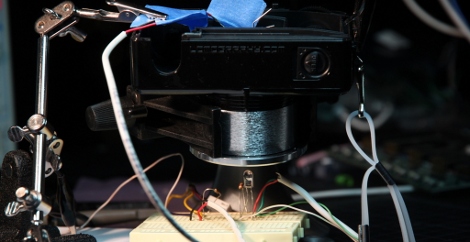
Now you can capture pictures of our furry friends by building a motion activated wildlife camera. [Doug Paradis] took his Air Freshener hack and used it to trigger a camera. The white dome in the picture above is the PIR sensor from an Air Wick Freshmatic, along with a cheap keychain camera and an MSP430 microcontroller. He used one of the chips that came with the TI Launchpad, a transistor, and some discreet components to interface the devices and then put them into a project box. Now he’s got a fully configurable motion-sensing camera.

Adding Pan And Tilt To A Webcam

[Brent] and his wife wanted a way to provide more family time for Grandparents that lived far away. They tried a webcam, but their daughter just didn’t oblige by staying in the frame. Instead of chasing her around the room with with the camera he added pan and tilt features to the device. He settled on IR control using a common television remote, similar to our USB remote control receiver tutorial except that it drives servo motors instead of forwarding signals over the serial connection. [Brent] used a Picaxe 08M, connecting two servos together as a base on top of the project box. If you try this yourself there’s a lot of room to grow. Once you’ve assembled the hardware it wouldn’t be too hard to make this web enabled so that Grandpa can click on a web interface to look around the room.

Retro Adapter For Canon SLR

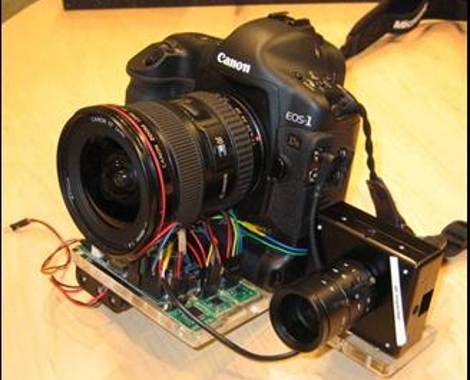
[calculon] was able to modify a “dumb” adapter to allow his Canon SLR to use the aperture and focus on a retro lens.  With his new flip mounted wide angle lens he was able to achieve some pretty neat macro shots.  By cutting away some of the cheaper ring he was able to feed the wire through and glue it onto the the cameras contact points.  The wire was then attached to the inputs on the “new” lens. With a new adapter running about $375 not only was this a neat little hack but it was also a money saver. You can see some more of his photos on his flicker

Make A Point-and-shoot See Infrared Light

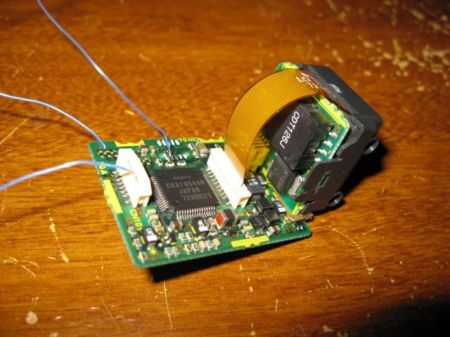
[Daniel Reetz] has caught the Kinect hacking fever. But he needs one important tool for his work; a camera that can see infrared light. This shouldn’t be hard to accomplish, as the sensors in digital cameras are more than capable of this task, but it requires the removal of an infrared filter. In [Daniel’s] case he disassembled a Canon Powershot to get at that filter. There’s a lot packed into those point-and-shoot camera bodies and his teardown images tell that tale. He also ended up with extra parts after putting it back together but that didn’t seem to do any harm.

After the break you can see video that shows the Kinect’s speckled IR grid, which is why he needed IR sensing in the first place. But there’s also some interesting photos at the bottom of his post showing the effect achieved in outdoor photography by removing the filter.

The flash never made it back in the camera. That’d be a perfect place for an IR light source. You’d end up with a night-vision camera that way.

Continue reading “Make A Point-and-shoot See Infrared Light”

Machine Your Own Ring Light

[Alan] acquired a stereo microscope from eBay, and decided to save some more money by designing, machining, and assembling his own arc reactor ring light to go along. After finding an LED driver board sitting around as well as ordering some surface mount LEDs, he set about using a lathe to cut away a block of lexan, making sure to include slots for the lights as well as the microscope mount point. Follow the link to see the detailed build photos, as well as some comparison shots with and without the ring light.

A month or two earlier though, and [Alan] would have had a fantastic start to an Iron Man costume.

Crutch-mounted Light

[Malikaii] is exercising the hacker spirit inside by building light stands out of junk. He’s using them as an alternative to purchasing off-camera flash units. He made this one using a lot of salvaged parts; two crutches make up the frame, a discarded reflector for one of those highway-work floodlights will house the flash, and an old pillow case diffuses the light. The version above can easily be moved around by an assistant, or if you’re shooting solo [Malikaii] also found that the base from an oscillating fan was easy to adapt for use with the crutch frame.

If you’re not able to scavenge these parts perhaps a folding light tripod is what you need.