Holding a video camera while shooting video can lead to finished footage that has some serious shakes. Lucky for us there are some solutions to this problem such as a passive steady cam stabilizer or an active motor-driven gimbal. [Oscar] wanted a smooth-operating brushless motor gimbal but didn’t want to spend the big bucks it costs for a consumer setup so he went out and built his own.
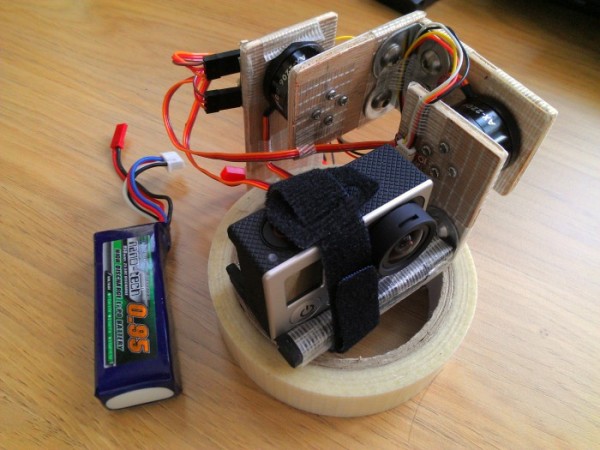
[Oscar] didn’t have a CNC machine or 3D printer to help with his build. He made his gimbal with simple hand tools out of plywood and hardware store bracketry. In his build post, he talks about how it is important to keep the pivoting axes of the gimbal in line with the camera lens and what he did to achieve that goal. The alignment of the axes and the lens ensures that the video is stable while the gimbal adjusts to keep the camera’s angle constant.
[Oscar] purchased the brushless motors and motor controller which included a gyro sensor on a separate PCB board. The gyro is mounted to the camera mount and sends tilt information back to the controller that then moves the brushless motors to keep the camera level. The final project worked out pretty good although [Oscar] admits he still would like to tune the PID settings in the controller a little better. Check out the video after the break where the stabilized camera is compared to one that is not.
Continue reading “Resourceful DIY Brushless Hand-held Camera Gimbal”

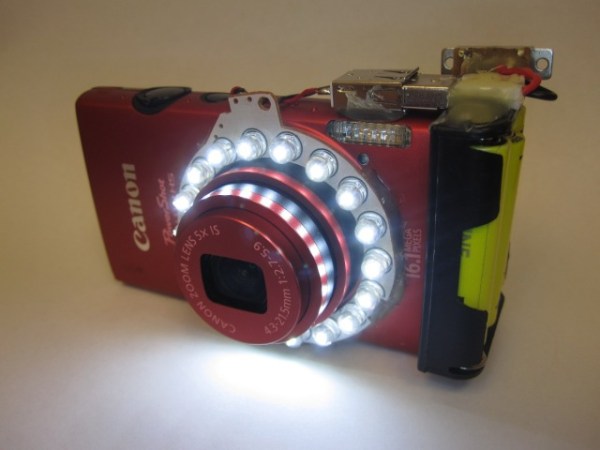
 The utilitarian modification may look crude but the results are anything but. Check out this close-up macro shot of a Canadian penny. Not too bad.


