It’s a relatively simple task to find evidence of helium by just looking at the sun; all you need is a prism, diffraction grating, and a web cam. DIY spectrometers have been around for ages, but most of them only produce a spectrum, not a full image complete with spectral data. Now it’s possible to take an image of an object, complete with that objects spectra using a DSLR, some lenses, a PVC pipe, and the same diffraction grating from your DIY interferometer.
The idea behind a hyperspectral imager is to gather the spectral data of each pixel of an image. The spectral data is then assembled into a 3D data cube, with two dimensions dedicated to the image, and the third dimension used to represent wavelength. There are a surprising number of applications for this technique, ranging from agriculture and medicine to some extremely creepy surveillance systems.
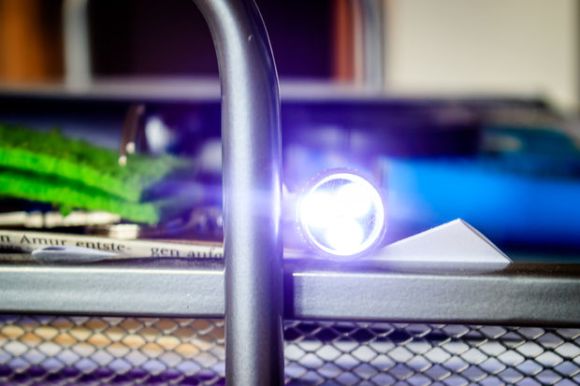
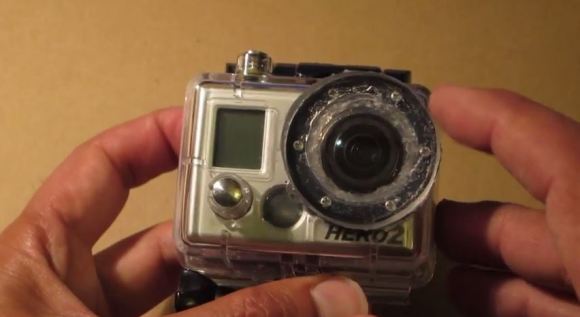
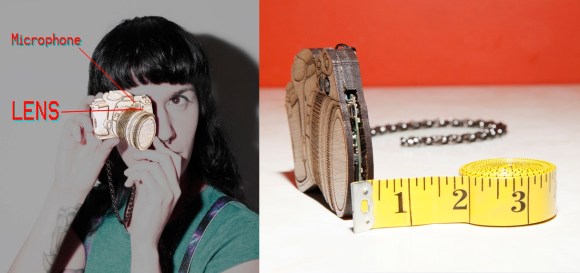
The authors of this paper (freakin’ huge PDF) used a piece of PVC pipe, three camera lenses, a diffraction grating, and a small paper aperture to construct their hyperspectral imager. Images are captured using a standard, multi exposure HDR method, assembling the raw data from the camera into a hyperspectral image with MATLAB.
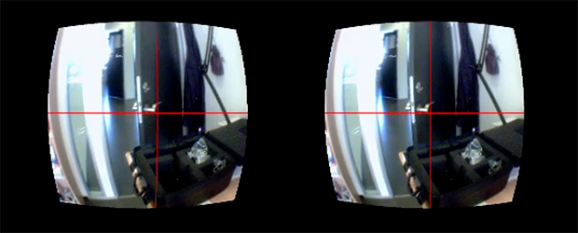
There’s a ton of awesome info in the PDF, covering how the authors calibrated their system for different lighting conditions, interpreted the RGGB Bayer sensor in the camera, and a few examples of what kind of image can be constructed with this kind of data. That’s a recommended read, right there.
Thanks [Yannick] for the tip.