Ah, to live the life of a cat. The lazing about, the food delivered on demand, and the elevators – oh the glorious elevators.
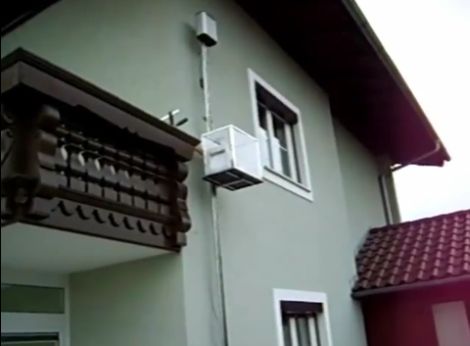
No you didn’t misread and we haven’t gone crazy. We were sent a link to the video below just the other day, and while it is nearly two years old, it was new to us. From the very brief description on YouTube, it looks as if the elevator senses the cat’s entry using infrared, locking the door behind the cat before transporting it to another level of the house. While it’s often implied that cats are incredibly lazy, this contraption definitely takes things above and beyond the norm.
It’s a pretty ridiculous system if you ask us, but it’s pretty compelling just the same. If you can find any more information on it, we’d love to hear about it in the comments. If you can’t, feel free to speculate as to how you would build a cat elevator, or elaborate on the crazy contraptions you’ve built for the lazy felines in your life.
Continue reading “A Cat Elevator, For The Discerning Lazy Feline In Your Life”


