 This week’s Retrotechtacular is a 1972 introduction to holography produced by the fine folks at Encyclopædia Britannica. It details quite admirably what holograms are and how they’re made.
Holograms are quite different from photographs, though both are recorded on film. Holography is based on the additive effects of waves: two crests of equal amplitude create a larger crest, while a crest and a trough of equal amplitude cancel each other out, causing an interference effect. The video demonstrates the concept nicely with water ripples and explains that the same effect happens with sound waves and light waves.
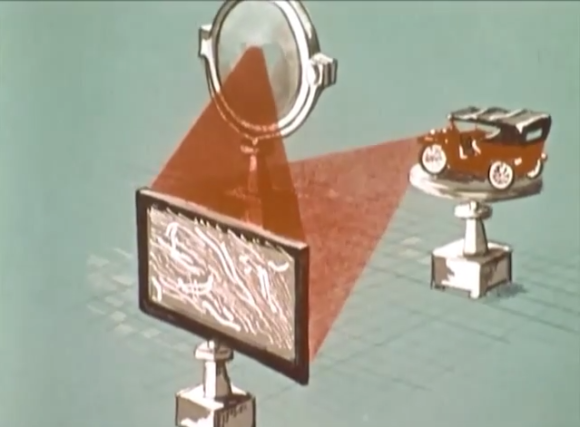
Lasers are the key to the intense and spectrally pure light required for holography. Incandescent light consists of too many wavelengths to be effectively split into two identical light wave sources. To create a hologram, a laser is split with an optical device into two beams. One beam is focused directly on the object being recorded and is called the object beam. The second beam is directed away from the scene through a series of mirrors and shone directly onto a film emulsion.
The film records the interference between the waves of the two beams. It appears to be blank after development, but upon close inspection reveals stripes of light and dark. When the exposed film is placed in the path of only the reference beam, the interference patterns recorded on the film split the beam back into two, recreating the scene. With the aid of a screen for projection, the hologram can be seen showing the original object in 2D. Another big difference between photographs and holograms is that even a small portion of a hologram can reproduce the entire scene, but a piece of a photograph is just that.
Continue reading “Retrotechtacular: Shedding Light On Holograms” →

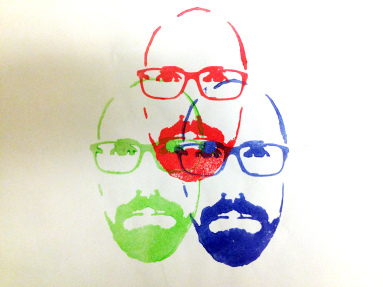 No, that’s not Heisenberg without his hat. It’s [Jens], and