Long-range Laser Night-vision

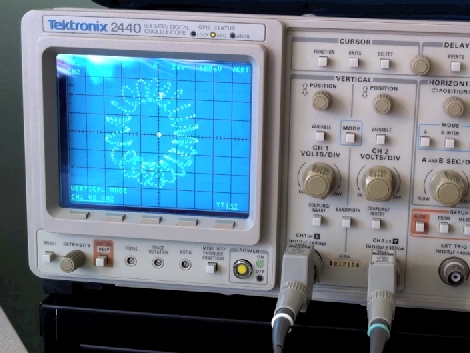
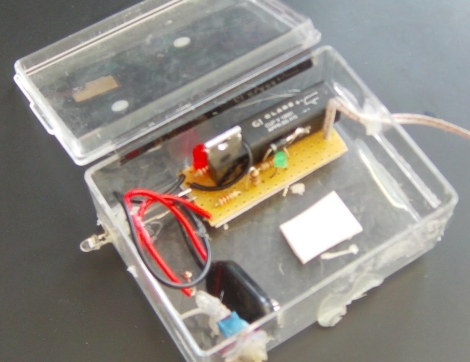
[Oneironaut] is back at it again, churning out yet another great hack in this long-distance night vision build. This isn’t the first time we’ve seen him build a night vision device, you may remember the monocle he put together using the view finder from an old camcorder. This time around he’ll give you look at distant object by using a laser instead of LEDs. He pulled an IR laser diode out of an old CD burner, then used a lens to spread out the dot in order to illuminate a larger area. A standard rifle scope is used as the optics, along with a security camera which can detect the infrared light. As always, he’s done a fantastic job with the images and the write-up. You’ll find his overview video embedded after the break.

Continue reading “Long-range Laser Night-vision”

Phosphorescent Laser Painting


Here’s a simple and interesting idea that increases the visual persistence of a laser scanner image. Using glow-in-the-dark paint, [Daito Manabe] prepares a surface so that the intense light of a laser leaves a trace that fades slowly over time. He’s using the idea to print monochromatic images onto the treated surface, starting with the darkest areas and ending with the lightest. The effect is quite interesting, as the image starts out seeming quite abstract but reveals its self with more detail over time.

As evidenced in the test videos, the bursts of laser scanning are matched to the fade rate of the paint. Therefore it would seem that the time taken to “write” an image is directly proportional to the desired visual persistence of the final image. We wonder, by combining clever timing and variable laser intensity could you write images much more quickly? How hard would it be to use this for moving pictures? With the ability to create your own tiny laser projector, and even an RGB scanner, there must be a lot of potential in this idea for mind-blowing visual effects. Add portability by using a phosphor-treated projection screen!

Share your ideas and check out the test videos after the break.

Continue reading “Phosphorescent Laser Painting”

Gas Containment For Laser Cutters

Tired of breathing all the noxious fumes your laser cutter puts out? Yeah… we don’t have a laser cutter either. But [Jeri Ellsworth] does and she needed a way to evacuate off-gases generated during cutting so that they don’t damage the laser cutter, or her lungs. What she came up with is a containment box that attaches to a pump system.

The problem is that you want to keep the gases away from the laser cutter hardware but you still need to be able to shoot the laser at your work material. Her clever solution is to use a silicone wafer like the ones with which she makes integrated circuits. They allow the infrared laser to pass through without being chopped in half. What you see in the image above is a red box with the round wafer in the center. Near the bottom of the image is a clear window so you can see what’s going on with your work piece. But to get the full idea you need to watch the video embedded after the break.

We can’t help but think she’s building this in preparation for some more chemistry hacking.

Continue reading “Gas Containment For Laser Cutters”

Build A Cutting Laser From An Old PC

[Drake Anthony] makes building a cutting laser from a PC look easy, and it seems like it actually is. Almost everything you need can be found in a dead desktop unit. The diode is pulled from a DVD writer (16x or faster), with the power supply unit, and heat sinks from the processor and GPU being used as well. You’ll also need a focusing lens (just a few dollars), some thermal glue, an LM317, a resistor, and a pair of protective goggles matching the laser diode’s wavelength.

He fits the diode into the lens, then glues the assembly into a hole drilled through the processor heat sink. A driver is built using the LM317 variable regulator, resistor, power supply, and the GPU heat sink to keep things cool. Check out the video after the break to see the laser cutting tape, burning plastic, and lighting matches. Continue reading “Build A Cutting Laser From An Old PC”

Laser Mic Makes Eavesdropping Remarkably Simple

Here’s a surprisly simple way to build yourself a laser-based listening device. It consists of two modules, a transmitter and a receiver. The transmitter is a set of lasers, one is visible red for aiming, and the other is infrared for measuring the vibration of a surface. Point the transmitter at the window of the room you want to listen in on and the laser can be reflected back to the receiver. The receiver module has a phototransistor to pick up the infrared laser light, and an LM386 audio amplifier to generate the audio signal sent to a pair of headphone. The need to be well-aligned which is easy enough using a pair of tripods. Check out the demo after the break.

Looking for something to do with the leftover laser diodes from this project? Try making yourself a laser microscope.

Continue reading “Laser Mic Makes Eavesdropping Remarkably Simple”

Laser Marquee Projector

This laser message scroller is built with inexpensive parts. The heart of [Raul’s] system is a spinning pill-box with eight mirrors on it. Each redirects the laser to a different vertical portion of the projection surface. There are eight small arms on the apparatus that each break the beam of an optical sensors as it spins, facilitating the precise synchronization needed to generate the projected image correctly. In the video after the break we can make out what looks like an Arduino controlling the system. This makes sense as it’s easy to connect the laser pointer and sensor, and the USB connection allows for the streaming of messages to the system.

Want to see a more complicated setup? Check out the POV laser projector from a few years back. Continue reading “Laser Marquee Projector”

1 Watt Laser Engraver

This laser engraver was built using printer parts, a CD-ROM carriage, and some homebrew electronic boards. The laser diode is a 1-Watt model similar to what we saw used as a weak laser cutter back in August. When the width of the material changes the focus of the laser is affected so the diode was mounted on a CD-ROM carriage (in the Z axis) for easy adjustment. The X and Y axes are made using parts from Epson Stylus 800 and Epson Stylus Color II printers. After the break we’ve embedded a video of the machine engraving some wood using EMC2 software on an Ubuntu box. It also boasts the ability to cut paper and some plastic but it can’t compare in power to a CO2-based unit.

Continue reading “1 Watt Laser Engraver”