TouchIt Fabulously With Other People On The Internet

[John] from MIT is working on a project to bring a little bit of interactivity to the hacks he does. Because his hacks receive much more attention on the Internet than in real life, [John] made it so clicking a button in your browser can change something in the real world. He calls his creation TouchIt Fabulously (check out that URL!), and it allows a queue of people on the Internet to take part in a real-world hack.

The basic idea of [John]’s build is very simple: a microcontroller connected to the Internet and a 7-segment display receives button presses from random people on the web. [John] did a lot of work to make sure everything is ‘fair’ when a lot of people are hitting his server by including per-IP queuing and rate limiting.

Right now, it’s just a 7-segment display connected to the Internet with a live video stream. With each press of a button, the counter decrements by one, and the person to take it all the way to zero gets to put their comment up on the web site.

If this build receives a lot of interest, [John] plans on turning it into a much bigger build that will control the lights in his office, shoot ping-pong balls at him, and an interactive display where people can draw graffiti in one of MIT’s many hallways.

Now that [John]’s build is up on Hackaday, we look forward to the stress testing our readers will graciously provide.

Thanks go to [Steve Baconmeister] for sending this in and having the best fake name ever.

Configurable RFID Tag From 7400 Logic Chips

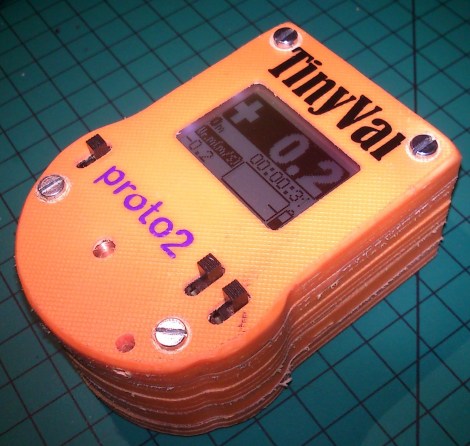
This soldering nightmare is a configurable RFID tag which has been built from 7400-series logic chips. The beast of a project results in an iPhone-sized module which can be used as your new access card for security systems that uses the 125 kHz tags. The best part is that a series of switches makes the tag hand programmable, albeit in binary.

Of course this is an entry in this year’s 7400 Logic Competition. It’s from last year’s winner, and he’s spent a lot of time documenting the project; which we love. We were surprised that this many chips can be powered simply by what is induced in the coil from the reader. This is just one of the reasons the 7400-series have been so popular over the years. After working out the numbers, a 64-bit shift register was built to feed the tag ID to the encoding portion of the design. There were many kinks to work out along the way, but once it was functional a surface-mount design was put together resulting in the final product shown off in the video after the break.

Continue reading “Configurable RFID Tag From 7400 Logic Chips”

Bootloader Brings USB, Firmware Updating To The ATtiny85

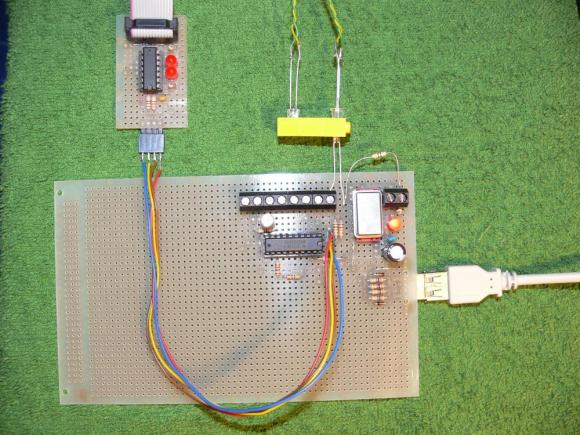
[Jenna] sent in a very cool bootloader she thought people might like. It’s called Micronucleus and it turns the lowly ATtiny 85 into a chip with a USB interface capable of being upgraded via a ‘viral’ uploader program. Micronucleus weighs in at just over 2 kB, making it one of the smallest USB-compatible bootloaders currently available.

The USB support comes from V-USB, a project that puts a virtual USB port on a suite of AVR microcontrollers. With V-USB, it’s easy to turn a Tiny85 into a keyboard, custom joystick, data logger, or computer-attached LED display.

One very interesting feature of Micronucleus is the ‘viral updater’ feature. This feature takes a new piece of firmware, and writes it to a Tiny85, disabling the current bootloader. If you’re designing a project that should have a means of updating the firmware via USB instead of the usual AVR programmer, this might be the bootloader for you.

Not bad for a bootloader that emphasizes small code size. At just over 2 kB, it’s possible to use this bootloader on the similar, smaller, and somewhat cheaper ATtiny45.

PIC Programming Adapter For The Raspberry Pi

Here’s another offering when it comes to PIC programming from the Raspberry Pi. The design seeks to adapt the GPIO header so that it may be used for programming PIC microcontrollers, but this does involve a bit more than just physically connecting pins to the target chip. Most of the PIC family require a 12V programming level, and this setup makes that possible.

The sets of NPN transistors shown in the schematic fragment above are arranged in darlington pairs. They’re actually switching voltage from the 6V linear regulator built into the system using the Pi’s 3.3V pins. There’s also a 12V regulator, so you’re going to need a power supply that is capable of sourcing more than that.

We’ve seen a similar concept before but this design carries it a step further. There are several status LEDs built into the programmer, and it includes support for detecting which chip is being programmed. So far this covers just four different chips, but we’re sure that it could be adapted to fit your own needs.

[via Reddit]

STM32 Driving A PCIe Video Card

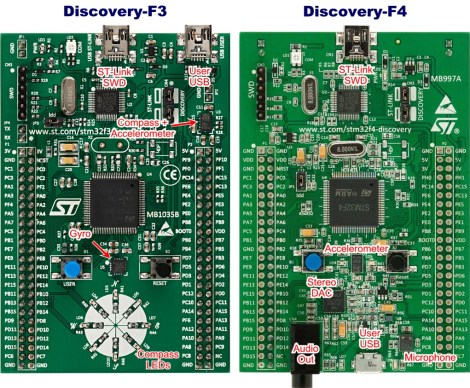
[Gpuhackr] chose his username to explain exactly how he spends his time. For instance, here he’s using an STM32 Discovery board to drive an AMD Radeon HD 2400 graphics card. The ARM microcontroller isn’t actually using the PCIe interface on the card. Instead, [Gpuhackr] has patched into the debugging interface built into the card itself. This isn’t quite as straight forward as it sounds, but if you do the wiring carefully it’s a pretty intersting way to connect an ARM to an LCD monitor.

This project would be almost impossible if it weren’t for the open source code which AMD has released. This lets him implement the card’s 3D rendering features. The demo directly programs the UVD Xtensa CPU which is on the video card. It draws a cube with color gradients on each side. The cube spins while the debug information is overlaid on the screen. In this case the ARM chip/board is really being used as a programmer to upload some custom firmware. But we think a real code-ninja could implement a communications protocol to open up a simple way to drive the card in real-time.

[Thanks uMinded]

USB To RS-232 Adapter Hacked To Use RS485 Instead

[André Sarmento] needed to connect a computer to an RS-485 bus. A simple converter can be sourced online, but the only thing he could find locally that was even close was a USB to RS-232 converter. He used that component to craft his own USB to RS-485 bridge.

RS-485 is often used for remote sensors as it provides a method of connecting electronics over long distances. The converter which he started with seems to be encased in a hot-glue-like substance. A bit of time with a torch and he was able to get to the components on the board. There are two stages, one which converts RS-232 to TTL, and the other converts TTL to USB. [André] removed the RS-232 chip and patched his own board (shown on the left) into its TTL lines. He was also able to add a few more configuration options, like using an external power source, and having a few jumper-selected resistor options.

Giving The MSP430 A GUI

Sometimes you need to toggle or read a few pins on a microcontroller for a project so simple (or so temporary) that coding some firmware is a rather large investment of time. [Jaspreet] had the same problem – wanting to read values and toggle pins without writing any code – so he came up with a rather clever solution to control an MSP430 through a serial connection.

[Jaspreet] calls his project ControlEasy, and it does exactly as advertised: it provides a software interface to control ADC inputs, PWM outputs, and the state of output pins via a desktop computer. ControlEasy does this with a matching piece of code running on any MSP430 with a hardware UART (like the TI Launchpad) sending and receiving data to the computer.

Right now ControlEasy can read analog values, generate PWM output, and set individual pins high and low. [Jaspreet] plans on expanding his software to allow control of LCDs and I2C and SPI devices.

In the video after the break you can see [Jaspreet] fiddling around with some pins on his LaunchPad via the GUI. The software is also available for download if you’d like to try it out, but unfortunately it’s a Windows-only build at this point.

Continue reading “Giving The MSP430 A GUI”