Has it really come to this? Are we really at the point that dishwashers have proprietary detergent cartridges that you’re locked into buying at inflated prices?
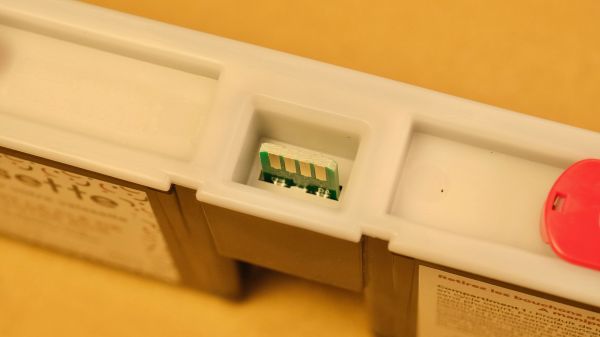
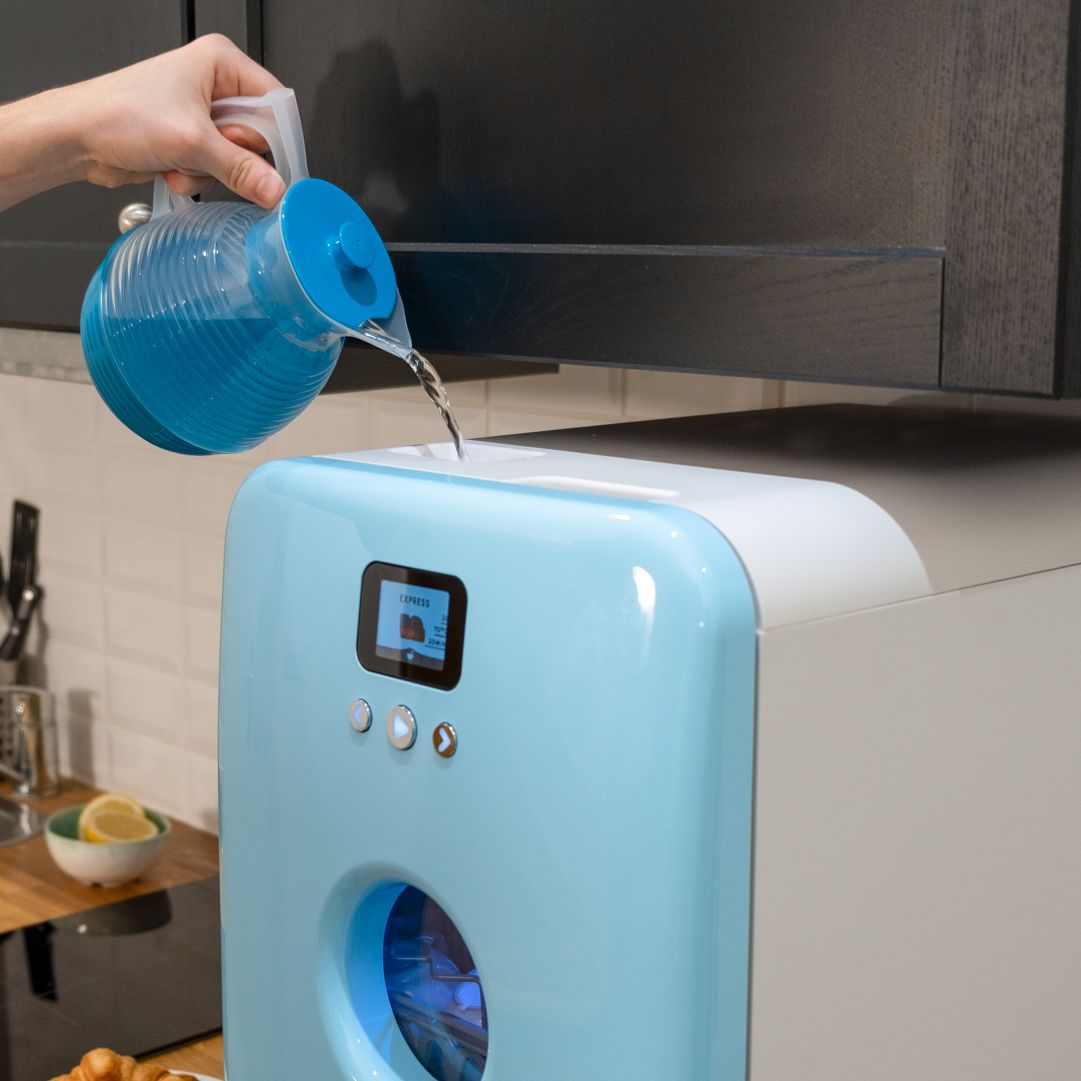 Apparently so, at least for some species of the common kitchen appliance. The particular unit in question goes by the friendly name of Bob, and is a compact, countertop unit that’s aimed at the very small kitchen market. [dekuNukem] picked one of these units up recently, and was appalled to learn that new detergent cartridges would cost an arm and a leg. So naturally, he hacked the detergent cartridges. A small PCB with an edge connector and a 256-byte EEPROM sprouts from each Bob cartridge; a little reverse engineering revealed the right bits to twiddle to reset the cartridge to its full 30-wash count, leading to a dongle to attach to the cartridge when it’s time for a reset and a refill.
With the electronics figured out, [dekuNukem] worked on the detergent refill. This seems like it was the more difficult part, aided though it was by some fairly detailed specs on the cartridge contents. A little math revealed the right concentrations to shoot for, and the ingredients in the OEM cartridges were easily — and cheaply — sourced from commercial dishwashing detergents. The cartridges can be refilled with a properly diluted solution using a syringe; the result is that each wash costs 1/75-th of what it would if he stuck with OEM cartridges.
For as much as we despise the “give away the printer, charge for the ink” model, Bob’s scheme somehow seems even worse. We’ve seen this technique used to lock people into everything from refrigerator water filters to cat litter, so we really like the way [dekuNukem] figured everything out here, and that he saw fit to share his solution.