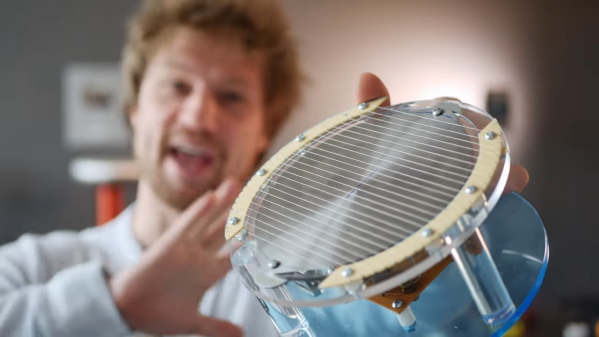
[Amy Makes Stuff] has long used a pair of diamond honing blocks to freehand sharpen planes, chisels, and all the other dull things around the shop. Although this method works fairly well, the results are often inconsistent without some kind of jig to hold the blade securely as it’s being sharpened. These types of devices are abundant and cheap to buy, but as [Amy] says in the video after the break, then she doesn’t get to machine anything. Boy, do we know that feeling.
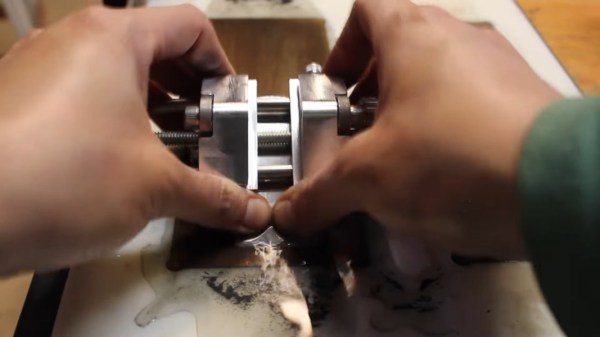
[Amy] was able to make this completely out of stuff she had lying around, starting with a block of scrap aluminium that eventually gets cut into the two halves of the jig. The video is full of tips and tricks and it’s really interesting to see [Amy]’s processes up close. Our favorite part has to be that grippy knob that expands and contracts the jig. [Amy] made it by drilling a bunch of holes close to the outside edge of a circle, and then milled away the edge until she had a fully fluted knob. Once she had the jig finished, she upgraded her honing blocks by milling a new home for them out of milky-white high-density polyethylene.
Mills are fantastic tools to have, but they’re a bit on the pricey side. If you’re just getting started, why not convert a drill press into a mill? Wouldn’t that be more fun that just buying one?
Continue reading “Machining A Honing Jig Will Keep Skills Sharp”