 [Barry] sent us a tip about a video from [electronupdate], describing an experimental cell phone charger. It’s a familiar issue: Your cell phone battery is low, and you aren’t in a position to plug it in for hours to charge. Some phones, including the one in his video, have swappable batteries, but that isn’t always an option either. As he explains in the video, a wall outlet can deliver the joule capacity of a high-end battery in a matter of seconds, but it is impossible to charge a battery that quickly. Capacitors, on the other hand, charge near-instantly.
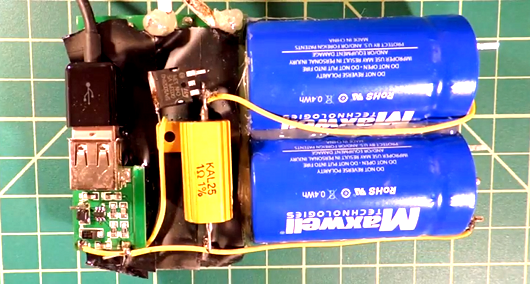
[electronupdate] decided to look at the possibility of using super capacitors to power a typical usb plug. It would allow you to charge a secondary power supply in a short period of time, and then get on your way, letting your phone charge slowly from the device.
His experiment wasn’t entirely successful, possibly because he used 2.7V capacitors, which required a boost regulator and limited the useful voltage range. We think he might have had better success using 120V capacitors and a switching power supply, but it would be nice to see the various options compared.
Oh, [electronupdate] describes using this circuit as you are rushing to your airplane. We aren’t convinced carrying a couple super capacitors through a TSA checkpoint would be the best idea… YMMV.