433 MHz radio signals are all around us. They’re used for things like smart power plugs, garage door openers, and home weather stations. Decoding these signals can allow you to interface and work with these devices on your own terms. To help in those efforts, [Joonas Pihlajamaa] has written a three-part tutorial on decoding these signals.
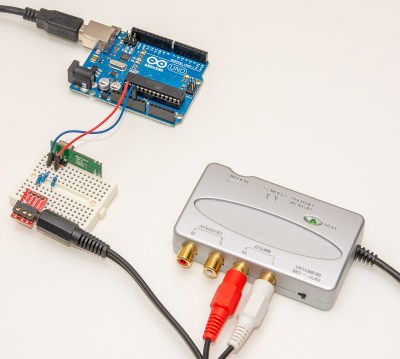
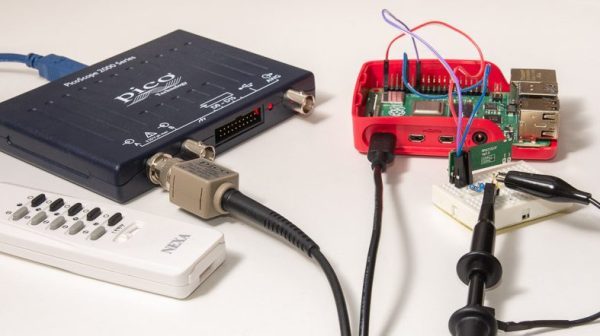
The focus of the tutorials is decoding the signals of a Nexa radio-controlled smart plug. [Joonas] first explores using an Arduino to do the job, paired with a RFM210LCF-433D radio receiver module. This setup dumps out data to a computer over serial for decoding. [Joonas] then tried an alternative strategy, using a soundcard as a “poor man’s oscilloscope” to do the same job, using the same radio module and using Audacity for signal analysis. Finally, [Joonas] brought out the big guns, hooking up a Picoscope digital oscilloscope to a Raspberry Pi 4 for a more deluxe attempt at decoding the signals.
The tutorial goes to show that higher-end tools can make such a job much easier. However, the cheaper techniques are a great way of showing what can be done with the bare minimum in tools. We’re hoping for an exciting fourth part to [Joonas’s] work, where he instructs us on how to decode 433 MHz signals by drinking huge amounts of caffeine and staring at a very fast blinking LED. If you’ve got your own nifty signal analysis (or SIGINT!) hacks, be a good sport and drop them into the tipsline!