There are a handful of relatively dirt cheap synths out there like the KORG Monotron, but many of them use ribbon controllers that aren’t very precise. Ribbon controllers basically slide pots that you operate with your finger or a stylus. They’re painted to look like piano keys in order to show you approximately where the notes are supposed to be. The Stylophone is another extremely affordable synth that does even less as a synthesizer and uses this type of input. It’s a fun input if you don’t mind imprecision, but can be annoying otherwise.
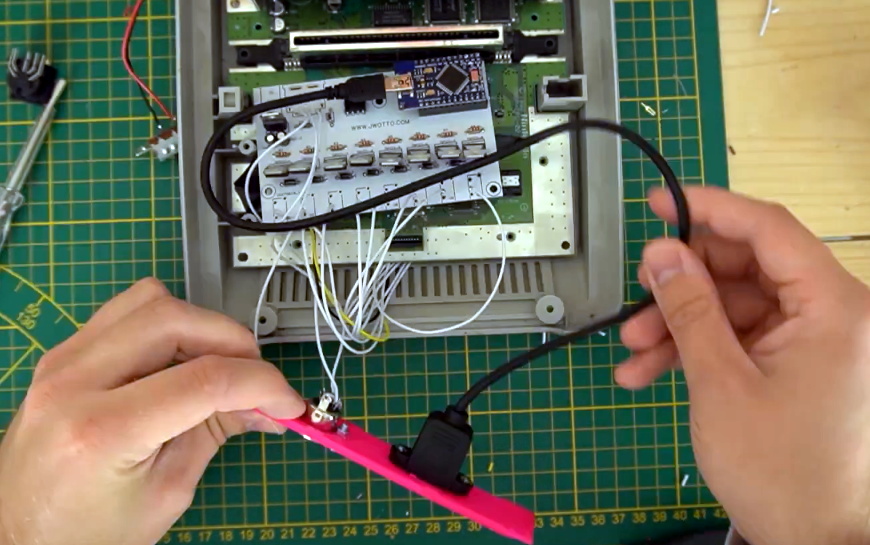
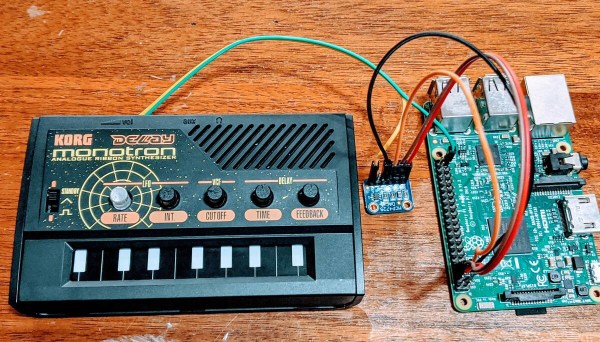
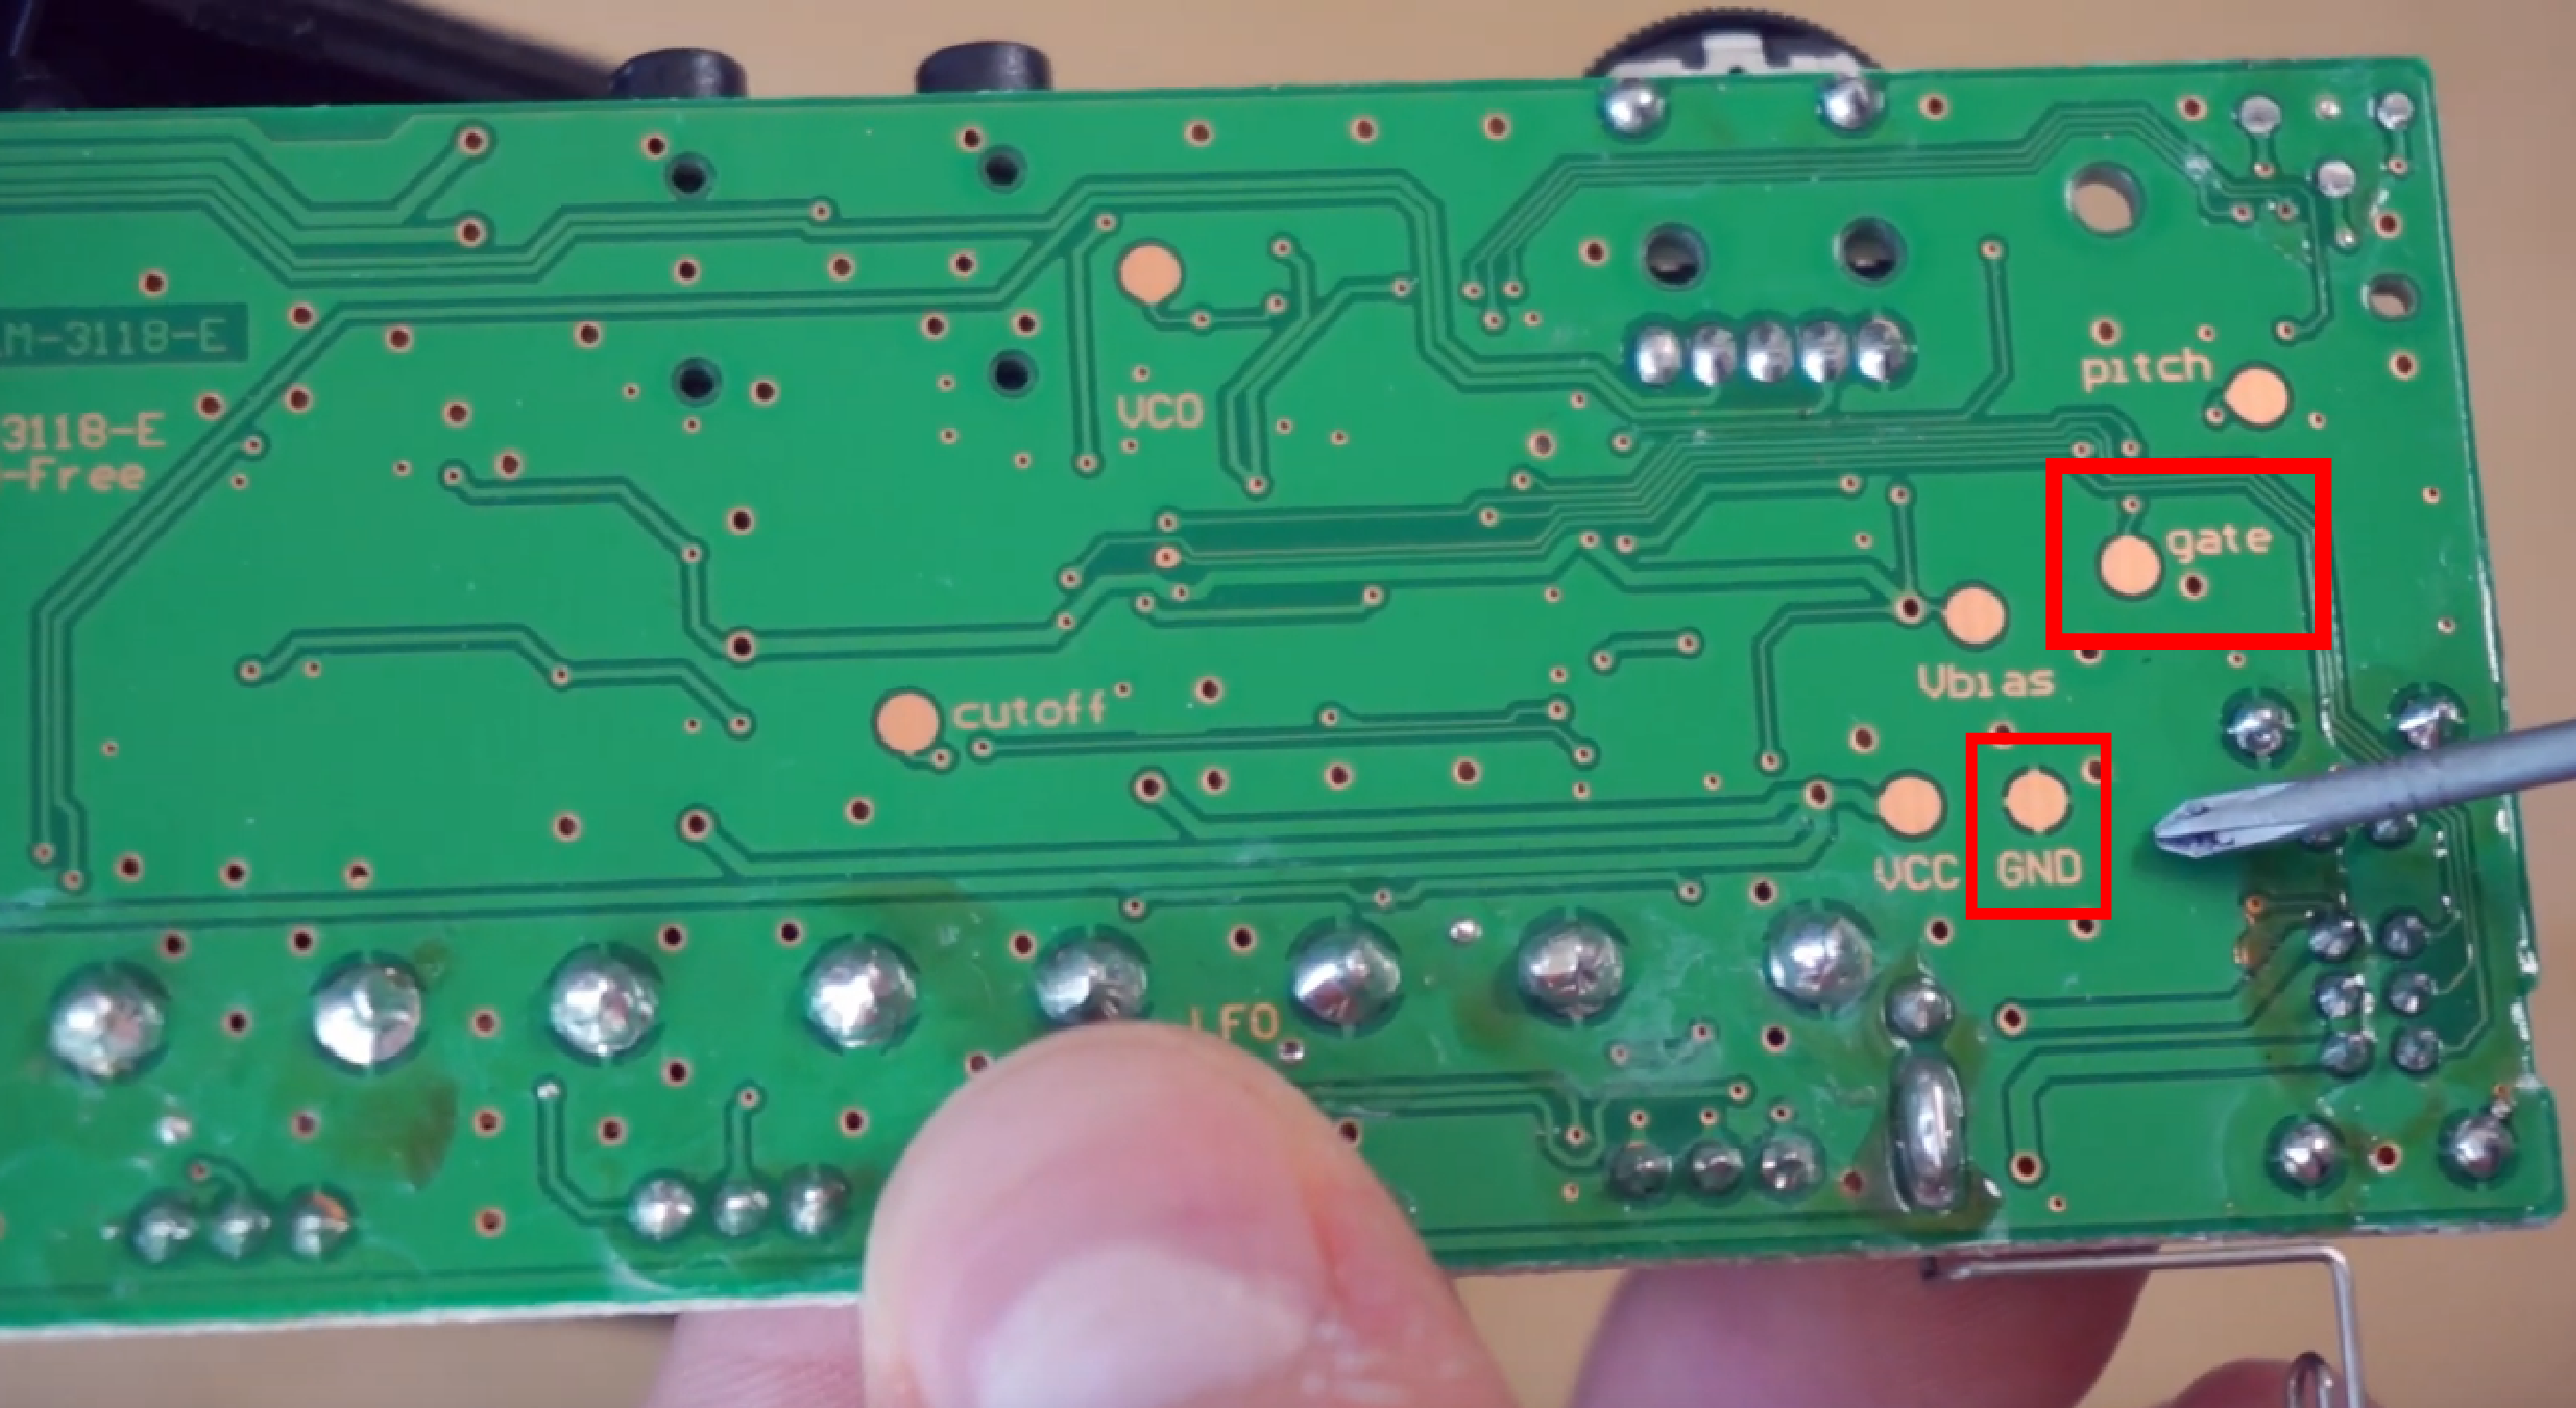 [schollz] isn’t satisfied to synth this way, so they added MIDI input to their KORG Monotron using a Raspberry Pi and a DAC. Fortunately, the Monotron is quite the hackable little synth, with nice, big, labelled pads on the PCB.
All it really took was a couple of solder joints in the right places, plus a clever Python script. The script listens for MIDI input from a keyboard, and then controls an MCP4725 DAC, which sends voltages to the Monotron. [schollz] wrote a tuning function that computes the FFT of the MIDI tones to find the fundamental frequencies of each to send along to the Monotron. Check it out after the break.
If liquid control is what you’re after but all you have is a keyboard, try making your own ribbon controller.
Continue reading “Adding MIDI To A Mini Synth Is Easy As Pi”