A Nearly Practical 6502 Breadboard Computer

Over the years we’ve seen a number of homebrew 6502 computers assembled with little more than a breadboard, a sack full of jumper wires, and an otherworldly patience that would make a Buddhist Monk jealous. Anyone who takes the time to assemble a fully functional computer on a half-dozen breadboards lined up on their workbench will always be a superstar in our book.

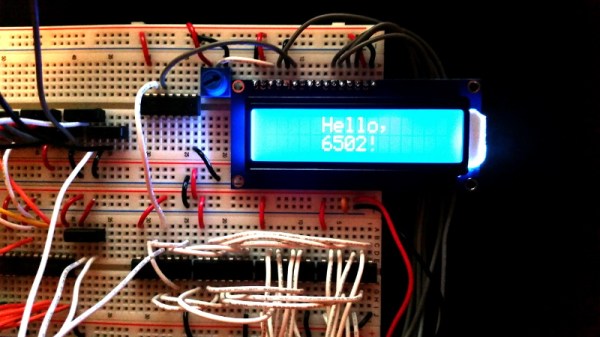
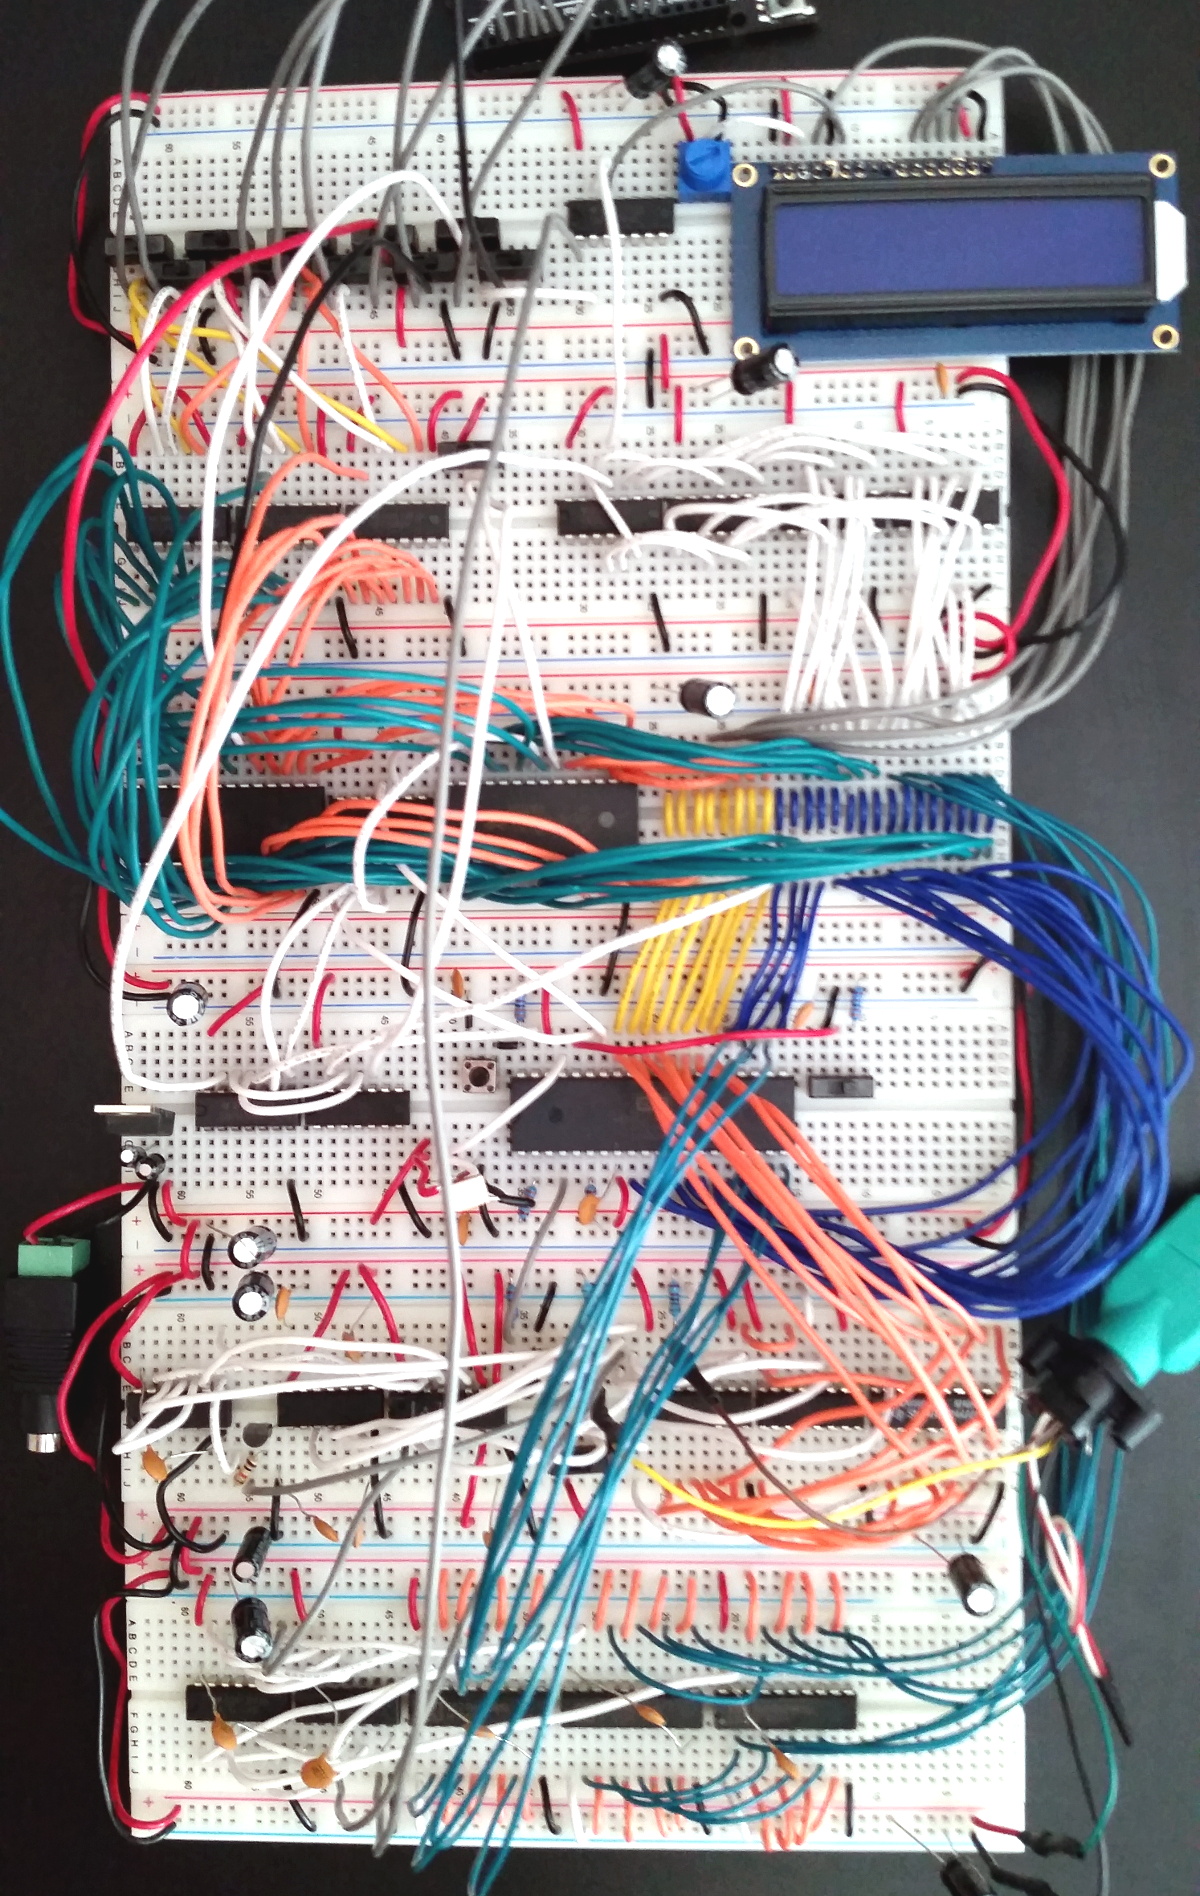
While we’re still too lazy to attempt one of these builds ourselves, we have to admit that the Vectron 64 by [Nick Bild] looks dangerously close to something you might be able to pull off within a reasonable amount of time. It’s still an incredible amount of work, but compared to some of the other projects we’ve seen, this one manages to keep the part count relatively low thanks to the use of a simple 16×2 LCD for output and user input provided by a PS/2 keyboard. You won’t be playing Prince of Persia on it, but at least you might be able to finish it in a weekend.

The computer is clocked at 1 MHz, and features 32KB RAM
along with 32KB EEPROM. That should be enough for anyone. [Nick] also points out he tried to use era-appropriate 7400 series ICs wherever possible, so no worries about historical revisionism here. If you’re looking for a design that somebody could have potentially knocked together back in the 1970s, this one would get you fairly close.

The astute reader might notice there’s no removable media in this build, and may be wondering how one loads programs. For that, [Nick] allowed himself a bit of modern convenience and came up with a scheme that allows an Arduino (or similar microcontroller) to connect up to the computer’s 28C256-15 EEPROM. With a Python script running on your “real” computer, you can write a new ROM image directly to the chip. He’s included the source code for a simple program which will write whatever you type on the keyboard out on the LCD, which should give you a good framework for writing additional software.

If you’re looking for a bigger challenge, don’t worry. We’ve covered 6502 breadboard computers that will make your eyes water. Incidentally, this isn’t the first time we’ve seen a similar LCD used for one of these computers, so looks like there’s no shame in sneaking in modern parts where it makes sense.

Manufacturing SimCity For The NES

Late last year, news broke of impossibly rare artifact from the age of the Nintendo Entertainment System. SimCity was the classic simulation game for PC and just about every other console, and it was written for the NES but never released. Now one guy finally got around to digging out his copy, which was dumped at the Portland Retro Gaming Expos and finally put on the Internet. It’s an unfinished game but it’s mostly playable, even if it is a bit more primitive than the PC version.

[Matt] wanted to build his own copy of SimCity for the NES, so that’s what he did. It’s a project that took months of work and a ton of research, but finally there’s a professional-looking cartridge version of SimCity.

With the ROM for SimCity loose on the Internet, that part of the build was relatively easy. You can still get EPROMs or EEPROMs, UV erasers, and a good programmer will run you fifty bucks through the usual vendors. There are even places on the Internet that will split up the emulator-compatible ROM file into two files for the character and program ROM in each NES cartridge. The trick here is finding the right cartridge with the right mapper. It turns out there are only four games that you can simply drop SimCity ROM chips into and expect everything to work. All of these games cost a small fortune, but their Famicom versions are cheap.

After carefully desoldering the Famicom game, soldering in the new chips, and applying a fancy professional label, [Matt] had his cartridge version of SimCity for the NES. It’s for a Famicom, though, but you can get adapters for that. Check out the video below.

Continue reading “Manufacturing SimCity For The NES”

Vintage Camera Flash Turned OLED Desk Clock

After covering a few of his builds at this point, we think it’s abundantly clear that [Igor Afanasyev] has a keen eye for turning random pieces of antiquated hardware into something that’s equal parts functional and gorgeous. He retains the aspects of the original which give it that unmistakable vintage look, while very slickly integrating modern components and features. His work is getting awfully close to becoming some kind of new art form, but we’re certainly not complaining.

His latest creation takes an old-school “Monopak” electronic flash module and turns it into a desk clock that somehow also manages to look like a vintage television set. The OLED displays glowing behind the original flash diffuser create an awesome visual effect which really sells the whole look; as if the display is some hitherto undiscovered nixie variant.

On the technical side of things, there’s really not much to this particular build. Utilizing two extremely common SSD1306 OLED displays in a 3D printed holder along with an Arduino to drive them, the electronics are quite simple. There’s a rotary encoder on the side to set the time, though it would have been nice to see an RTC module added into the mix for better accuracy. Or perhaps even switch over to the ESP8266 so the clock could update itself from the Internet. But on this build we get the impression [Igor] was more interested in playing with the aesthetics of the final piece than fiddling with the internals, which is hard to argue with when it looks this cool.

Noticing the flash had a sort of classic TV set feel to it, [Igor] took the time to 3D print some detail pieces which really complete the look. The feet on the bottom not only hold the clock at a comfortable viewing angle, but perfectly echo the retro-futuristic look of 50s and 60s consumer electronics. He even went through the trouble of printing a little antenna to fit into the top hot shoe, complete with a metal ring salvaged from a key-chain.

Late last year we were impressed with the effort [Igor] put into creating a retro Raspberry Pi terminal from a legitimate piece of 1970’s laboratory equipment, and more recently his modern take on the lowly cassette player got plenty of debate going. We can’t wait to see what he comes up with next.

Continue reading “Vintage Camera Flash Turned OLED Desk Clock”

Thirty Six Frets For A 3D Printed Guitar

Only 80s kids will remember actual hair metal with the meedley-mees way up high on the fret board, and in the 80s, fret boards got longer. Twenty one or twenty two frets on a guitar weren’t good enough, and you needed the full two octaves of twenty four frets. As with anything, more is better, so [Said Too Much] decided to add frets to his guitar. Yes, you can do that, and it actually doesn’t sound too bad, all things considering.

A few things to cover before going over this build. This did not start out as an experiment to extend the fretboard of a guitar. This started out as a soprano guitar build; this would be the inverse of a baritone guitar — instead of an extended scale length and heavier strings to play a fourth or fifth below a regular guitar, this soprano guitar would have a shorter scale length and lighter gauge strings to play a fourth or fifth above a regular guitar. After a few calculations and some calls to companies that make very, very thin guitar strings, this project morphed into a 3/4 scale guitar (a 23″ scale length, although I question that scale length being actually 3/4 scale) and a set of strings that used 0.07″ strings.

Since a soprano guitar is pretty much just like a normal guitar with more frets, this project also got an extended, 3D printed fretboard. Why? Because. The stock pick guard was modeled and printed out in PLA, removing the neck and middle pickups. Then, an ‘extended fret board adapter’ of sorts was slotted in behind the strings. This gives the guitar 38 frets, a full third of them being printed in PLA.

The burning question: does a 3D printed fret board work? Yes, kind of. If you can get your fingers in between the frets, you can absolutely play the 36th fret on this guitar. It’s not for everybody, obviously, and PLA printed frets will never be as good as polished metal frets. But it is an interesting experimental technique for stringed instruments we haven’t seen before. Check out the video below.

Continue reading “Thirty Six Frets For A 3D Printed Guitar”

A USB -C Soldering Iron For Weller Tips

There was a time when a decent temperature controlled soldering iron took the form of the iron itself and a box of electronics, but now it’s just as likely to be a miniaturised affair with the temperature controller built into a slim and lightweight handle. Irons such as the Miniware TS series have become firm favourites, displacing a traditional soldering station for many.

[Thomas.lepi] has combined the best of both worlds, with a TS-style microprocessor-driven handle driving the familiar Weller RT elements. Its interface is very simple, but through its USB power socket a serial port provides opportunities for adjustment. Providing control is an STM32F042G6U6 ARM Cortex M0 microcontroller, with USB power control coming from an STUSB4500QTR .

If you are used to irons such as the Miniware TS100 then this one with its smartly 3D-printed case will be very straightforward to use. Whether or not the ready availability of the TS100 or its USB-C sibling would remove the need to build this iron is up to you, but then again that’s hardly the point. The Weller tips are some of the better ones of their type, so perhaps that might make this project worth a second look.

Continue reading “A USB -C Soldering Iron For Weller Tips”

Retrotechtacular: Transputer

Back in 2016, Hackaday published a review of The National Museum of Computing, at Bletchley Park. It mentions among the fascinating array of computer artifacts on display a single box that could be found in the corner of a room alongside their Cray-1 supercomputer. This was a Transputer development system, and though its architecture is almost forgotten today there was a time when this British-developed microprocessor family had a real prospect of representing the future of computing. So what on earth was the Transputer, why was it special, and why don’t we have one on every desk in 2019?

An Inmos RAMDAC (the 28-pin DIP) on the motherboard of a 1989 IBM PS/55. Darklanlan [CC BY 4.0]
Inmos, based in Bristol, were a — no, make that the — British semiconductor company, in the days when governments saw such things as a home-grown semiconductor manufacturing capability to be of strategic importance. They made microcomputer peripheral chips, RAM chips, and video chips (the workaday silicon of 1980s computing) but their exciting project was the Transputer.

This microprocessor family addressed the speed bottlenecks inherent to conventional processors of the day by being built from the ground up to be massively multiprocessor.  A network of Transputer processors would share a web of serial interconnects arranged in a crosspoint formation, allowing multiple of them to connect with each other independently and without collisions. It was the first to feature such an architecture, and at the time was seen as the Next Big Thing. All computers were going to use Transputers by the end of the 1990s, so electronic engineering students were taught all about them and encountered them in their group projects. I remember my year of third-year EE class would split into groups, each of tasked with a part of a greater project that would communicate through the crosspoint switch at the heart of one of the Transputer systems, though my recollection is that none of the groups went so far as to get anything to work. Still how this machine was designed is fun to look back on in modern times. Let’s dig in!

Continue reading “Retrotechtacular: Transputer”

Hackaday Podcast 015: Going Low Frequency, Robotic Machines, Disk Usage For Budgets, And Cellphones Versus Weather

Hackaday Editors Mike Szczys and Elliot Williams discuss the highlights of the great hacks from the past week. On this episode we discuss wireless charging from scratch, Etch-A-Sketch selfies, the robot arm you really should build yourself, bicycle tires and steel nuts for anti-slip footwear, and bending the piezo-electric effect to act as a VLF antenna. Plus we delve into articles you can’t miss about 5G and robot firefighting.

Take a look at the links below if you want to follow along, and as always, tell us what you think about this episode in the comments!

Take a look at the links below if you want to follow along, and as always, tell us what you think about this episode in the comments!

Direct download (60 MB or so.)

Continue reading “Hackaday Podcast 015: Going Low Frequency, Robotic Machines, Disk Usage For Budgets, And Cellphones Versus Weather”