Readers of a certain age will remember the payphone trick of letting the phone ring once and then hanging up to get your quarter back. This technique was used with a pre-planned call time to let someone know you made it or you were okay without accruing the cost of a telephone call. As long as nobody answered you didn’t have to pay for the call, and that continues to be the case with some pay-per-minute cellphone plans.
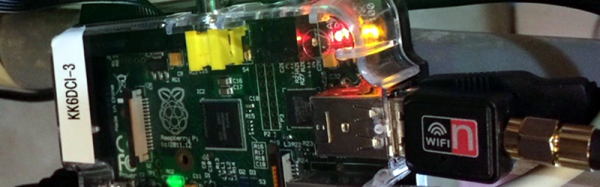
This is the concept behind [Antonio Ospite’s] ringtone data transfer project called SaveMySugar. Don’t judge him, this work has been ongoing for around ten years and started back when cellphone minutes were a concern. We’re just excited to see that he got the excruciatingly slow thing to work.
Those wanting to dig down to the nitty-gritty of the protocol (and you should be one of them) will want to read through the main project page. The system works by dialing the cellphone, letting it ring once, then hanging up. The time between redials determines a Morse code dot, dash, or separation between characters. Because you can’t precisely determine how long it will take each connection to read, [Antonio] built ‘noise’ measurement into the system to normalize variations. The resulting data transfer works quite well. He was able to transfer the word “CODEX” in just six minutes and thirty seconds. But it is automatic, so what do you care? See the edge-of-your-seat-action play out in the video below.
How would you like to have a WiFi connection that covers 10 miles? Or how about an even wider network made up of a mesh of multiple nodes? It is possible, but there is a catch: you probably need a ham radio license to do it (at least, you do in the United States).
What makes it possible is the realization that conventional WiFi channels 1-6 are inside an existing US ham band. That means (if you are a ham) you can elect to use FCC part 97 rules instead of part 15 that governs WiFi routers. That means you can use more power and–even more importantly–better antennas to get greater range.
Traditionally, hams have used custom firmware for Netgear routers or Ubiquiti hardware. However, [WZ0W] recently posted his experience using Raspberry Pi boards as mesh nodes. The code (which also works with some other single board computers) is available on GitHub (with details on the project blog). [WZ0W] points out that, unlike using a consumer router, using a Pi provides a reasonably powerful computer for hosting services as well as hosting the network.
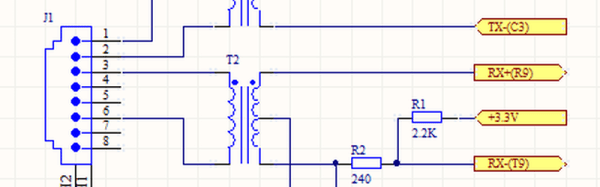
When [iliasam] needed an Ethernet connection, he decided to see how much of the network interface he could put in the FPGA logic. Turns out that for 10 Base-T, he managed to get quite a bit inside the FPGA. His original post is in Russian, but automatic translation makes a passable attempt at converting to English.
This is a classic trade off all FPGA designers face: how much external logic do you use for a particular design. For example, do you add memory to the PCB, or use FPGA resources as memory? Each has its advantages and disadvantages (that’s why it is a trade off). However, if you are trying to keep things cheap, slashing external circuitry is often the way to go.
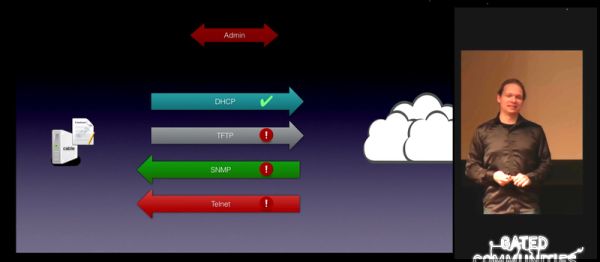
[Alexander Graf] gave an absolutely hilarious talk at 32C3 about the security flaws he found in cable modems from two large German ISPs. The vulnerability was very serious, resulting in remote root terminals on essentially any affected cable modem, and the causes were trivial: unencrypted passwords in files that are sent over TFTP or Telnet to the modems, for instance.
While [Alexander] was very careful to point out that he’d disclosed all of these vulnerabilities to the two German cable ISPs that were affected, he notably praised one of them for its speedy response in patching up the holes. As for the other? “They’d better hurry up.” He also mentions that, although he’s not sure, he suspects that similar vulnerabilities are present in other countries. Oh dear.
A very interesting point in the talk is the way that [Alexander] chose to go about informing the cable ISPs. Instead of going to them directly and potentially landing himself in jail, he instead went to the press, and let his contacts at the press talk to the ISPs. This both shielded him from the potential initial heat and puts a bit of additional pressure on the ISPs to fix the vulnerability — when the story hits the front page, they would really like to be ahead of the problem.
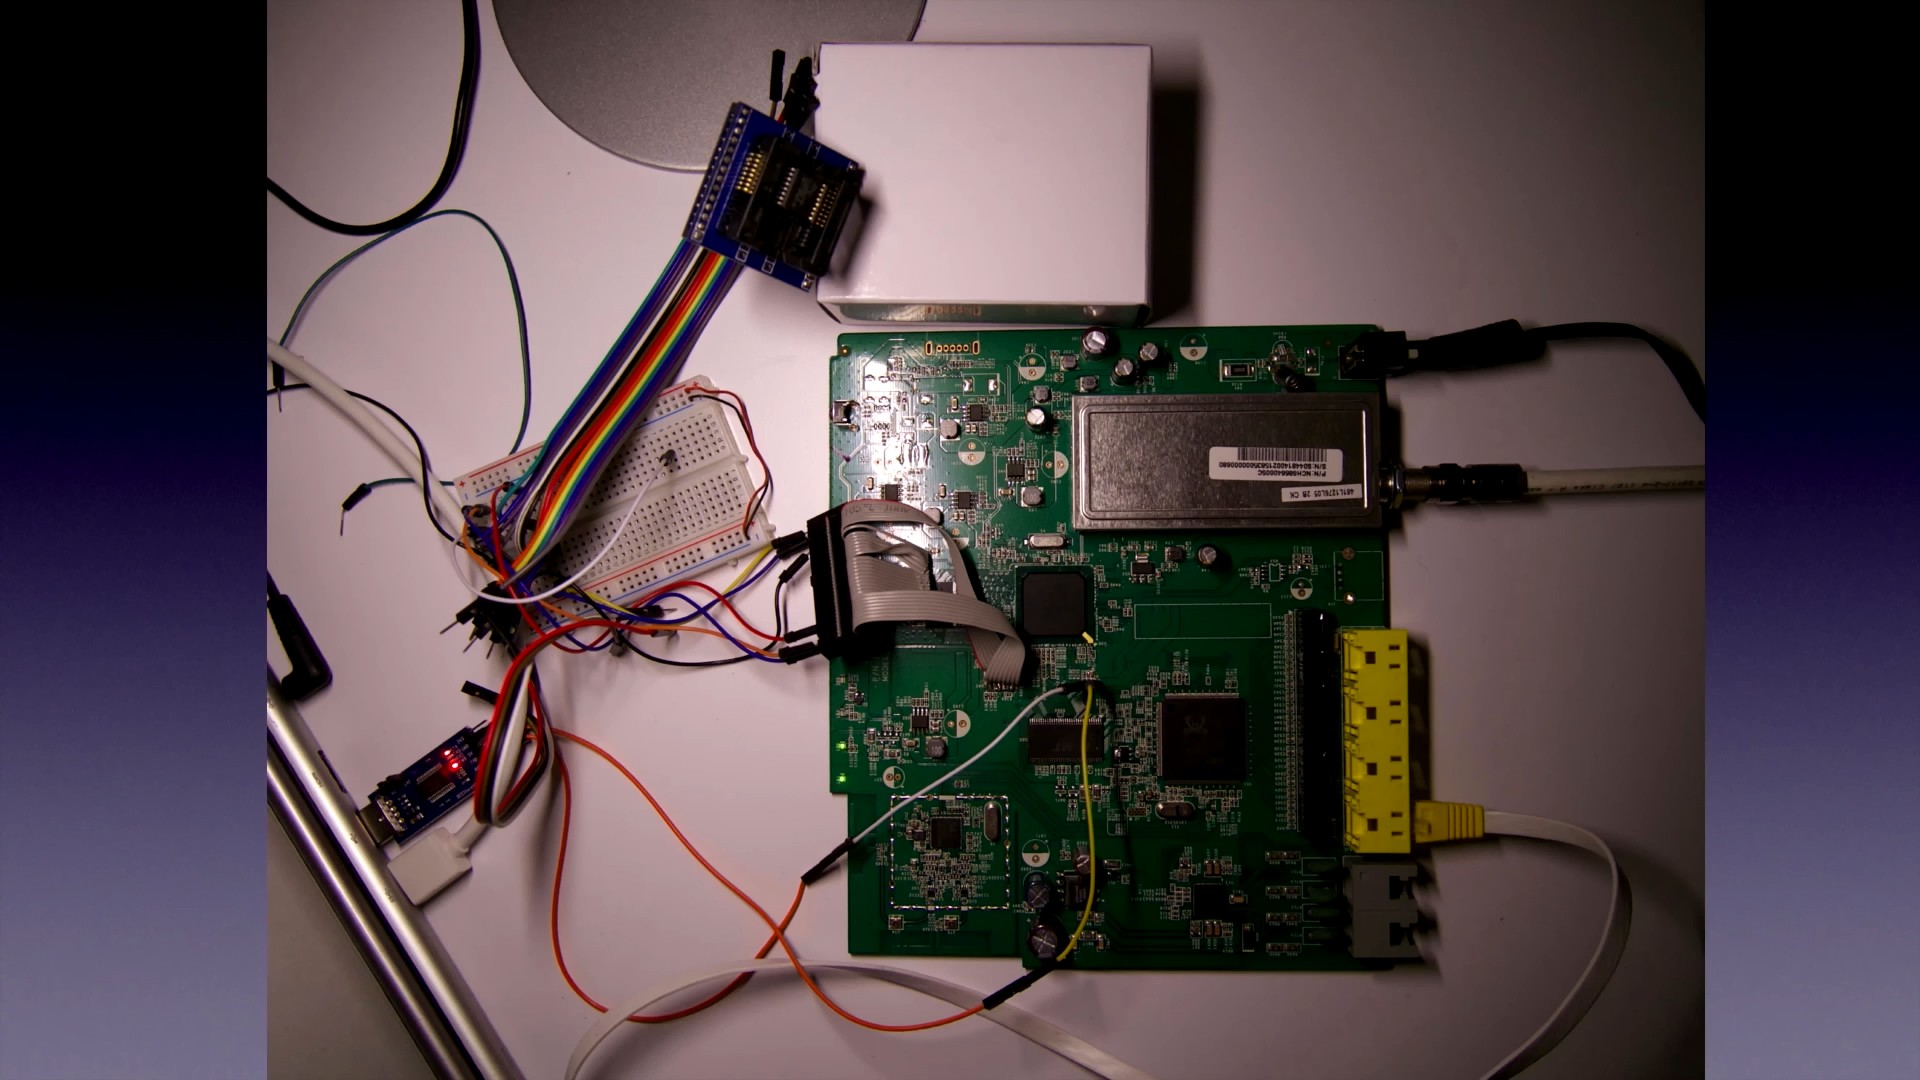
There’s even a bone for you die-hard hardware hackers out there who think that all of this software security stuff is silly. To get the modem’s firmware in the first place, at minute 42 of the talk, [Alexander] shows briefly how he pulled the flash chip off the device and read it into his computer using a BeagleBone Black. No JTAG, no nothing. Just pulling the chip off and reading it the old-fashioned way.
If you’ve got an hour, go watch [Alexander]’s talk. It’s a fun romp through some serious vulnerabilities.
The 900-pound gorilla in the corner of the Internet of Things (IoT) hype that everyone is trying to ignore is interoperability. In the Internet of Internets (IoI) everything works on a few standards that are widely accepted: IP and HTML. The discrepancies are in the details and the standards wars are in the past. Websites are largely interoperable. Not so in the wild-west ethos of the IoT.
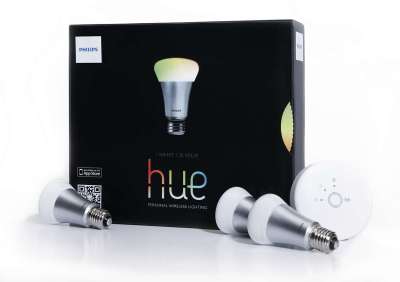
Philips makes a line of ZigBee-enabled RGB lightbulbs that took the enthusiast community by storm. And initially, Philips was very friendly to other devices — it makes a ZigBee-to-WiFi bridge that would let you control all of your ZigBee-based lights, regardless of their manufacturer, from your phone. Until now.
Philips has just rolled out a “Friends of Hue” certification process, and has since pushed out a firmware update where their Hue bridges stop interoperating with non-certified devices. You can read Philips’ version of the story here.
Philips Locks Out 3rd Party ZigBee Hardware
The hub shown on the right is what’s being locked down.
The short version is that, ZigBee standards be damned, your future non-Philips lights won’t be allowed to associate with the Philips bridge. Your GE and Osram bulbs aren’t Friends of Hue. DIY RGB strips in your lighting mix? Not Friends of Hue. In fact, you won’t be surprised to know who the “Friends of Hue” are: other Philips products, and Apple. That’s it. If you were used to running a mixed lighting system, those days are over. If you’re not on the friends list, you are an Enemy of Hue.
Their claim is that third party products may display buggy behavior on a Philips network, and that this loads up their customer-response hotlines and makes people think that Philips is responsible. Of course, they could simply tell people to disable the “other” devices and see how it works, putting the blame where it belongs. Or they could open up a “developer mode” that made it clear that the user was doing something “innovative”. But neither of these strategies prevent consumers from buying other firms’ bulbs, which cost only 30-50% of Philips’ Hue line.
While Philips is very careful to not couch it as such, the Friends of Hue program really looks like an attempt to shut out their competitors; Philips got an early lead in the RGB LED game and has a large share of the market. As they say themselves in their own press release “Today these 3rd party bulbs represent a minimal fraction of the total product connected to our bridges so the percentage of our users affected is minimal.” And they’d like to keep it that way, even though the people they’re hurting are probably their most vocal and dedicated customers.
And while we, with our manual light switches, laugh comfortably at the first-world problems of Hue consumers, we have to ask ourselves whether we’re next. Today they come for our RGB lightbulbs, but tomorrow it might be our networked toasters. A chilling thought!
Snark aside, the IoT brings two of the saddest realities of the software world into your home appliances: Where there’s code, there’s vulnerabilities, and when you can’t control the code yourself you aren’t really in control. You may own the lightbulb, but you’re merely licensing the firmware that runs it. The manufacturer can change the rules of the game, or go out of the product line entirely, and you’re high and dry. What can you do? Pull out your JTAG debugger.
Of course it’s insane to suggest that everyone needs to become an embedded-device firmware hacker just to keep their fridge running. As we’ve written before, we need to come up with some solution that puts a little more control in the hands of the ostensible owners of the devices, while at the same time keeping the baddies out. We suggest a press-to-revert-firmware button, for instance. When Philips pushes a non-consumer-friendly upgrade, you could vote with your fingertips — but then you’d miss out on bug fixes as well. Maybe it’s better to just give in an learn to love Windows 10.
There are no easy solutions and no perfect software. The industry is still young and we’ll see a lot of companies staking out their turf as with any new technology. It seems to us that IoT devices leave consumers with even less choice and control than in the past, because they are driven by firmware that’s supposed to be invisible. It’s just a lightbulb, right?
What do you think? Any ideas about how to put the power back in the hands of the “owner” of the device without everyone’s refrigerators becoming botnet zombies? Let us know in the comments.
“We underestimated the impact this would have upon the small number of our customers who currently use uncertified lights from other brands in the Philips Hue system. We have decided to continue to enable our customers who wish to integrate these uncertified products within their Philips Hue system.”
A new way to transmit data is coming that could radically change the way that devices talk to each other: LiFi. Short for Light Fidelity, LiFi uses visible light to send data, creating the link between router and device with invisible pulses of light. This type of Visible Light Communication (VLC) uses something that is present in pretty much every room: an LED lightbulb.
What is LiFi?
Li-Fi sounds like the an engineer’s fevered dream: it is fast, cheap, secure and simple to implement. Speeds of up to 10Gbps have been demonstrated in the lab, and products are now available that offer 10Mbps speed. It is cheap because it can use a modified LED lightbulb. It is secure because it only works where the light is visible: step out of the room and the signal is lost. It is simple to implement because it uses an existing technology: LEDs.
The basis of the technology is in turning the LED light on and off very fast. By switching an LED on and off millions of times a second, you can create a data signal that can be detected by a sensor, but which is invisible to the human eye. At the other end, another LED detects these pulses, and can send light pulses back in response, creating a bi-directional link. If you combine this with wired Ethernet or a WiFi network, you have an awesome combination: an Internet connection that uses visible light for the last link.
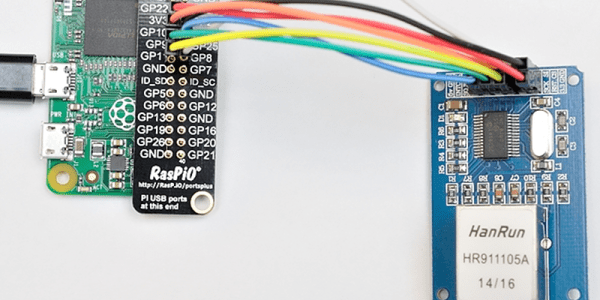
[Alex@Raspi.tv] had the misfortune of blowing the USB hub and Ethernet port on a Raspberry Pi B+. He thought about using a cheap SPI to Ethernet board to rescue it, and while he bought the board, he never got around to interfacing it to the broken Pi. However, when he saw the Raspberry Pi Zero arrive and noticed that everyone wanted to connect it to the network, he remembered the SPI board, rescued it from his junk box, and a few hours later had Ethernet via Raspberry Pi GPIO working.