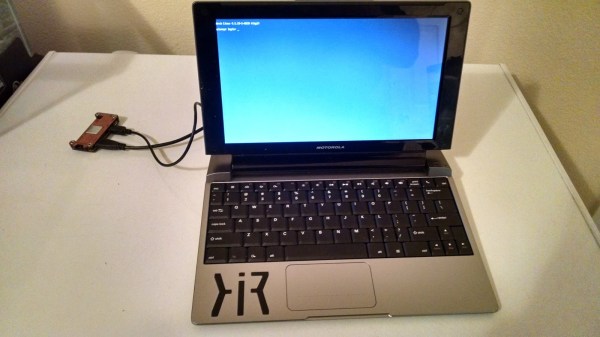
We’ve got two hacks in one from [Serge Rabyking] on fingerprint scanning. Just before leaving on a trip he bought a laptop on the cheap. He didn’t pay much attention to the features and was disappointed it didn’t have a fingerprint scanner. Working in Linux he uses sudo a lot and typing the password is a hassle. Previously he just swiped his finger on the scanner and execution continued.
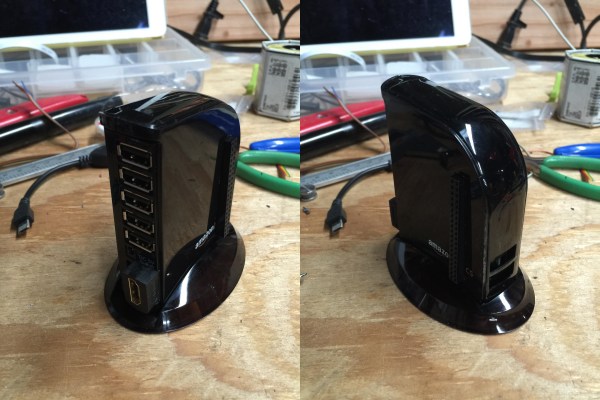
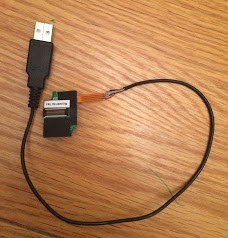 He found a cheap replacement fingerprint scanner on hacker’s heaven, also known as eBay. It had four wires attached to a 16 pin connector. Investigation on the scanner end showed the outer pair were power and ground which made [Serge] suspect it was a USB device. Wiring up a USB connector and trying it the device was recognized but with a lot of errors. He swapped the signal lines and everything was perfect. He had sudo at his finger tip.
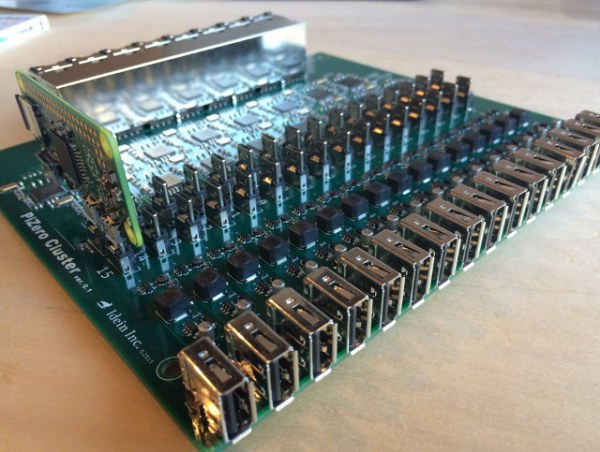
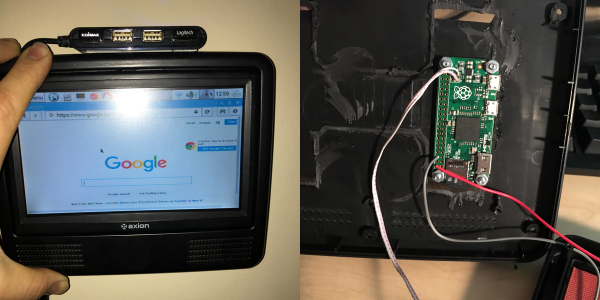
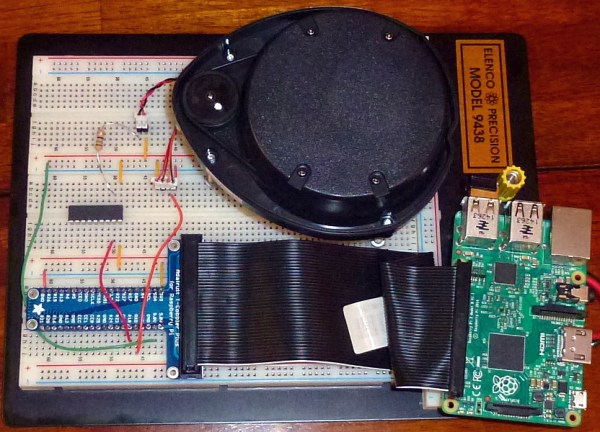
Next he wonder if it would work with a Raspberry Pi. He installed the necessary fingerprint scanning software, ran the enrollment for a finger, and it, not terribly surprisingly, worked.
On Linux the command fprintd-enroll reads and stores the fingerprint information. By default it scans and saves the right index finger but all ten fingers can be scanned and stored. Use libpam-fprintd to enable account login using a finger. Anyone know how you can trigger other events using a different finger? A quick search didn’t turn up any results.
In true hacker style, [Serge] created his own fingerprint reader from a replacement part. But you can jump start your finger usage by purchasing one of many inexpensive available readers.