[Helentronica] has been using Altium Designer to lay out PC boards since he was a student. Now as a freelancer, he felt like he didn’t quite know all that he wanted to know. Keep in mind he’d done multilayer boards with BGAs and LVDS routing, so he was no neophyte. He decided to spend about $200 on an advanced course from Fedevel Academy. In this day where everything is free on the Internet, is it worth paying $200 to watch some videos?
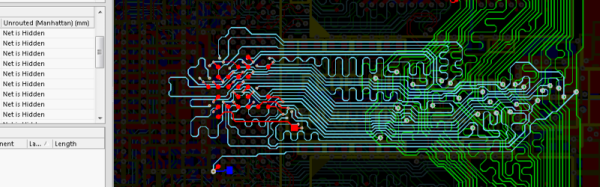
[Helentronica] probably weighed the same question. However, he was interested in the course project which is an open-source computer module with an i.MX6 processor, 1 GB of DDR3 SDRAM and lots of expansion options. In fact, the ad copy that sold him was:
You will be practicing on a real high-speed board with 1.2GHz CPU and DDR3, PCIE, SATA, HDMI, LVDS, 1Gb Ethernet and more
He completed the course. Was it worth it? We won’t spoil the story, but you should check out his post and find out. Even if you don’t want to drop $200 or you don’t use Altium, you will probably pick up some tips on PC board layout.
Continue reading “Learn Advanced PCB Design For $200–Worth It?”