wifi_car4

A WiFi Controlled RC Car With An IP Camera

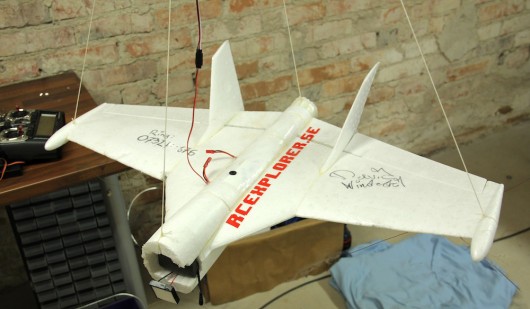
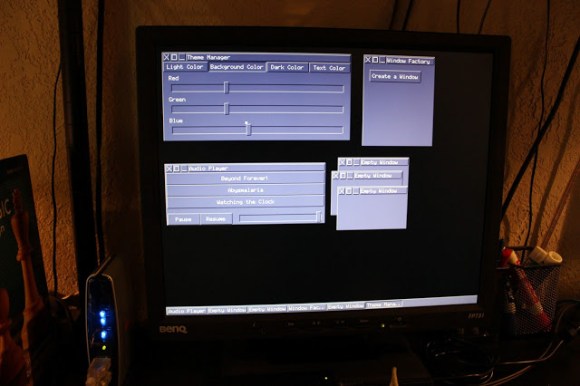
Controlling your car over WiFi is good, but mounting a webcam on it so you can actually see where you’re going is even better. [Michael] goes over how he made his wifi car with some great videos in the post about it.

The car used is a seemingly standard RC unit, which came with a speed controller that was recycled for network use. [Michael] removed the standard radio, but having this controller available kept him from having to engineer an H-bridge circuit. The radio was then replaced with a WiFi module from Sparkfun.

There were a few problems with the IP camera to begin with, as the lag was originally unbearable. After some tricks that would qualify as a good hack in itself, the camera was eventually able to perform on an acceptable level and output data to the FLTK app he used to control everything.  Check out one of his videos below of this car in action. Continue reading “A WiFi Controlled RC Car With An IP Camera”

Adding An LCD Screen Terminal For TP-Link Routers

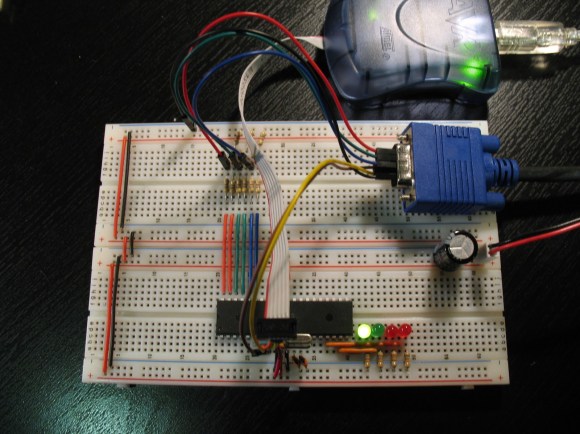
Routers running embedded Linux offer quite a bit of power depending on what you need to do. To extend the usefulness of his TP-Link router [Roman] built a rig that adds an LCD screen to display the terminal. But it ended up being quite a bit more powerful than that.

The first portion of the project was to build a USB video card for the display. [Roman] went with an STM32 development board which resolves the USB device end with the QVGA screen driver (translated). This seems like it would be the lion’s share of the project, but he still needed a driver on the router to interface with the device. This thrust him into the world of USB-class drivers (translated). It even included building graphics support into the kernel of OpenWRT. The final piece of the puzzle was to write a frame buffer (translated) that would help regulate the output to the screen. The result works so well he is even able to play games using ScummVM. See for yourself in the clip after the break.

Continue reading “Adding An LCD Screen Terminal For TP-Link Routers”

Pulling The LCD Screens Out Of A MyVu Glasses Display

myvu-led-module-teardown

[John Floren] really sells us on a pair of MyVu 301 Video Glasses. He lists the features as being bulky, ugly, and uncomfortable. That’s the reason why he’s showing you how to crack open the glasses in order to steal the tiny LCD modules.

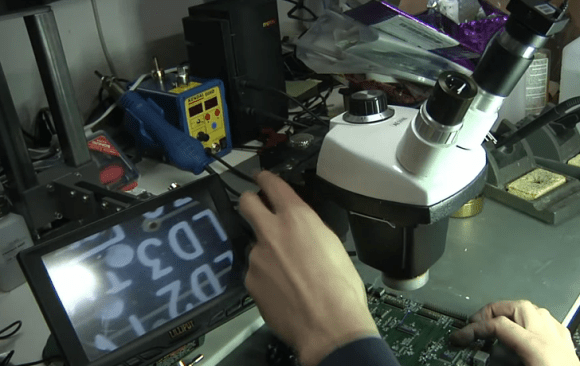
The LCD screen for each eye is mounted inside of the assembly seen above. The screen is perpendicular to the wearer’s eye, with some space in the body to facilitate the lens and reflector that enlarge the image and direct it toward the eye. After removing the display from the module [John] tried to hook it up to a camera via the driver hardware which comes with the glasses. It must have been a bit of a head scratcher that all he could get was a plain white image. This is fixed by finding the polarizing filter inside the module and laying it over the screen. This is demonstrated in the clip after the break.

We don’t know where he’s planning to go from here, but we can suggest a few different projects. This hardware could be useful in creating his own augmented reality hat. Using it as a video game controller is another thing that pops to mind. Wouldn’t it be cool to have this in the scope sight of a light gun?

Continue reading “Pulling The LCD Screens Out Of A MyVu Glasses Display”

Two Computer Vision Builds From Cornell

land

[Bruce Land], professor at Cornell, is a frequent submitter to our tip line. Usually he sends in a few links every semester from undergraduate electronics courses. Now the fall semester is finally over and it’s time to move on to the more ambitious master’s projects.

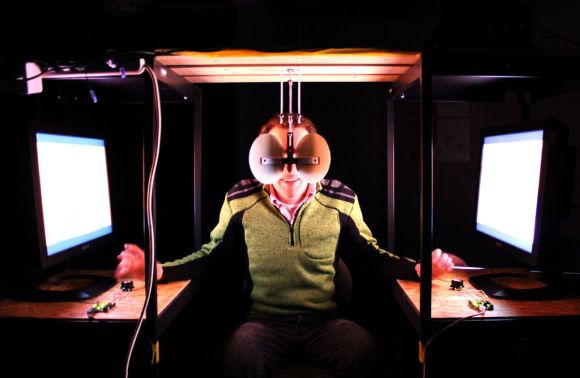
First up is a head-mounted eye tracker, [Anil Ram Viswanathan] and [Zelan Xiao] put together a lightweight and low-cost eye tracking project that will record where the user is looking.

The eye tracker hardware is made of two cameras mounted on a helmet. The first camera faces forward, looking at the same thing the user is. The second camera is directed towards the user’s eye. A series of algorithms detect the iris of the user’s eye and overlays the expected gaze position on the output of the first camera. Here’s the design report. PDF, natch.

Next up is a face tracking project implemented on an FPGA. This project started out as a software implementation of a face tracking algorithm in MATLAB. [Thu-Thao Nguyen] translated this MATLAB code to Verilog and eventually got her hardware running on an FPGA dev board. Another design report.

Having a face detection and tracking system running on an FPGA is extremely interesting; the FPGA makes face tracking a very low power and hopefully lower-cost solution, allowing it to be used in portable and consumer devices.

You can check out the videos for these projects after the break.

Continue reading “Two Computer Vision Builds From Cornell”

Leveraging The GPU To Accelerate The Linux Kernel

Powerful graphics cards are pretty affordable these days. Even though we rarely do high-end gaming on our daily machine we still have a GeForce 9800 GT. That goes to waste on a machine used mainly to publish posts and write code for microcontrollers. But perhaps we can put the GPU to good use when it comes compile time. The KGPU package enlists your graphics card to help the kernel do some heavy lifting.

This won’t work for just any GPU. The technique uses CUDA, which is a parallel computing package for NVIDIA hardware. But don’t let lack of hardware keep you from checking it out. [Weibin Sun] is one of the researchers behind the technique. He posted a whitepaper (PDF) on the topic over at his website.

Add this to the growing list of non-graphic applications for today graphics hardware.

UPDATE: Looks like we won’t be trying this out after all. Your GPU must support CUDA 2.0 or higher. We found ours on this list and it’s only capable of CUDA 1.0.

[Thanks John]

Simulating CRT Or Vector Displays For More Realistic Emulation

simulated-crt-monitor-for-emulatorsScaled down it’s not as obvious that this image isn’t a crystal clear rendering of Mortal Kombat gameplay. But we’ve linked it to the full size version (just click on the image) so that you can get a better look. Notice the scan lines? This is the result of an effort to more accurately mimic the original hardware displays used in classic games. [Jason Scott] takes a look at the initiative by describing what he thinks is missing with the picture perfect quality of modern emulators.

One such effort is being mounted for MAME (Multiple Arcade Machine Emulator). There is a series of filters available — each with their own collection of settings — that will make your modern LCD display look like it’s a run-of-the-mill CRT. This is a novelty if you’re a casual gamer who dusts off the coin-op favorites twice a year. But if you’re building a standalone game cabinet this may be a suitable alternative to sourcing a working display that’s already decades old.

Dithering In Processing

dithering-experiments

To be honest, we’ve heard of dithering but that’s the extent of our knowledge on the topic. After looking through [Windell’s] post about using Dithering in Processing we can now say we’ve got a base of knowledge on the topic.

Dithering is used to produce an image out of two colors that our eyes can put together into something meaningful. The history of the algorithms goes back to monochrome displays. But now the hobby electronics we work with for fun have comparable computing power and perhaps it’s time to rediscover these techniques. [Windell’s] project implements the Atkinson dithering algorithm in real-time on your webcam. He’s doing this in Processing, which should make it pretty easy to port for your own purposes.

So why might you want to use dithering in your own projects? Because if it can be used to make very cool milled artwork there must be other undiscovered uses lurking around your workshop.